I'm Alex Kearney, a PhD student studying Computer Science at the University of Alberta. I focus on Artificial Intelligence and Epistemology.
I'm Alex Kearney, a PhD student studying Computer Science at the University of Alberta. I focus on Artificial Intelligence and Epistemology.

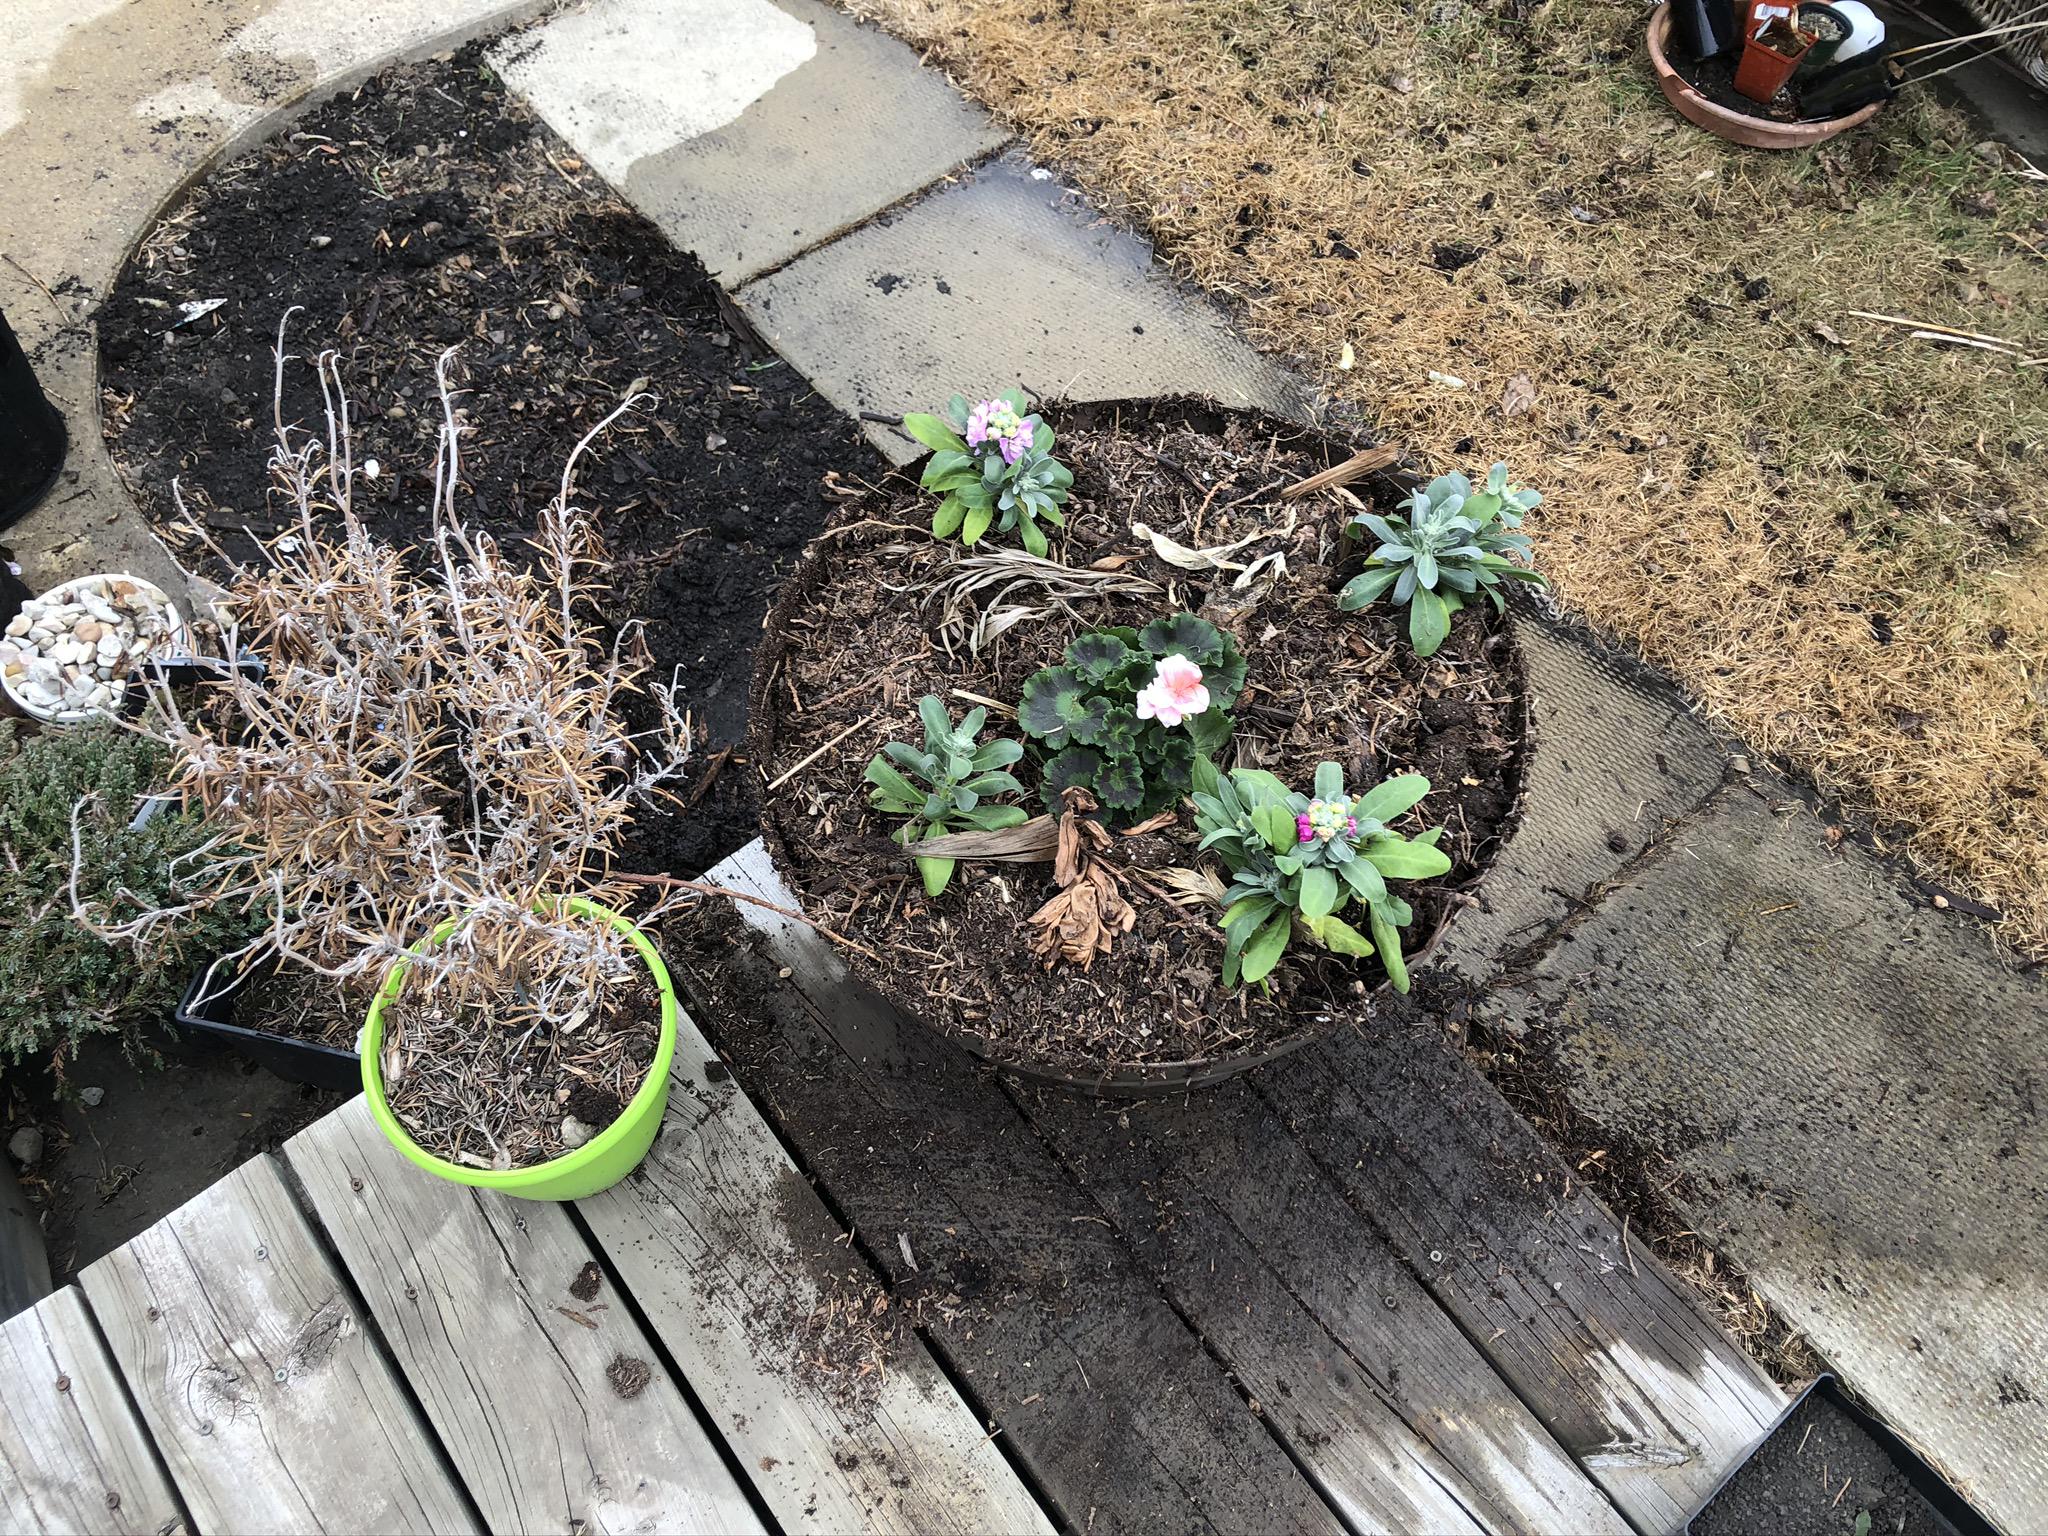
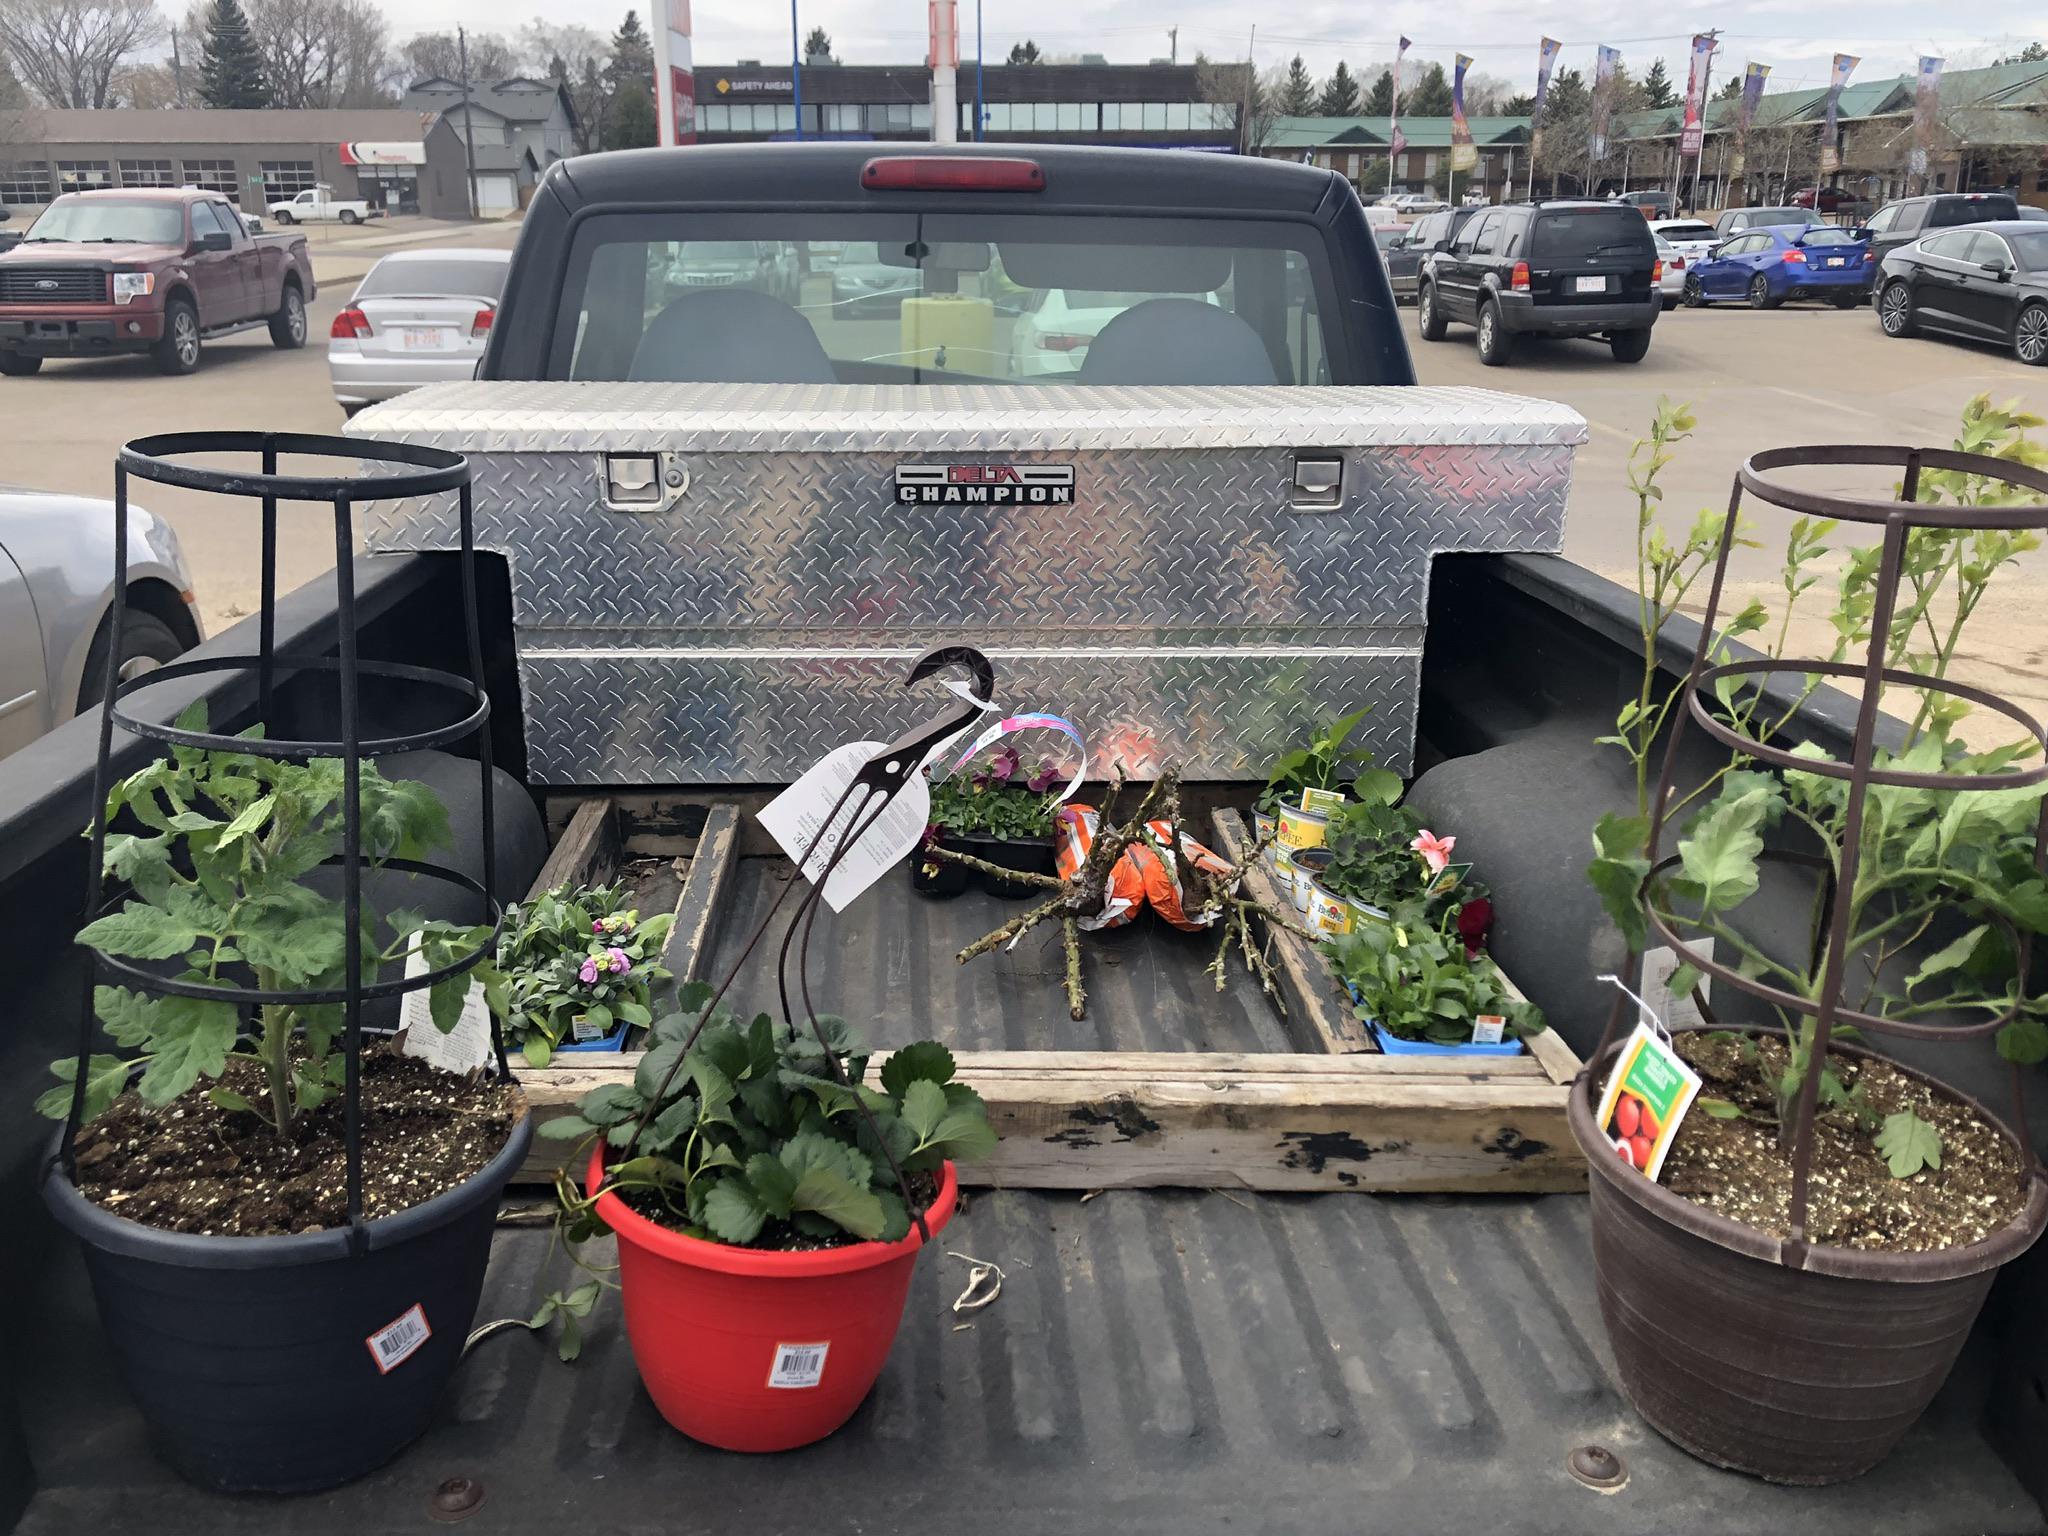
Getting the garden ready to go outside. I’m going to have so many veggies this year!
Get ready for more corn-posting.
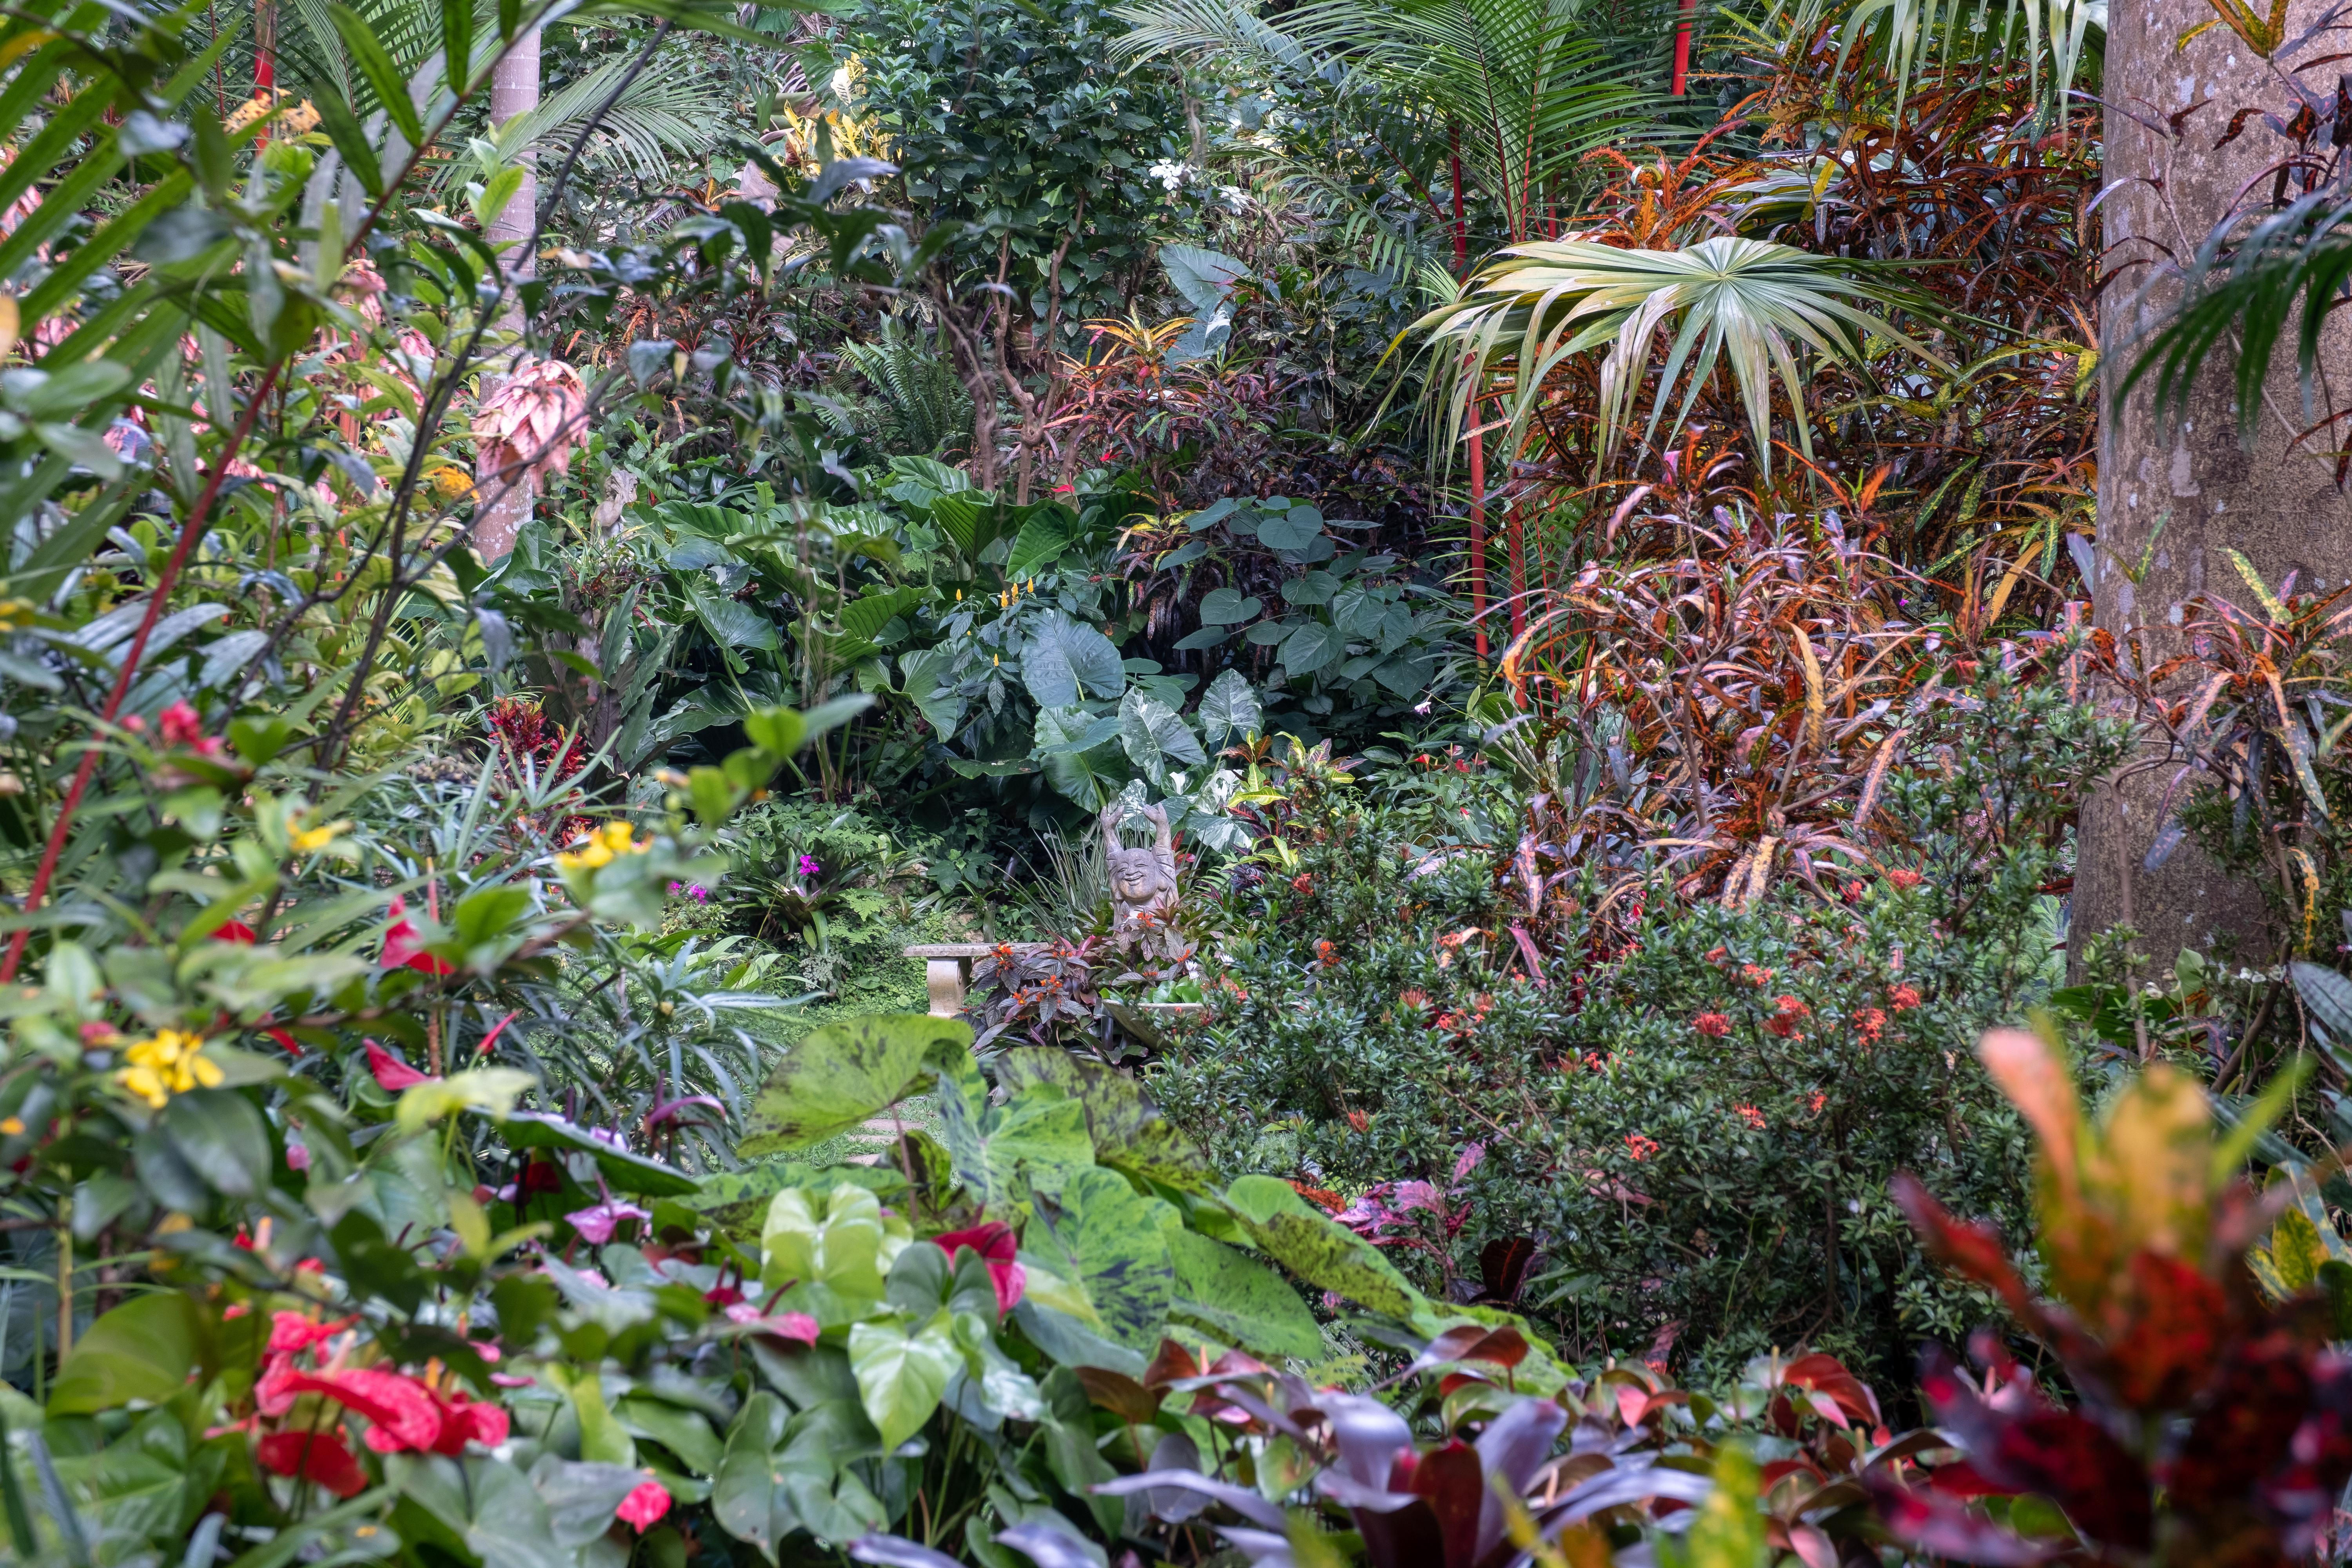
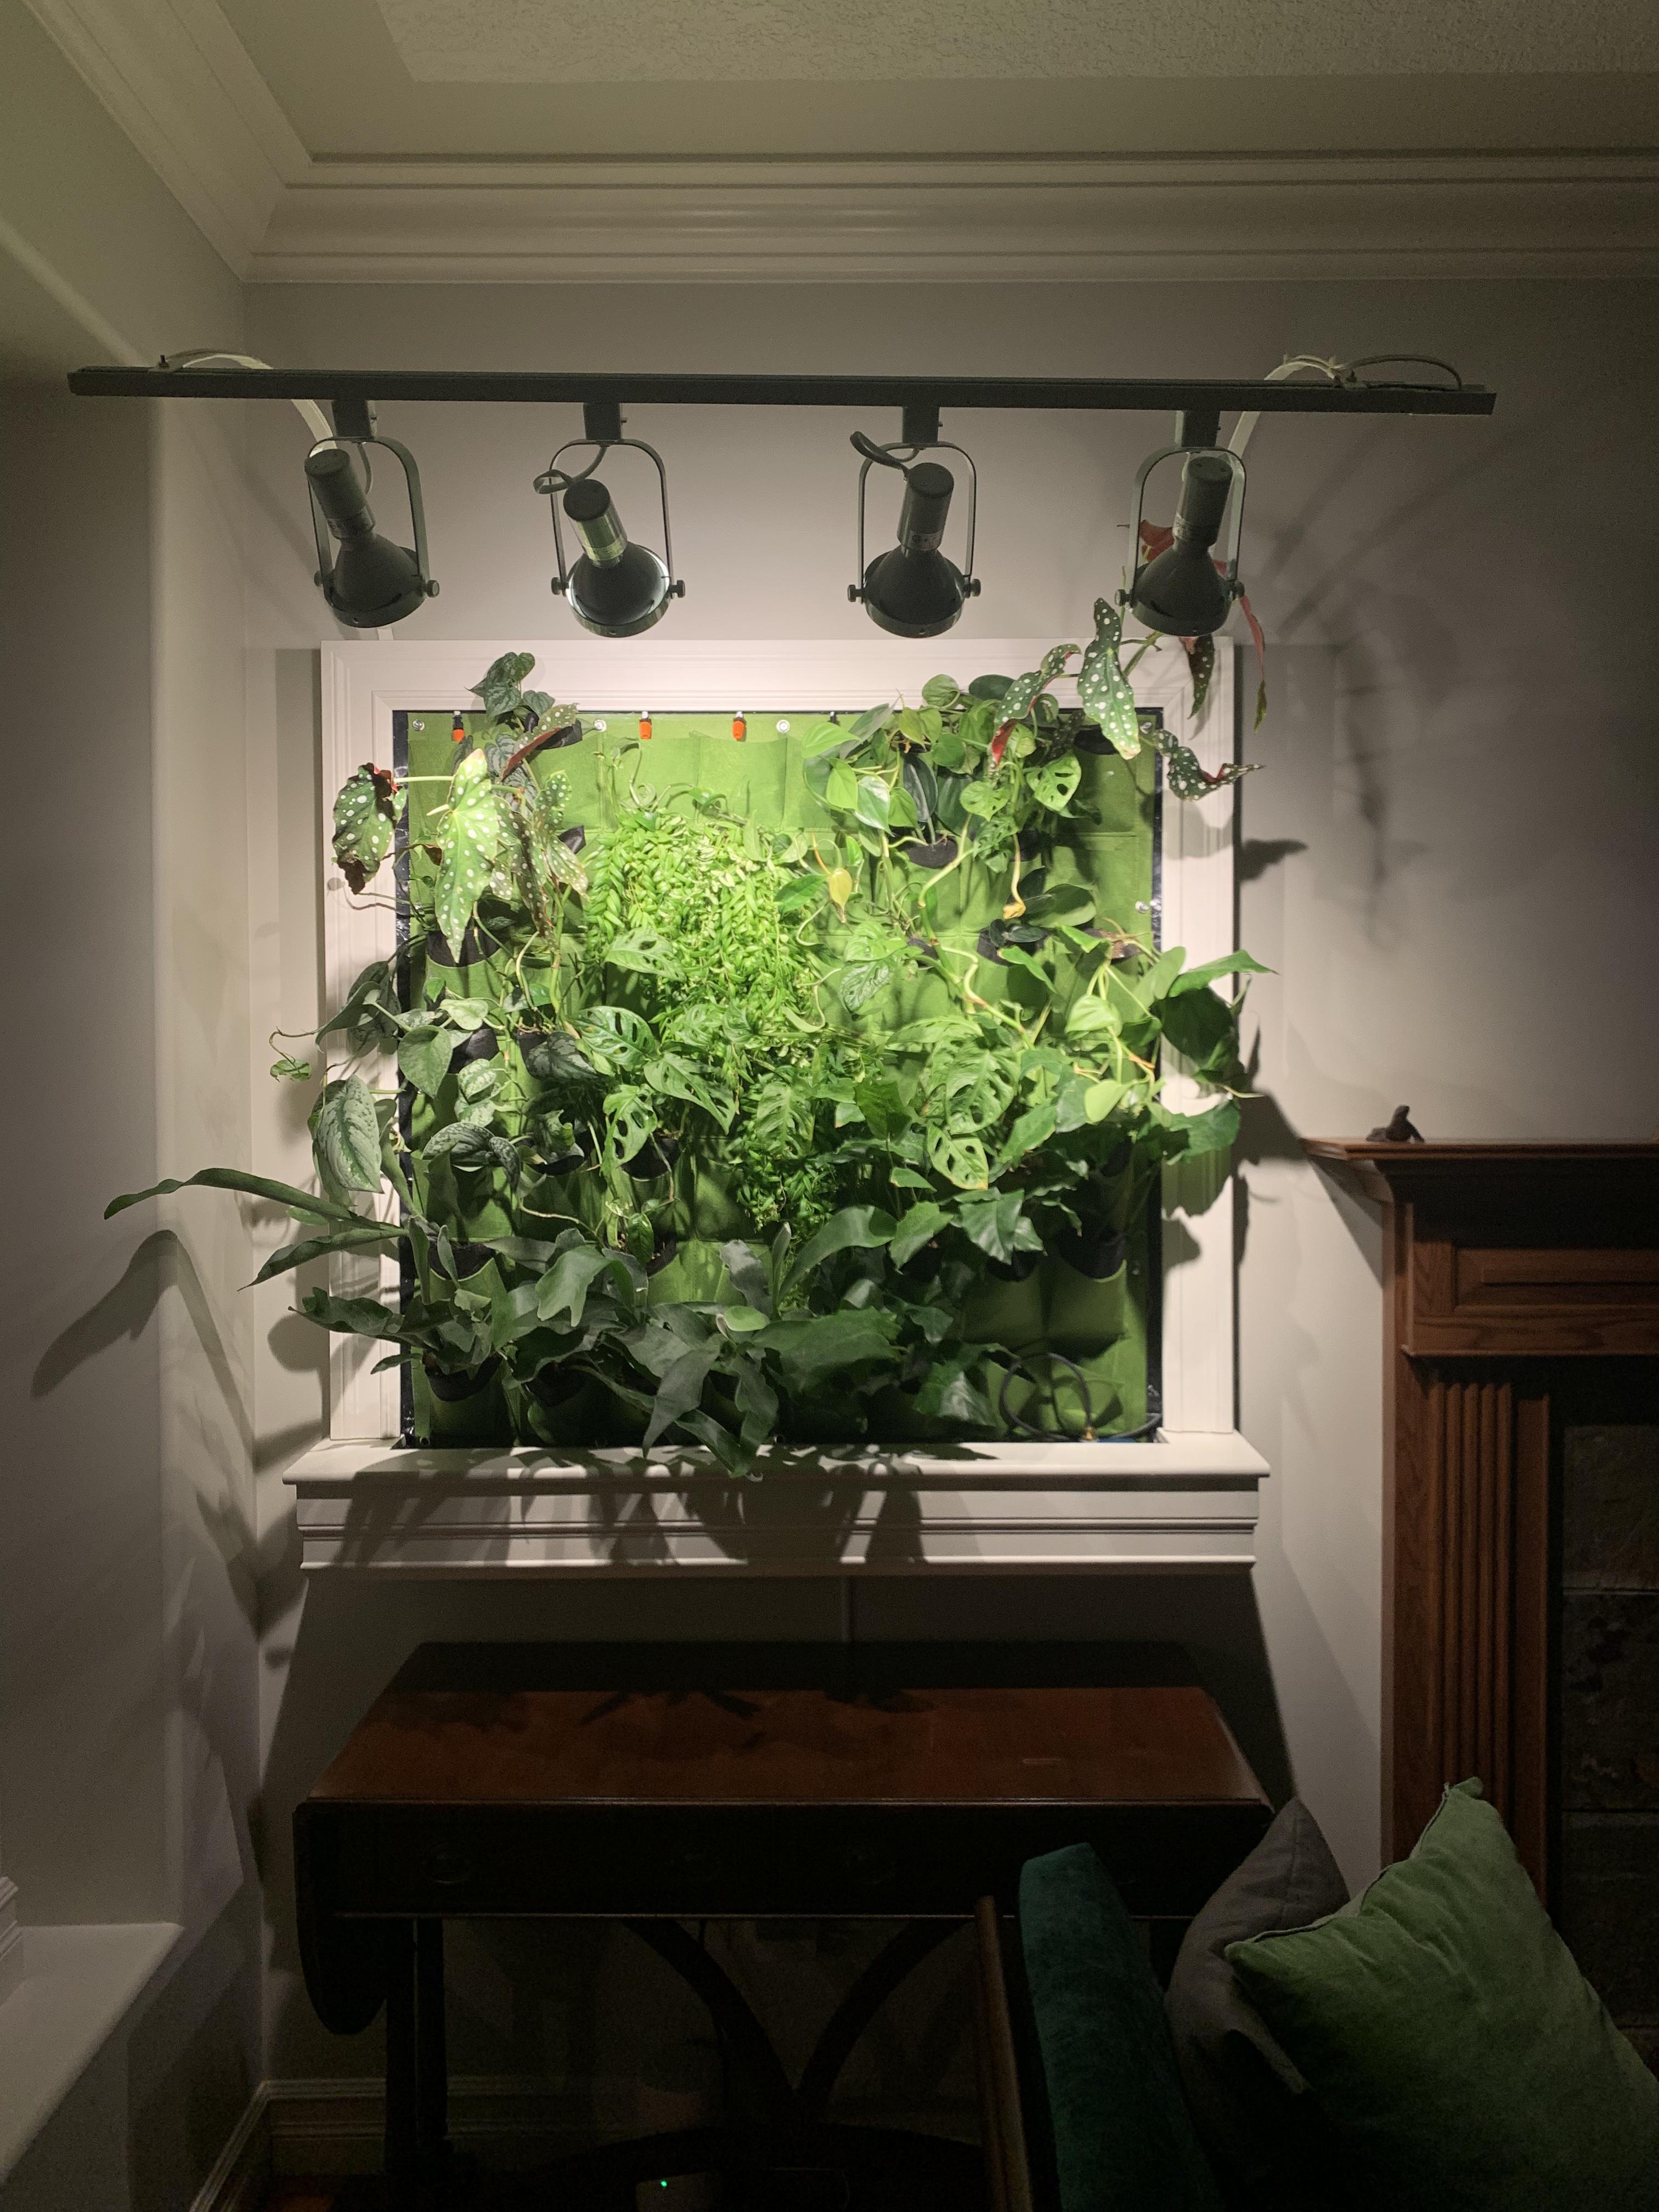
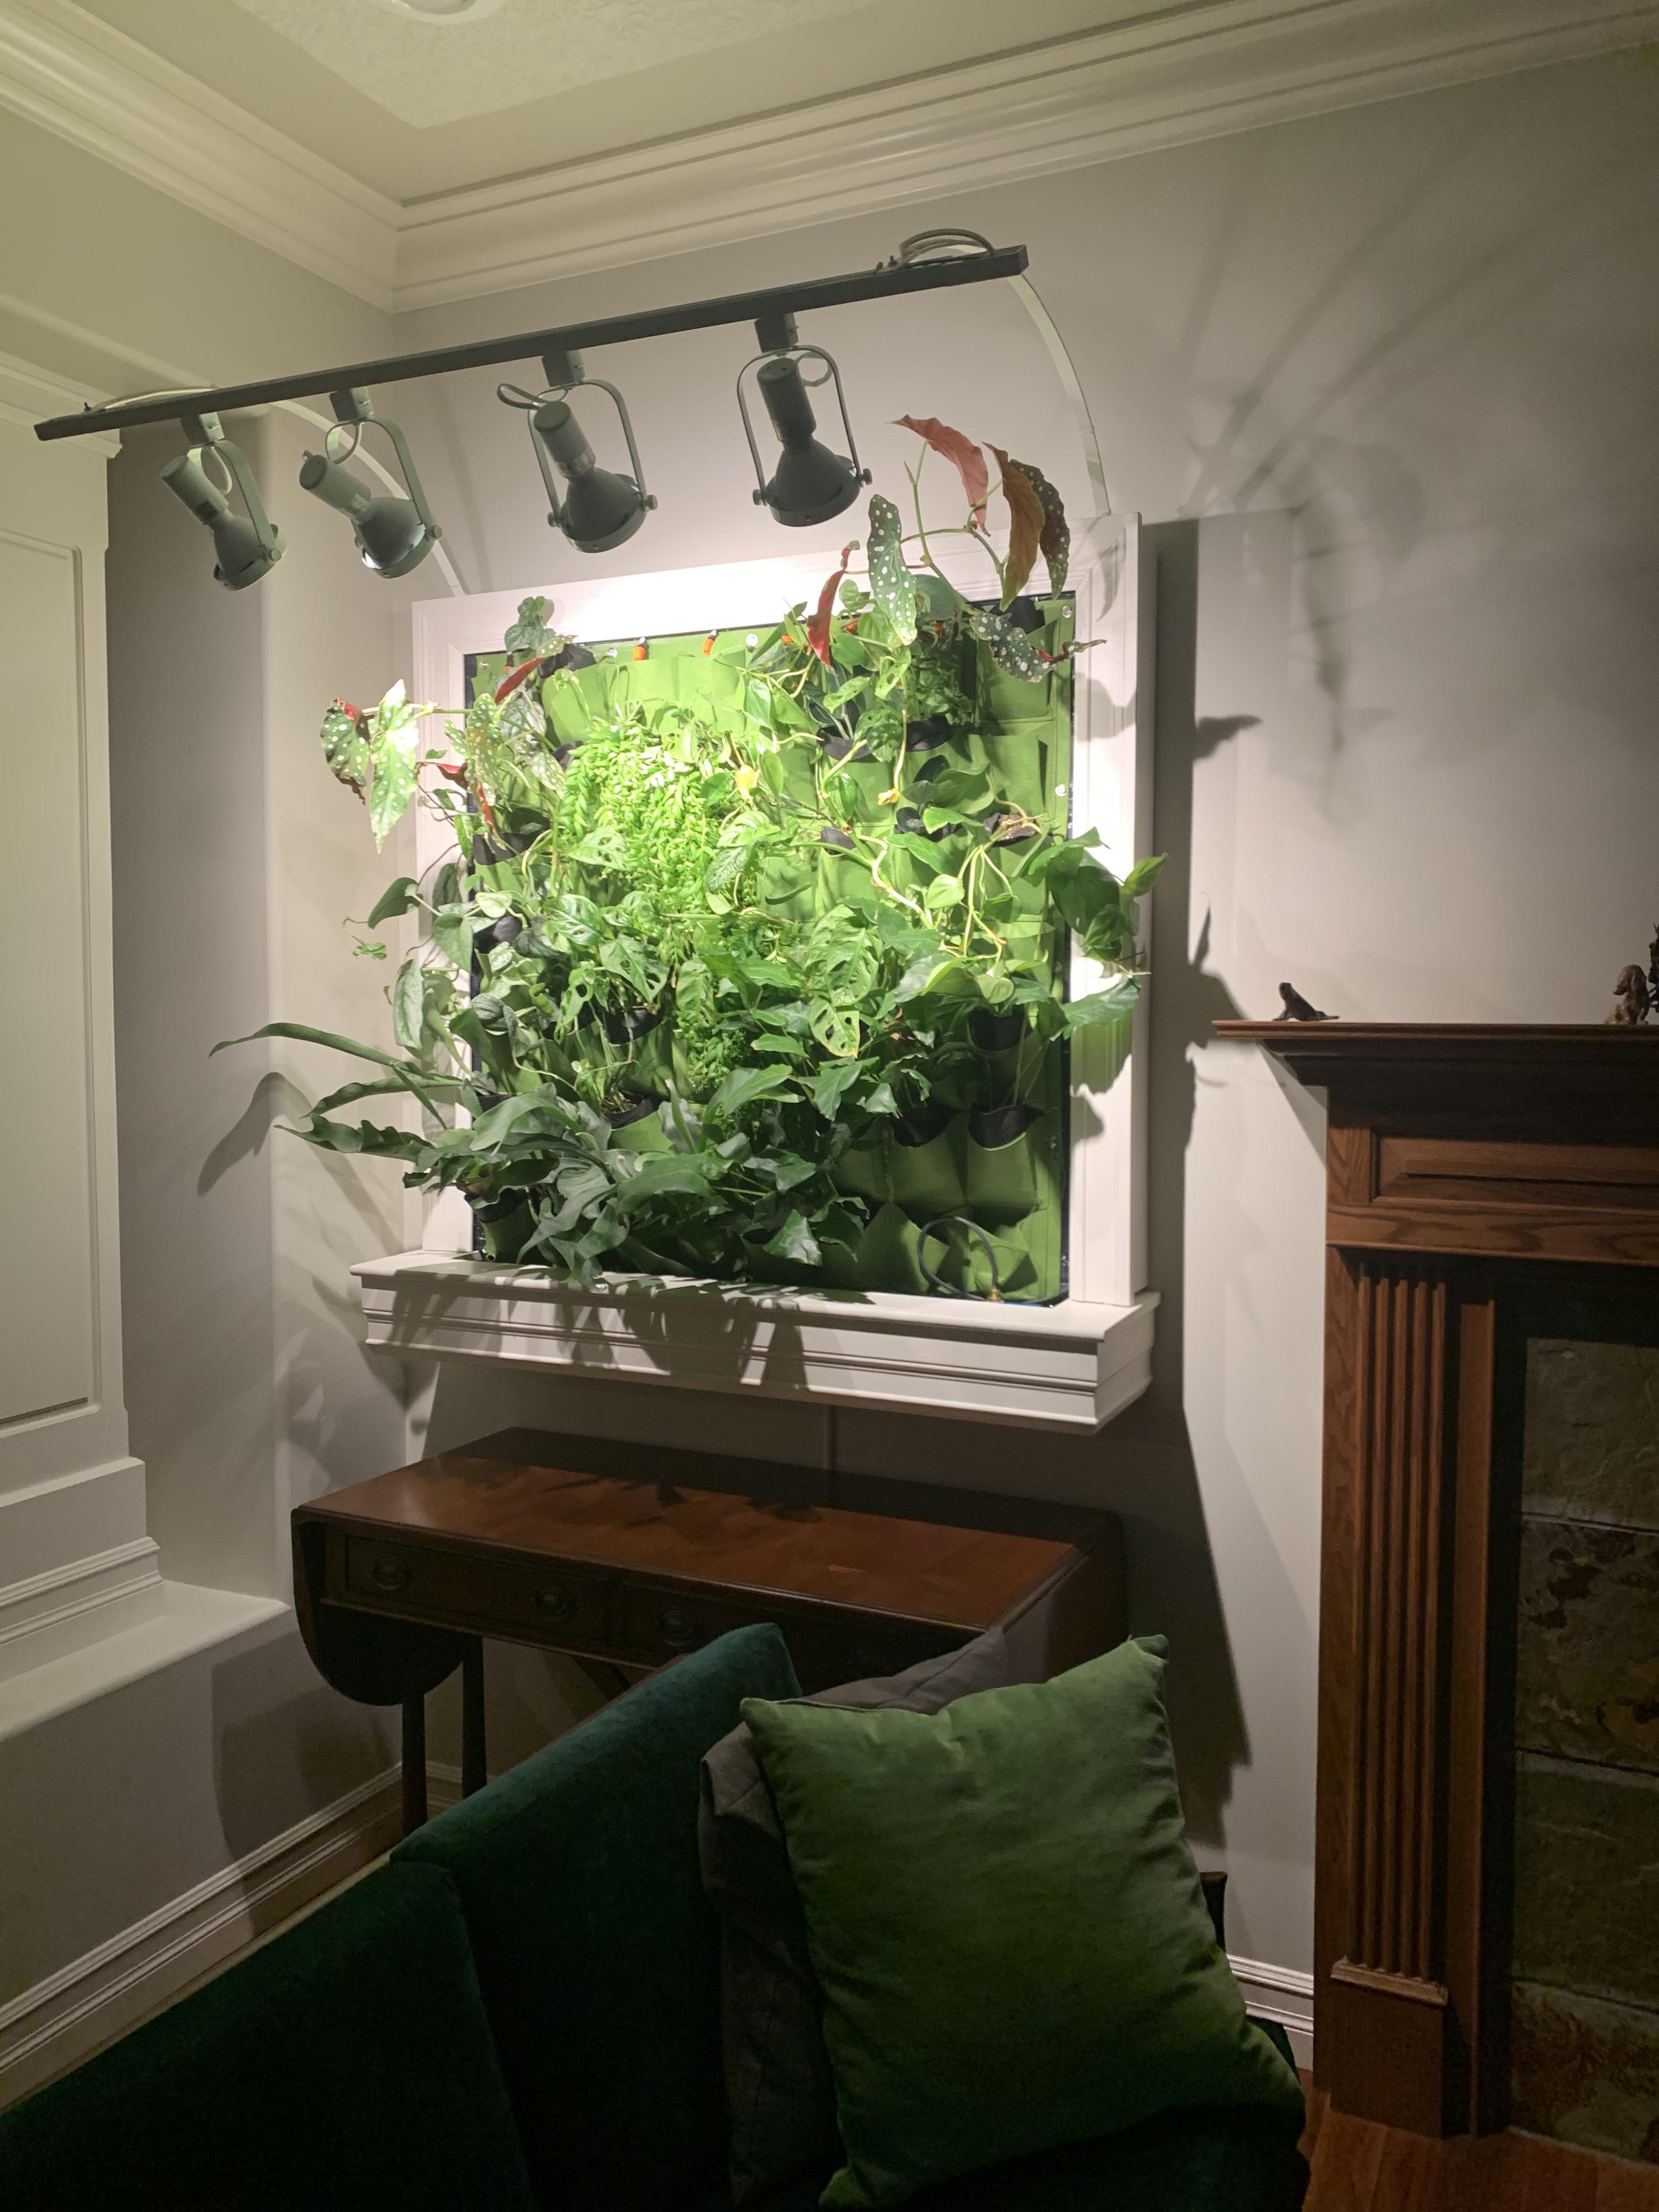
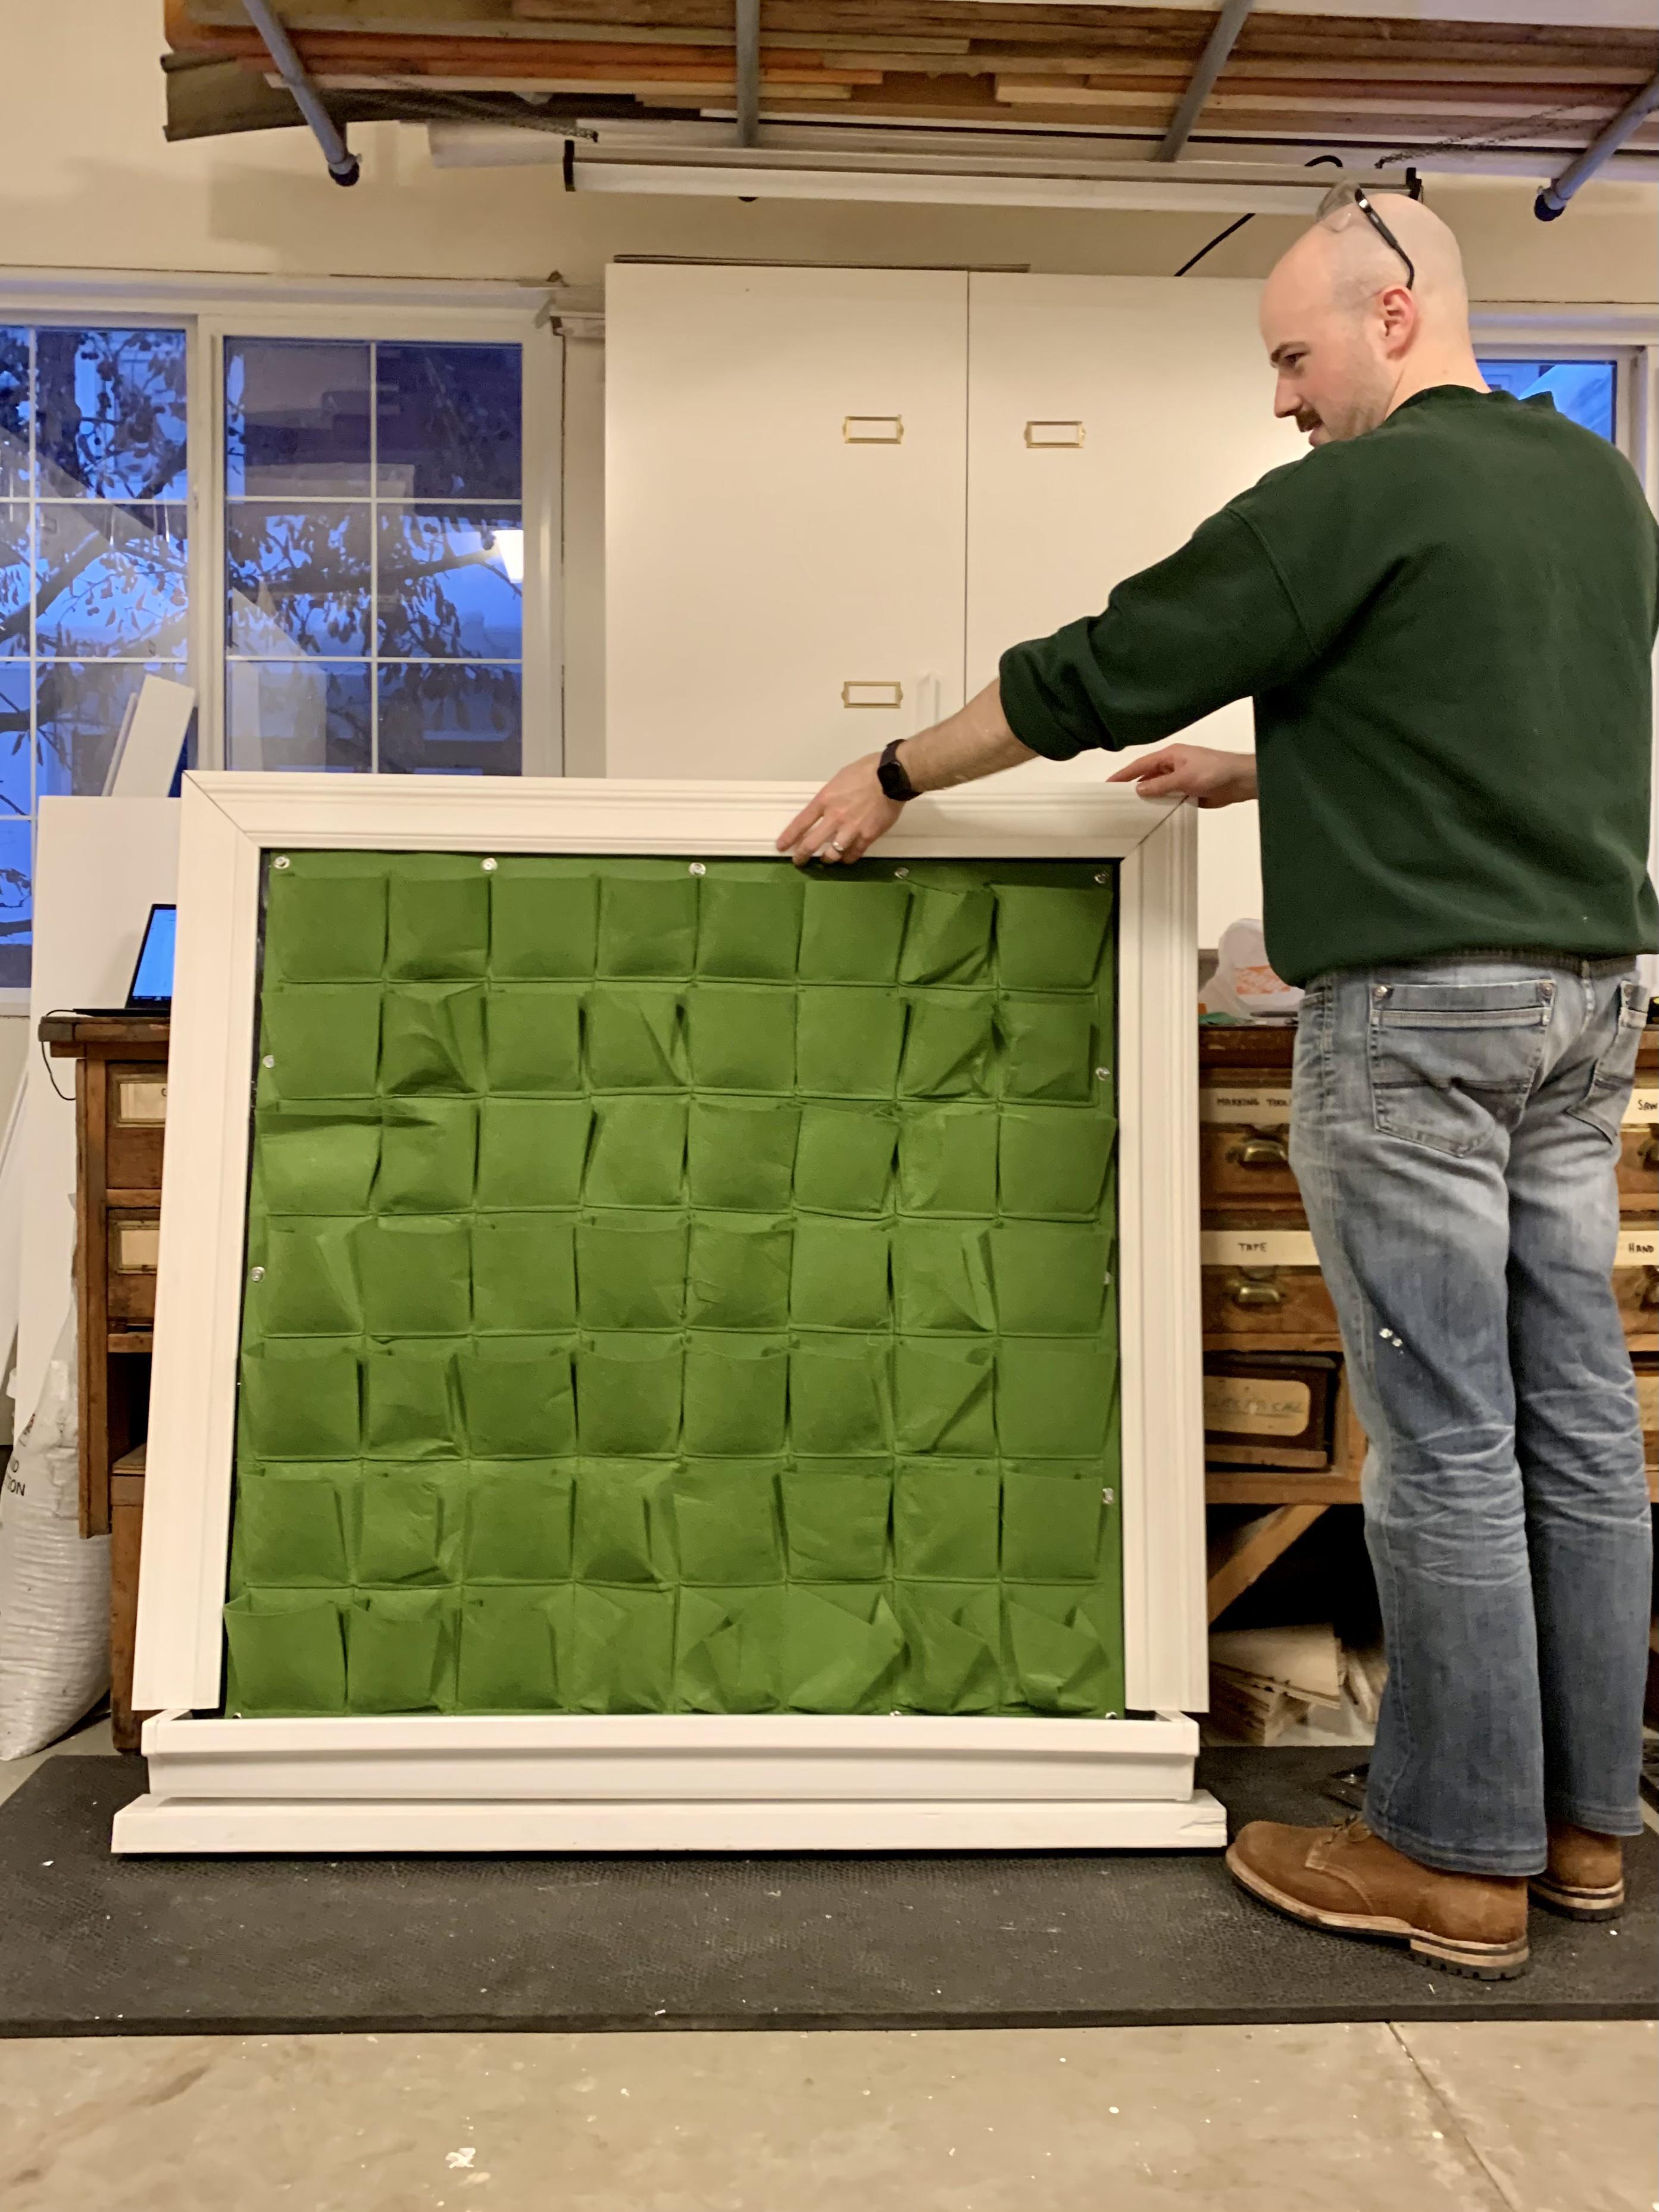
And we're done: we installed the plant wall this weekend! I'm pleased with how the casing makes the wall look like a little window into some distant jungle. The shadows cast by the plants are so dramatic.
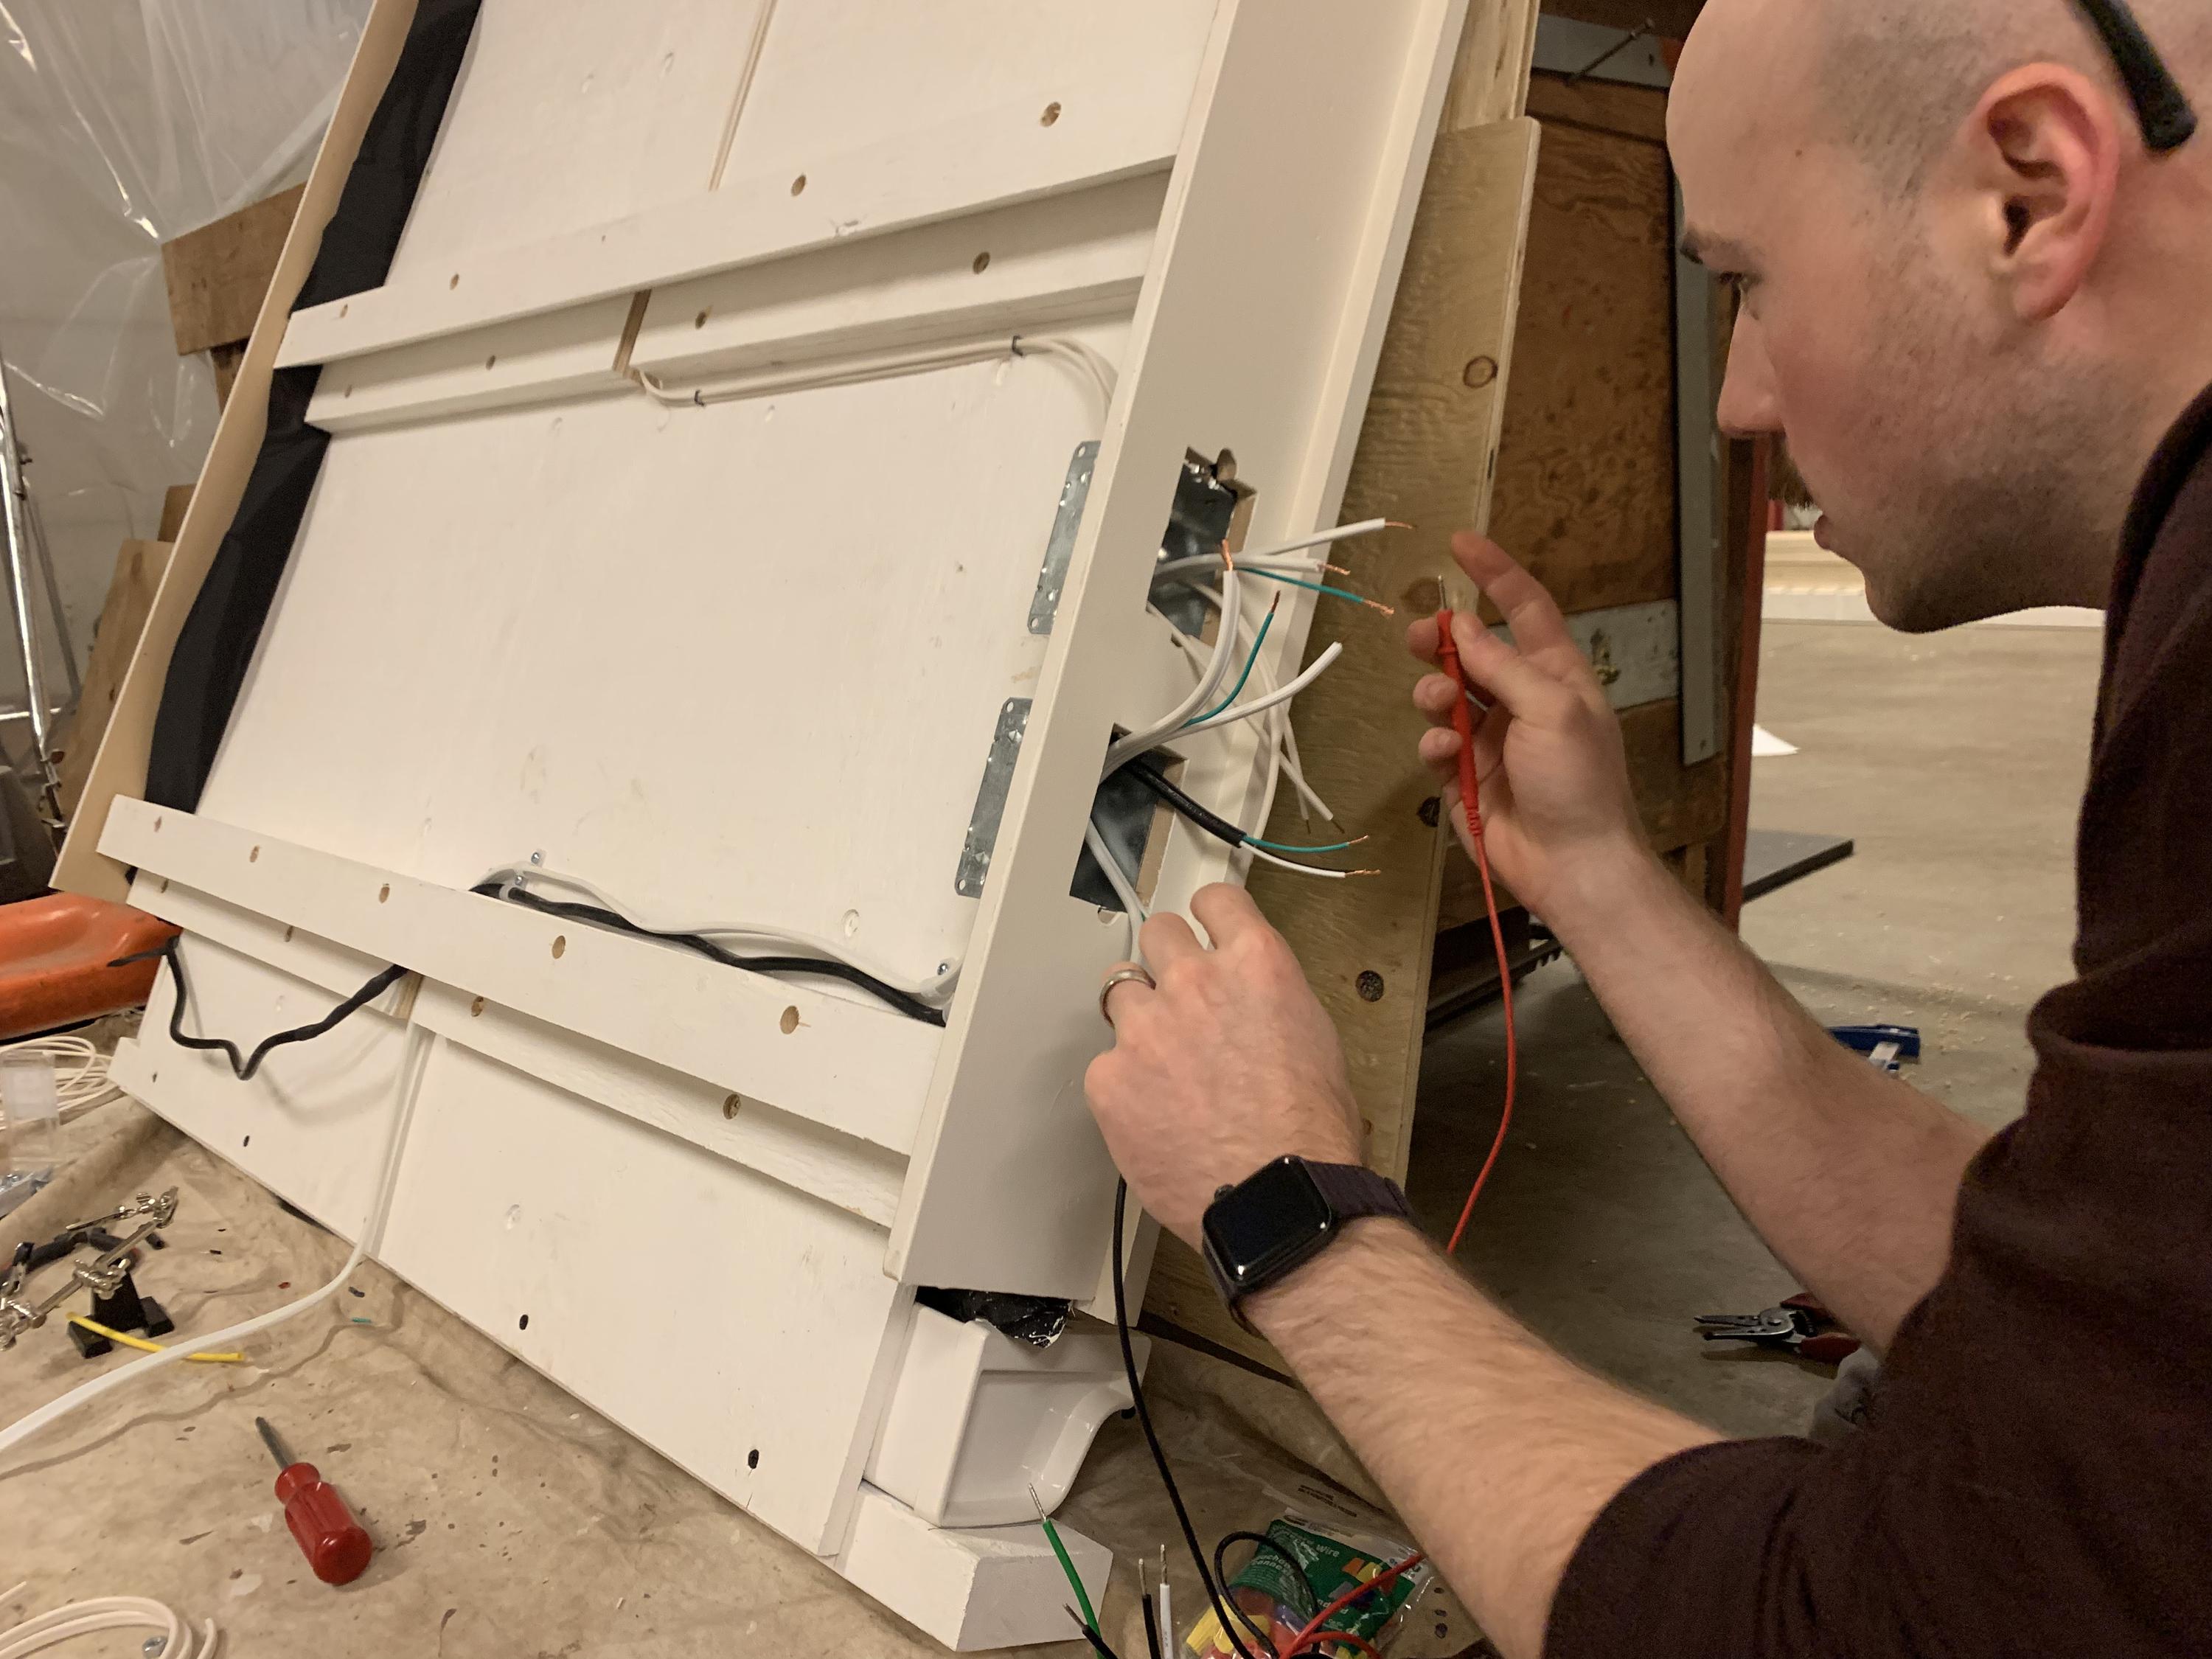
Time for electrical on the plant wall: hooking up timer switches to run grow lights and an irrigation pump.
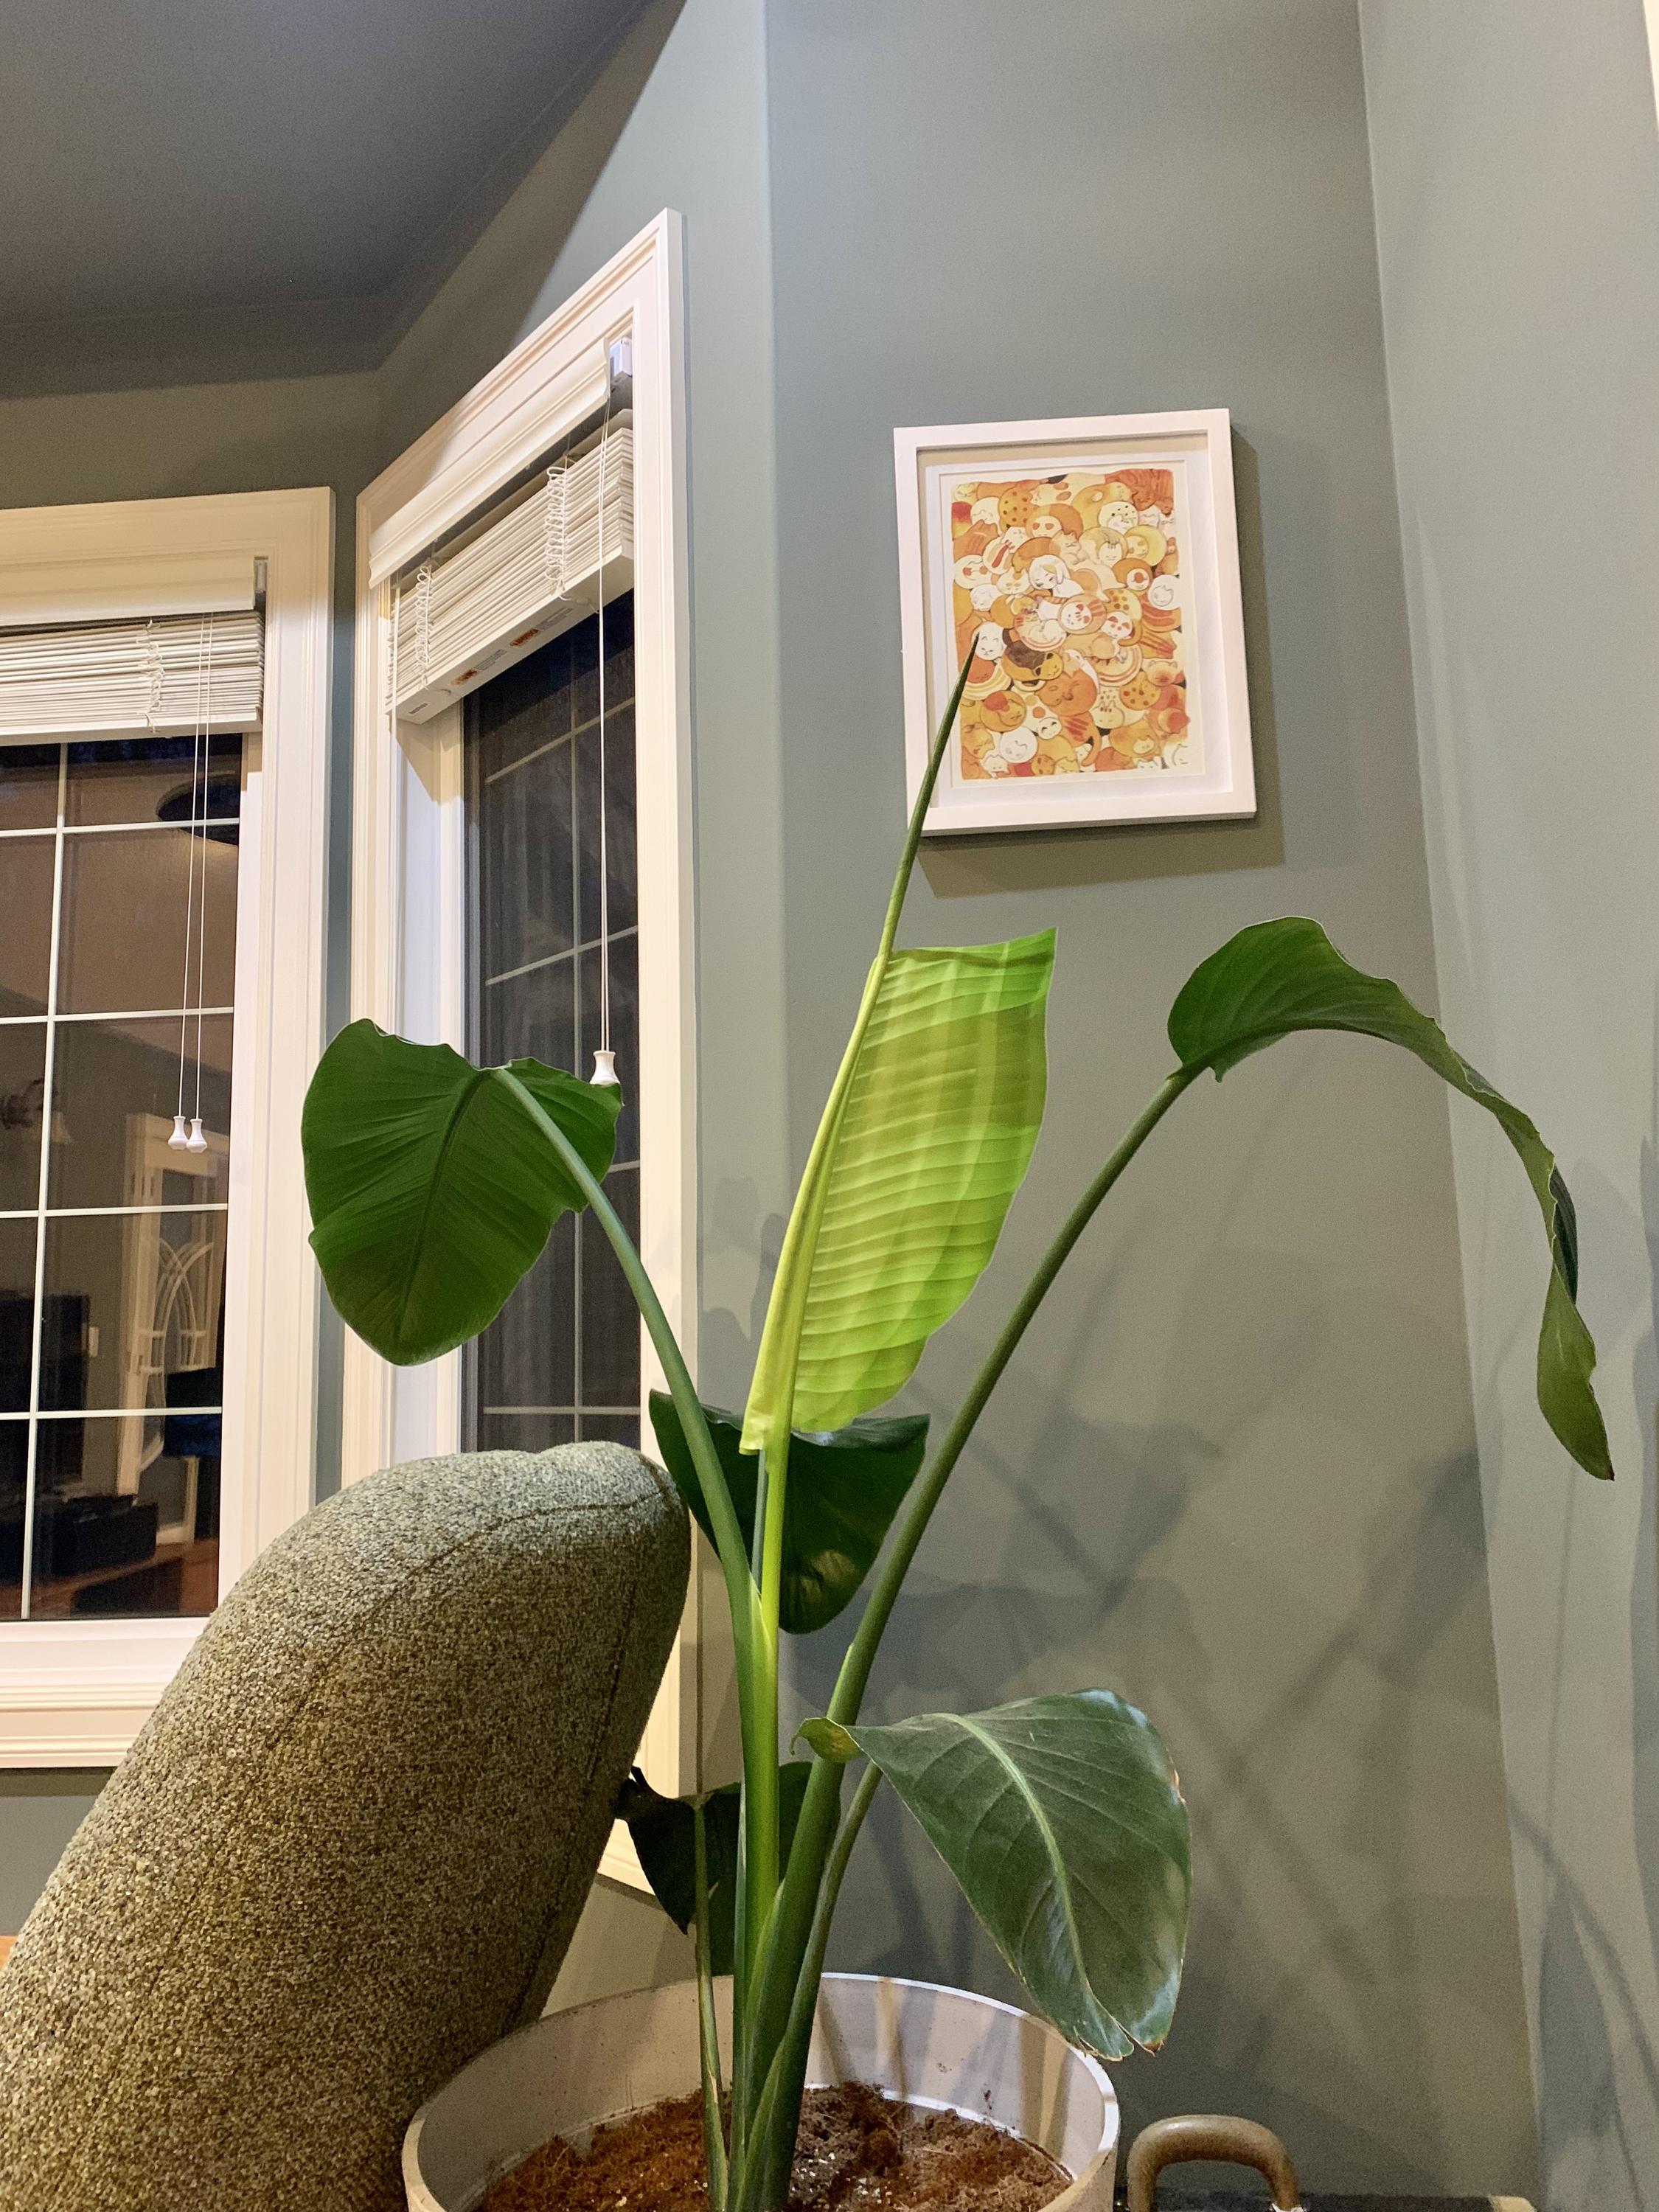
My bird of paradise is putting out a new leaf! The leaf large enough that it has to unfurl in segments. #plants

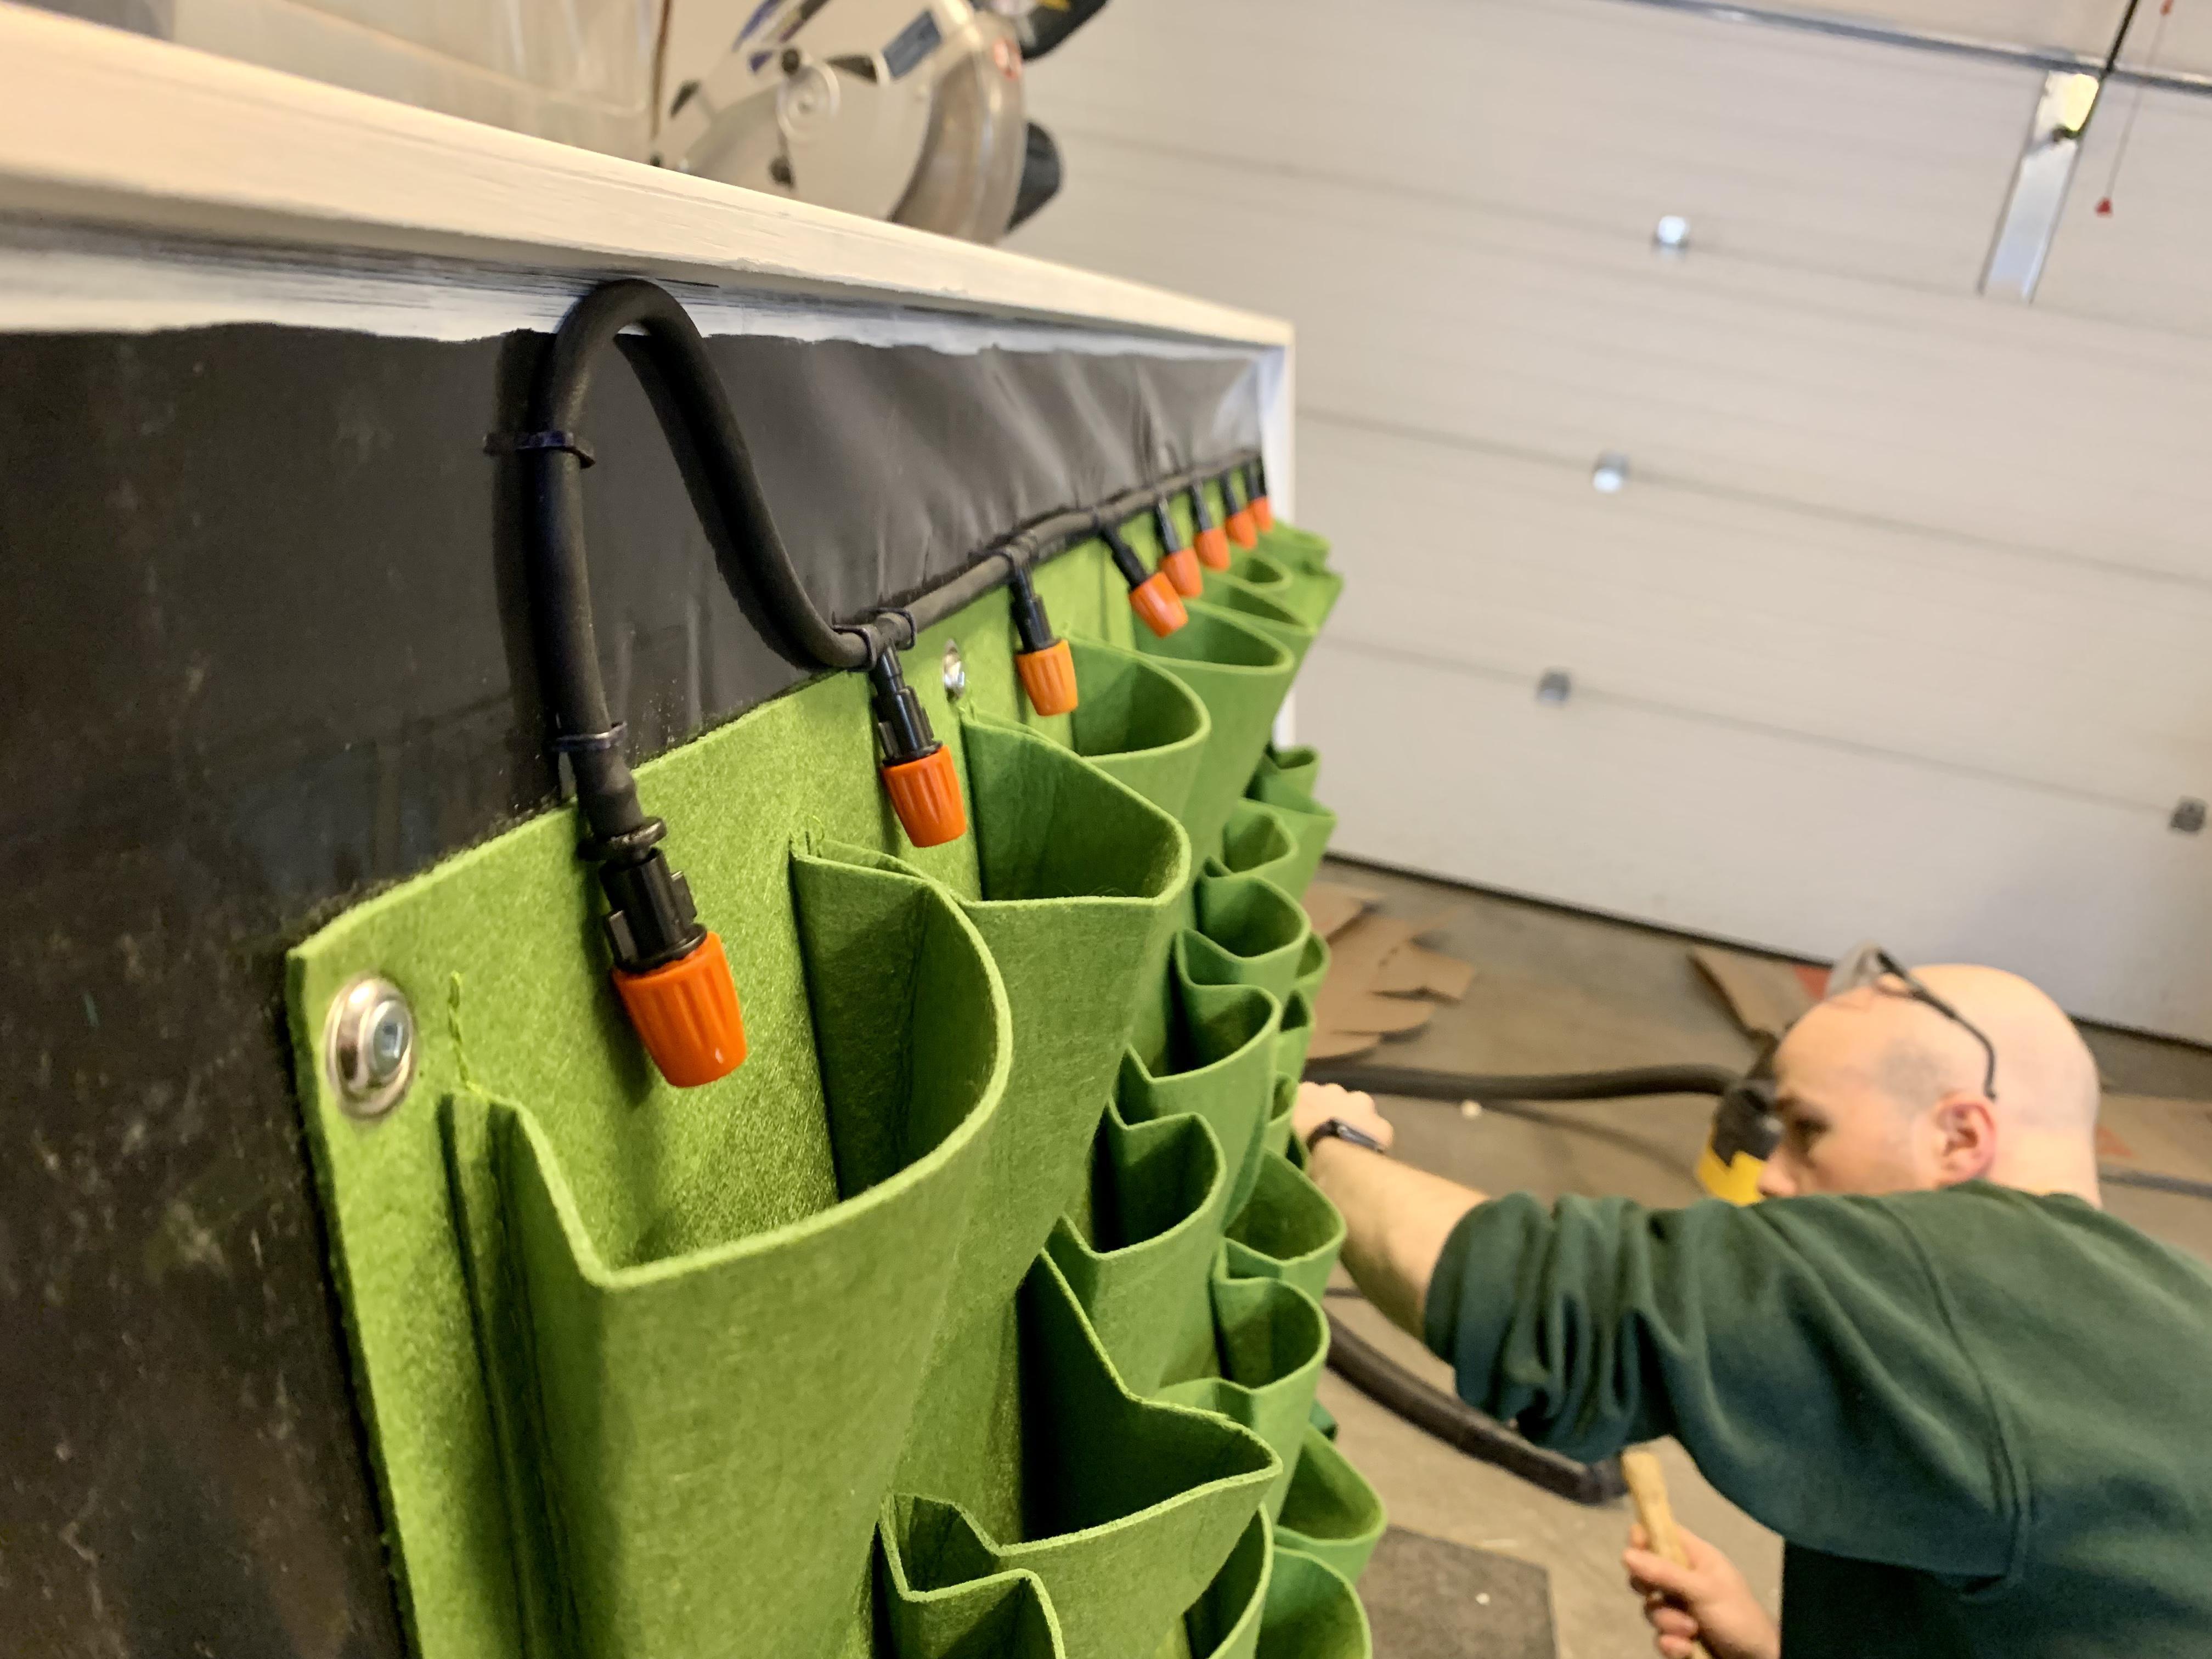
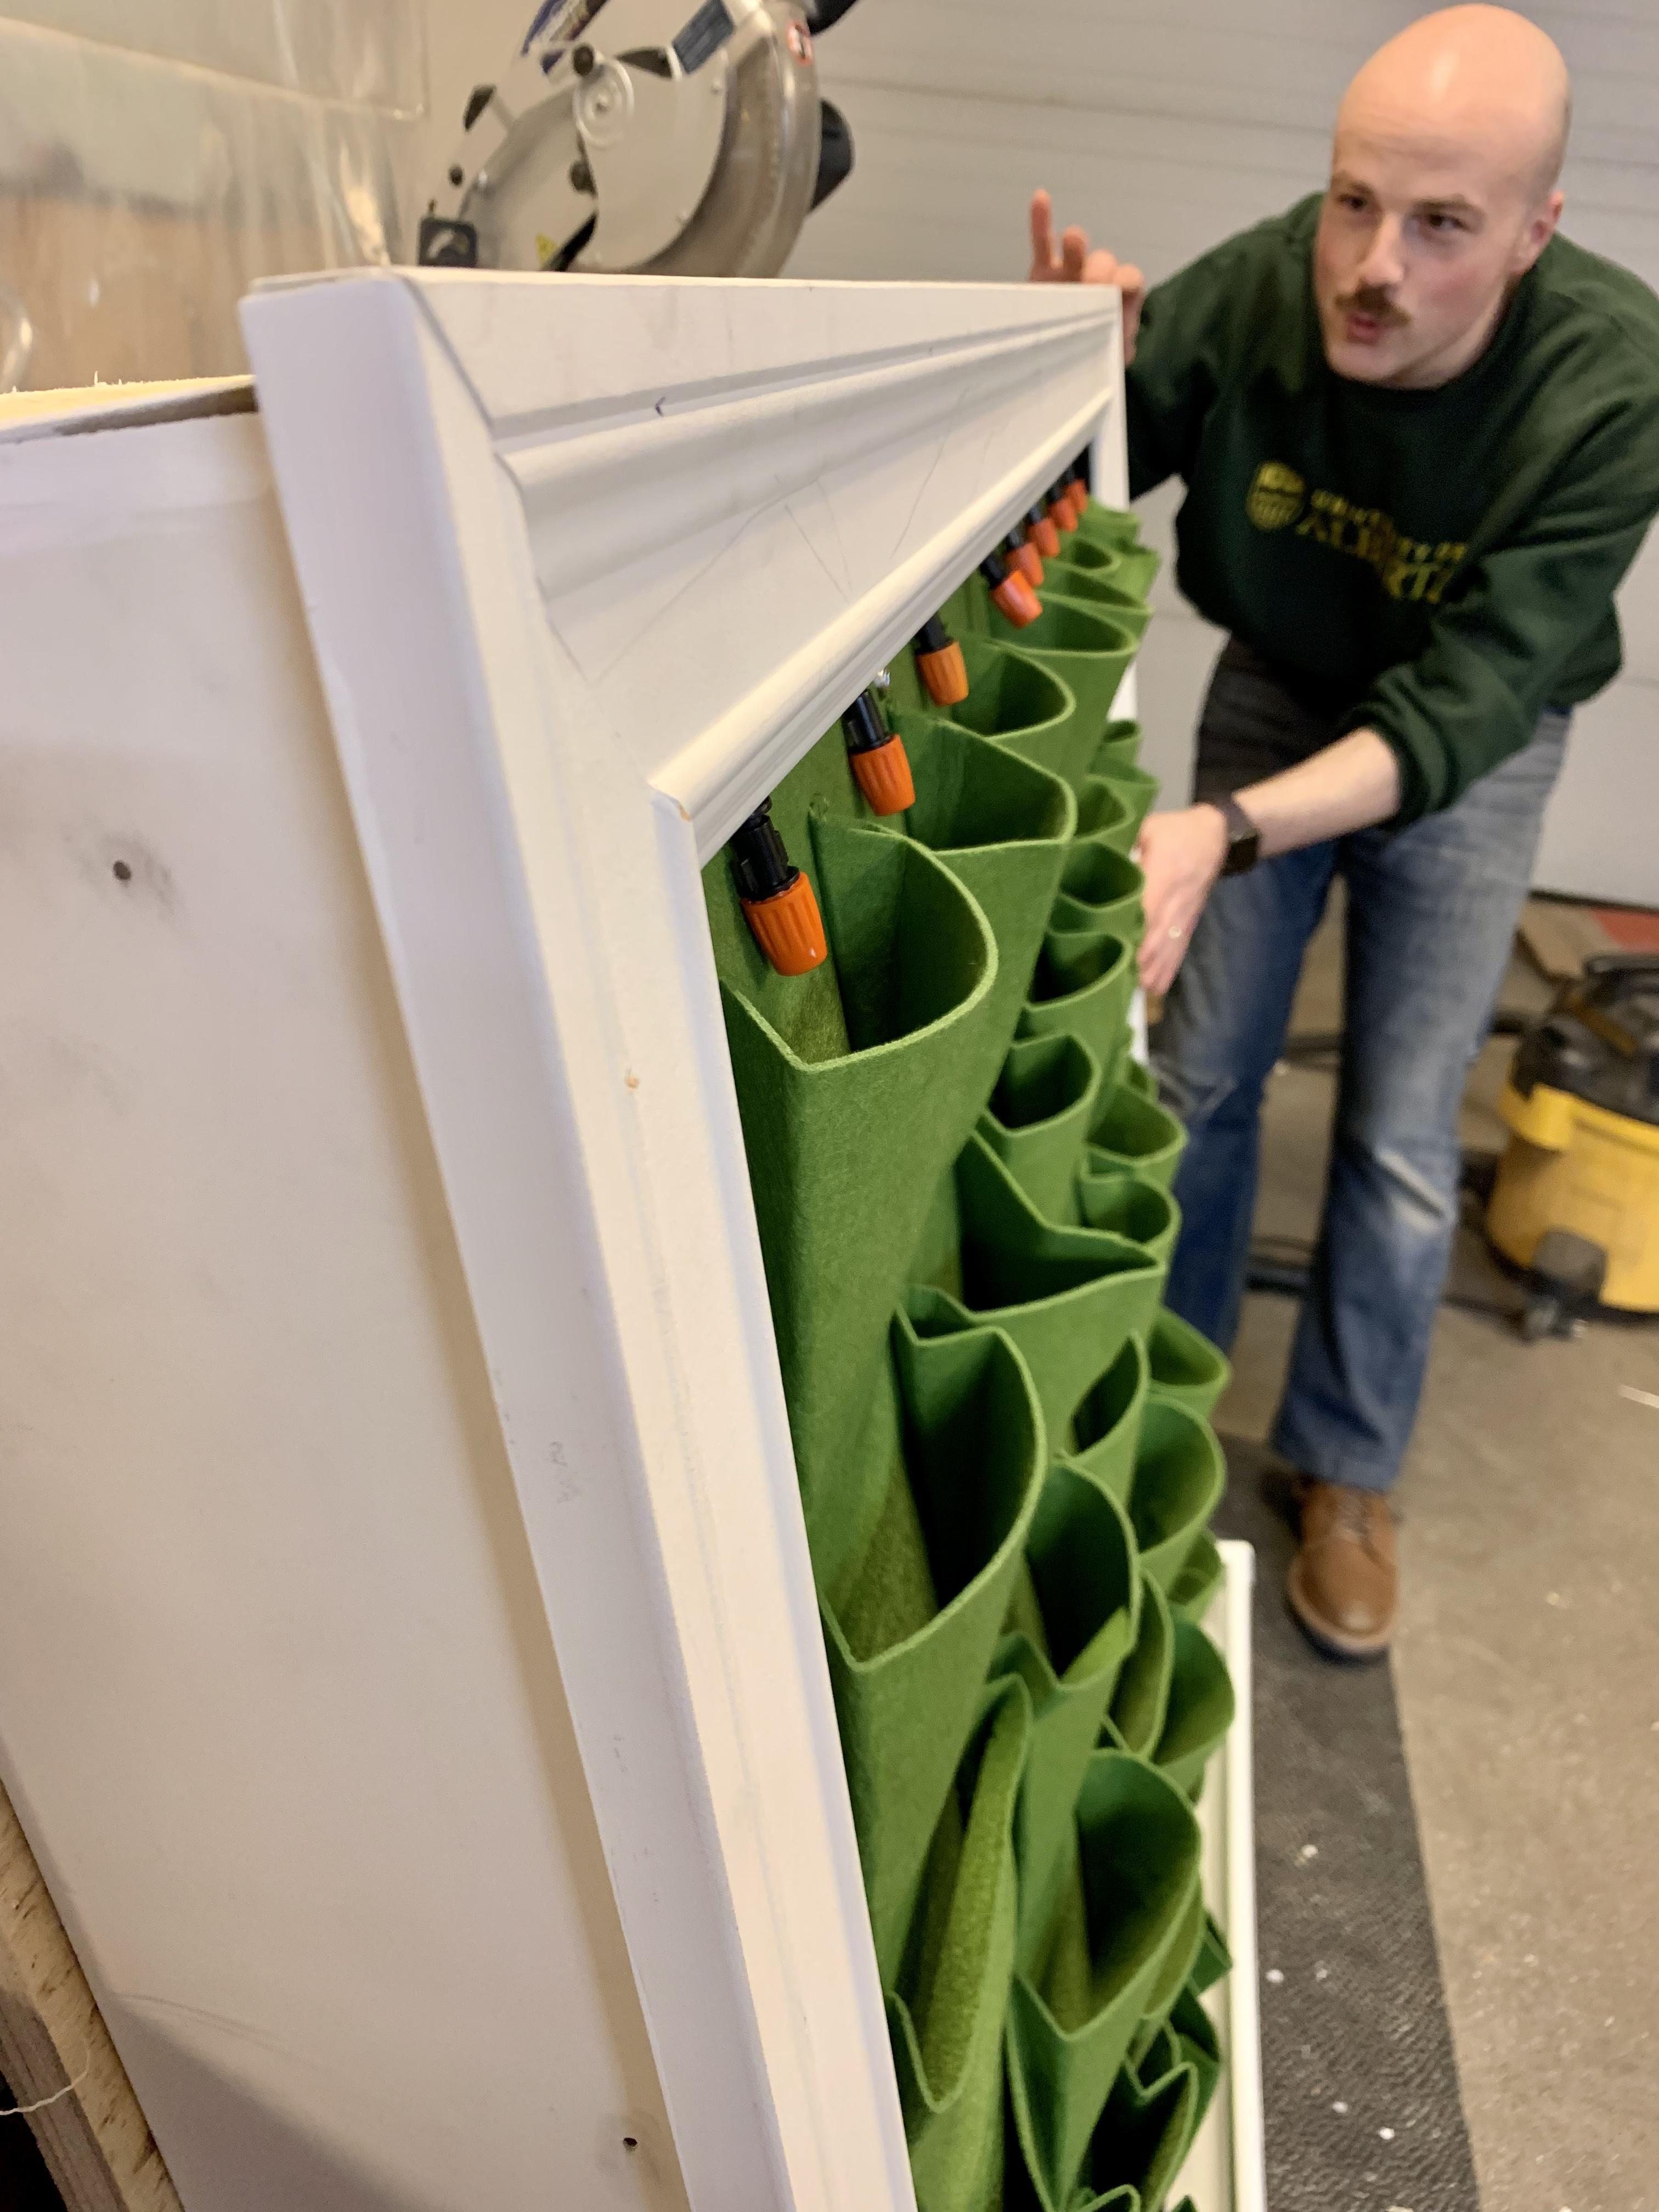
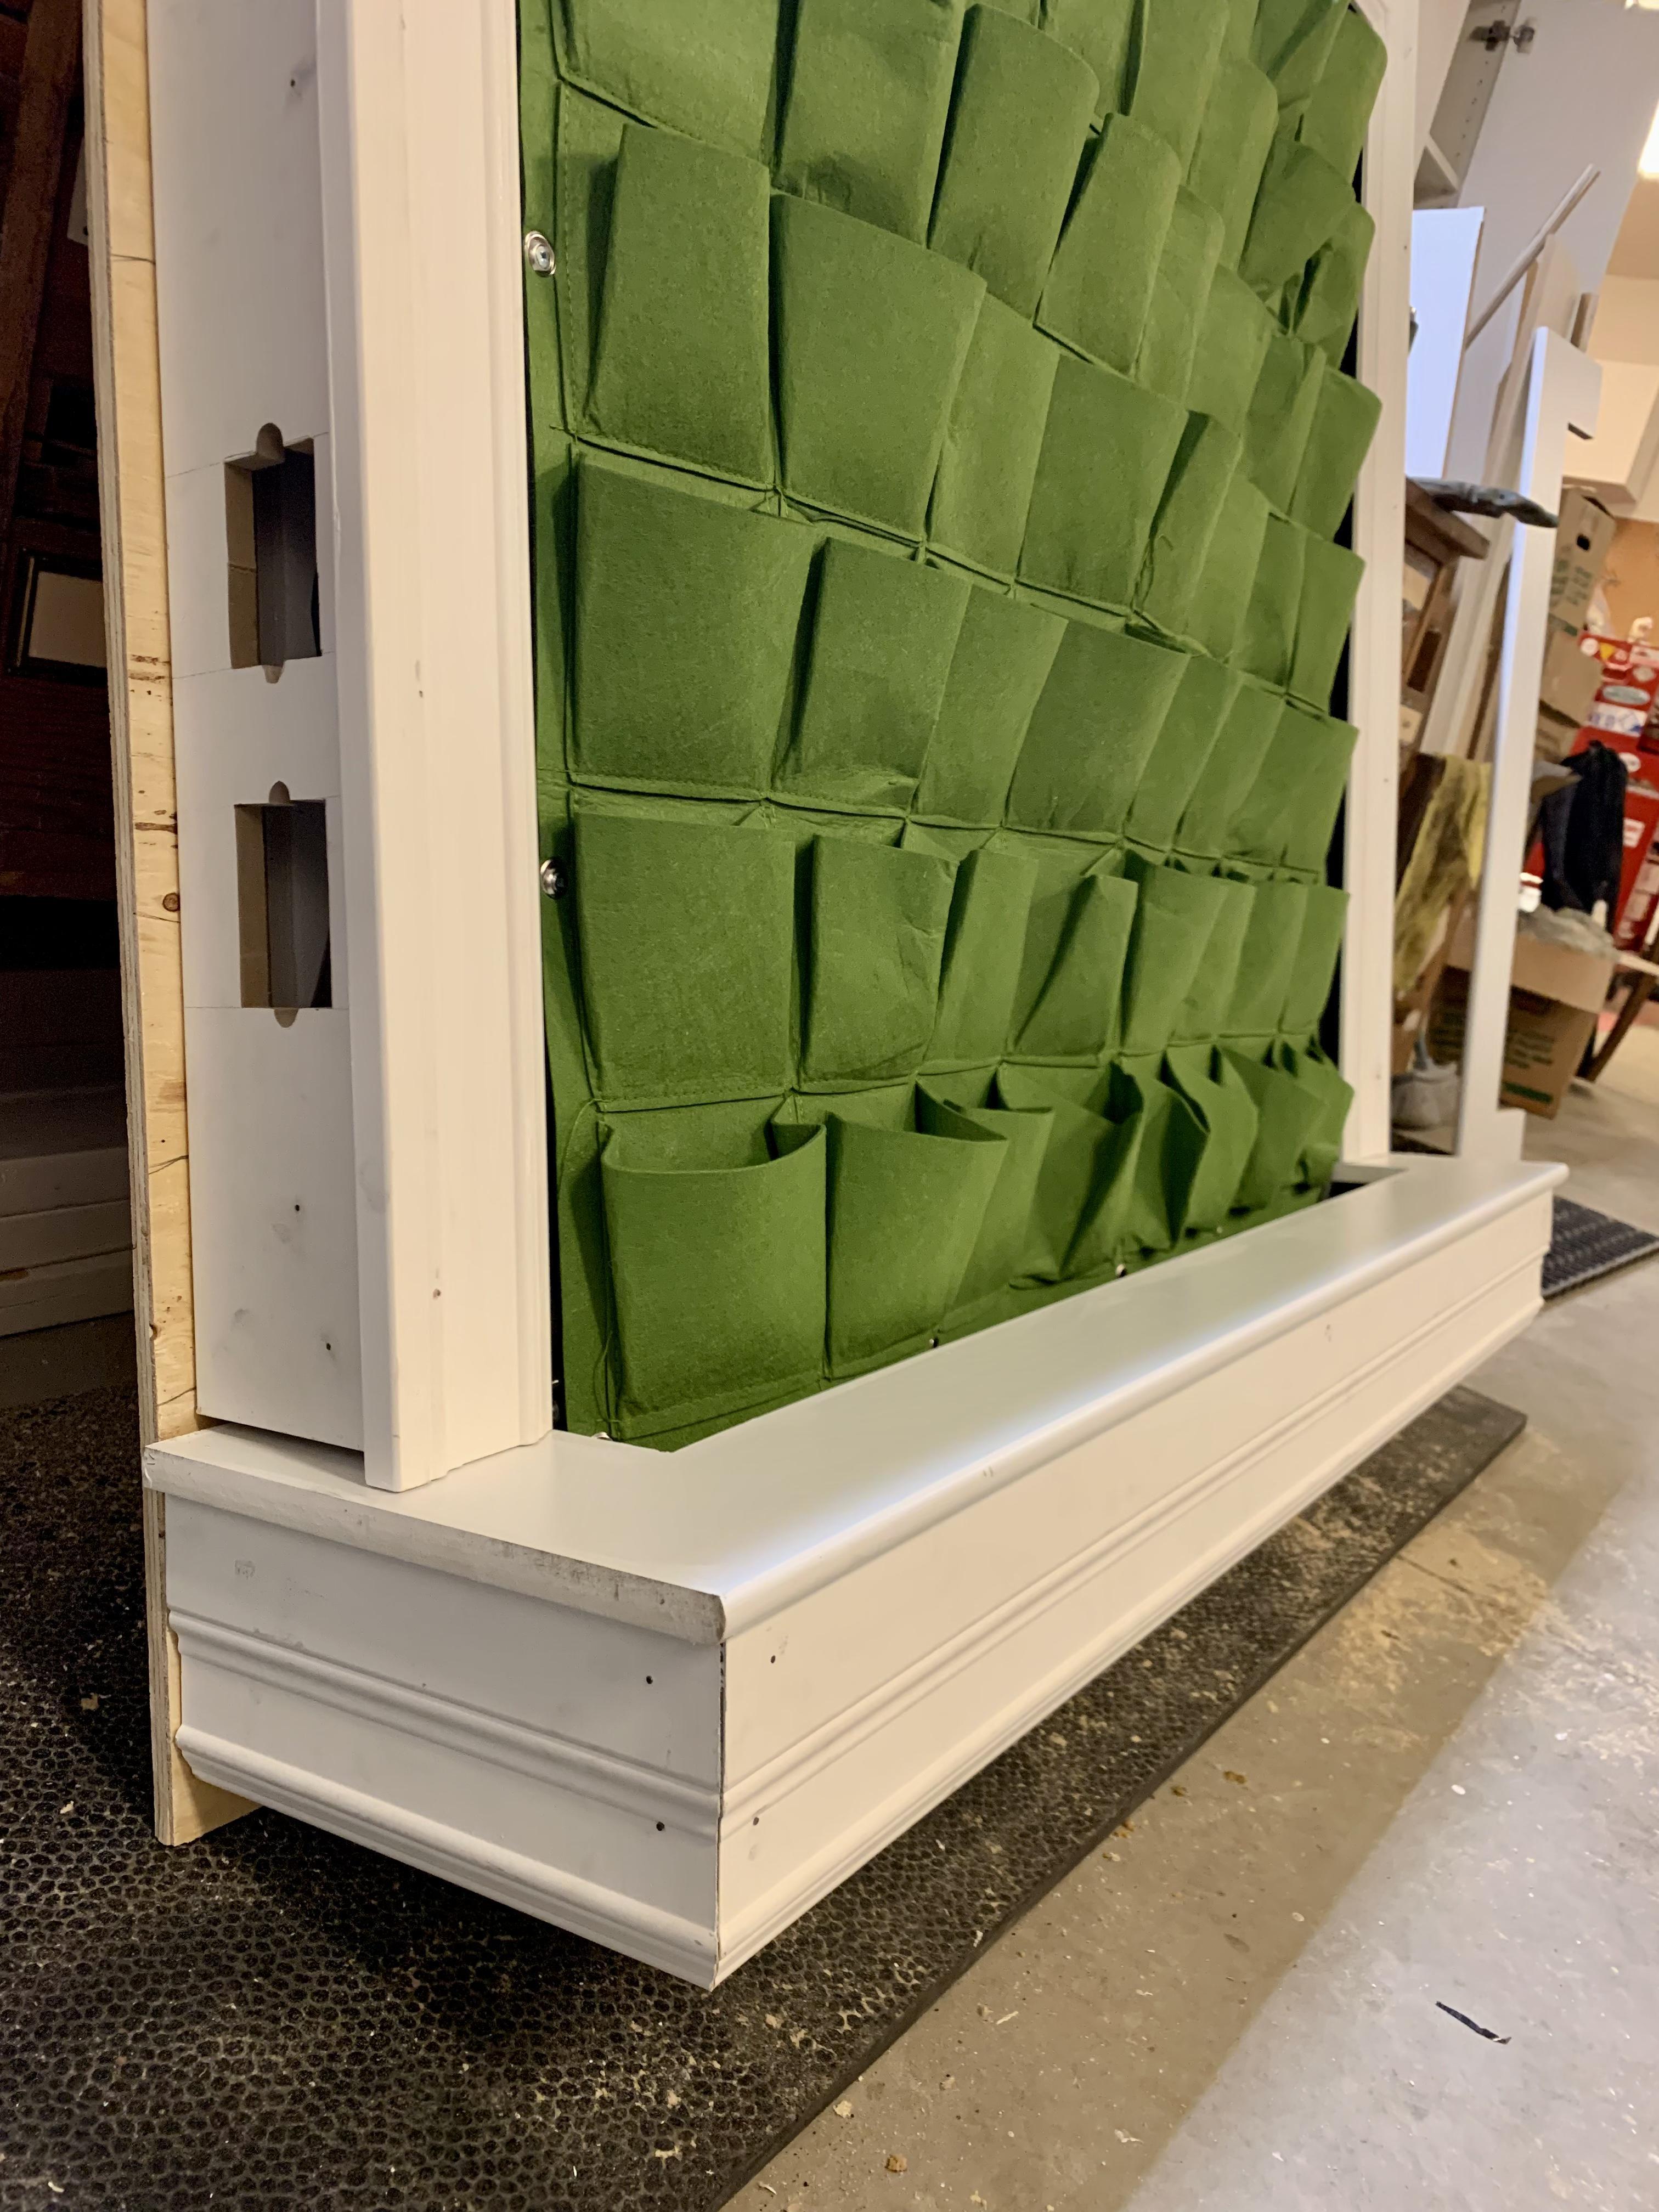
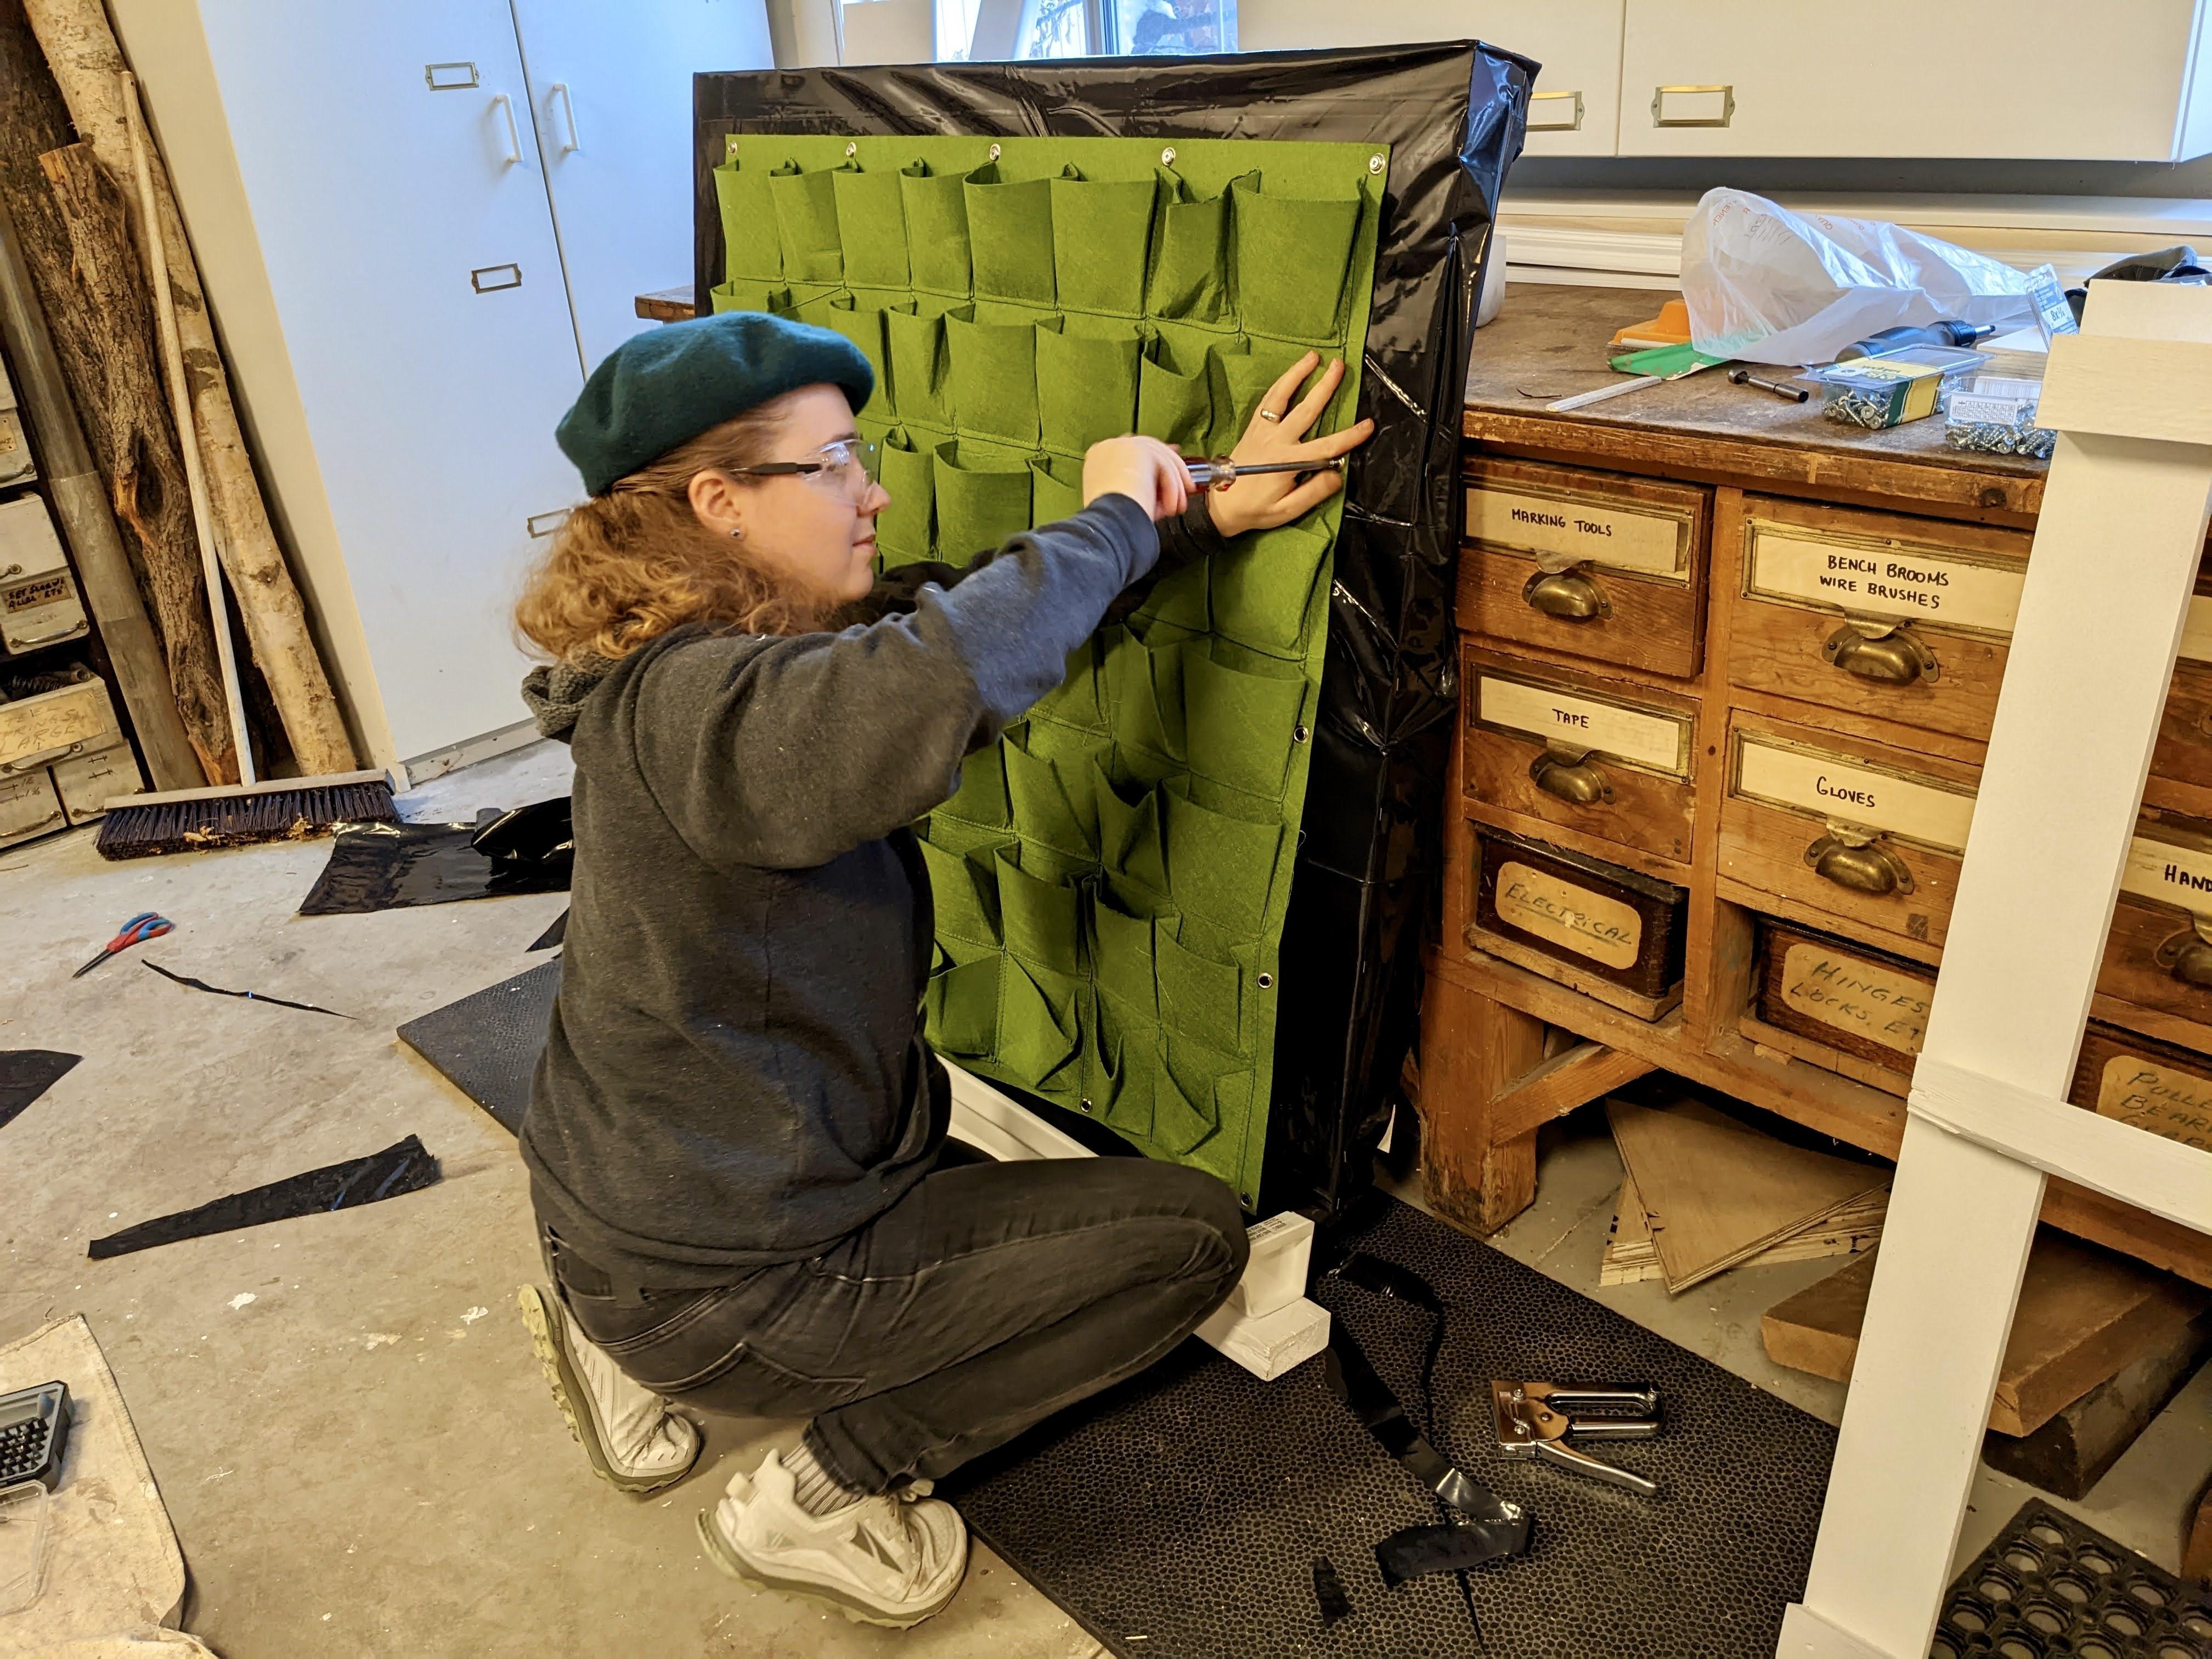
I'm really pleased with how much of the plant wall we were able to complete this weekend. This was my first time doing mitered corners, and they came out so clean. The sill at the base of the wall is removable to access the water... I'm actually surprised that we were able to get the tolerances right so that you can slide the base cover off.
What remains:
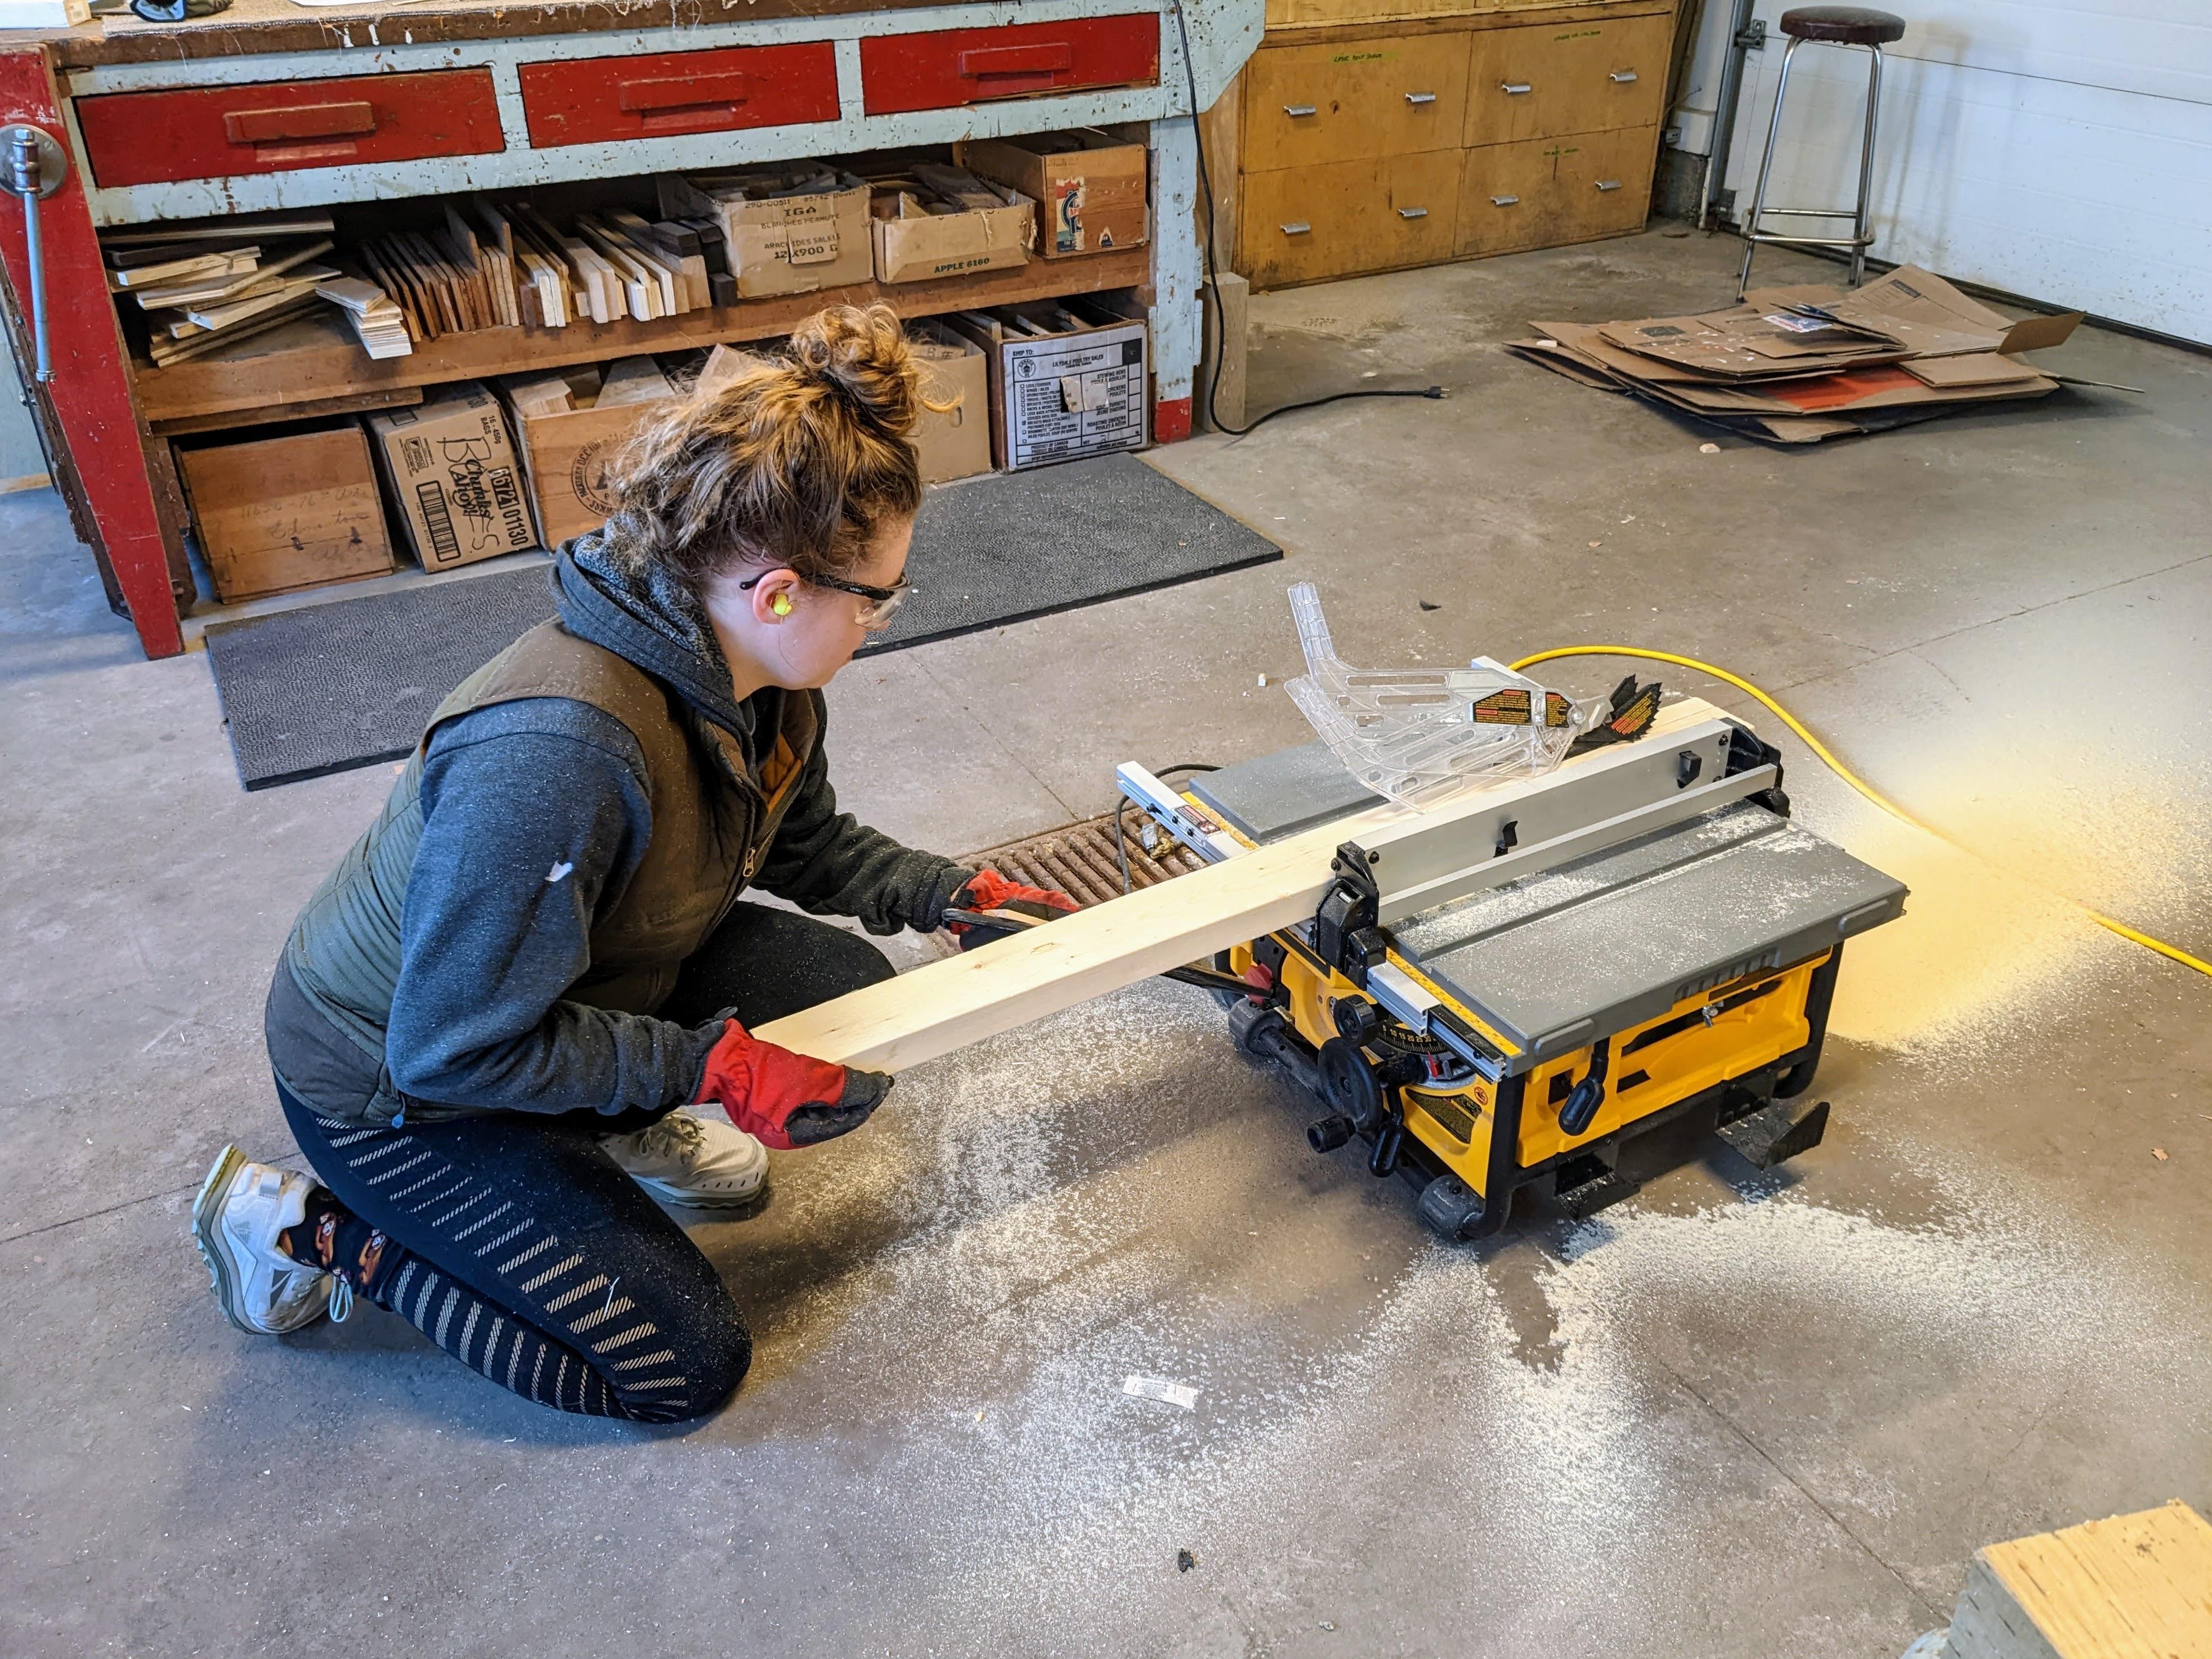
Making some progress on the plant wall!
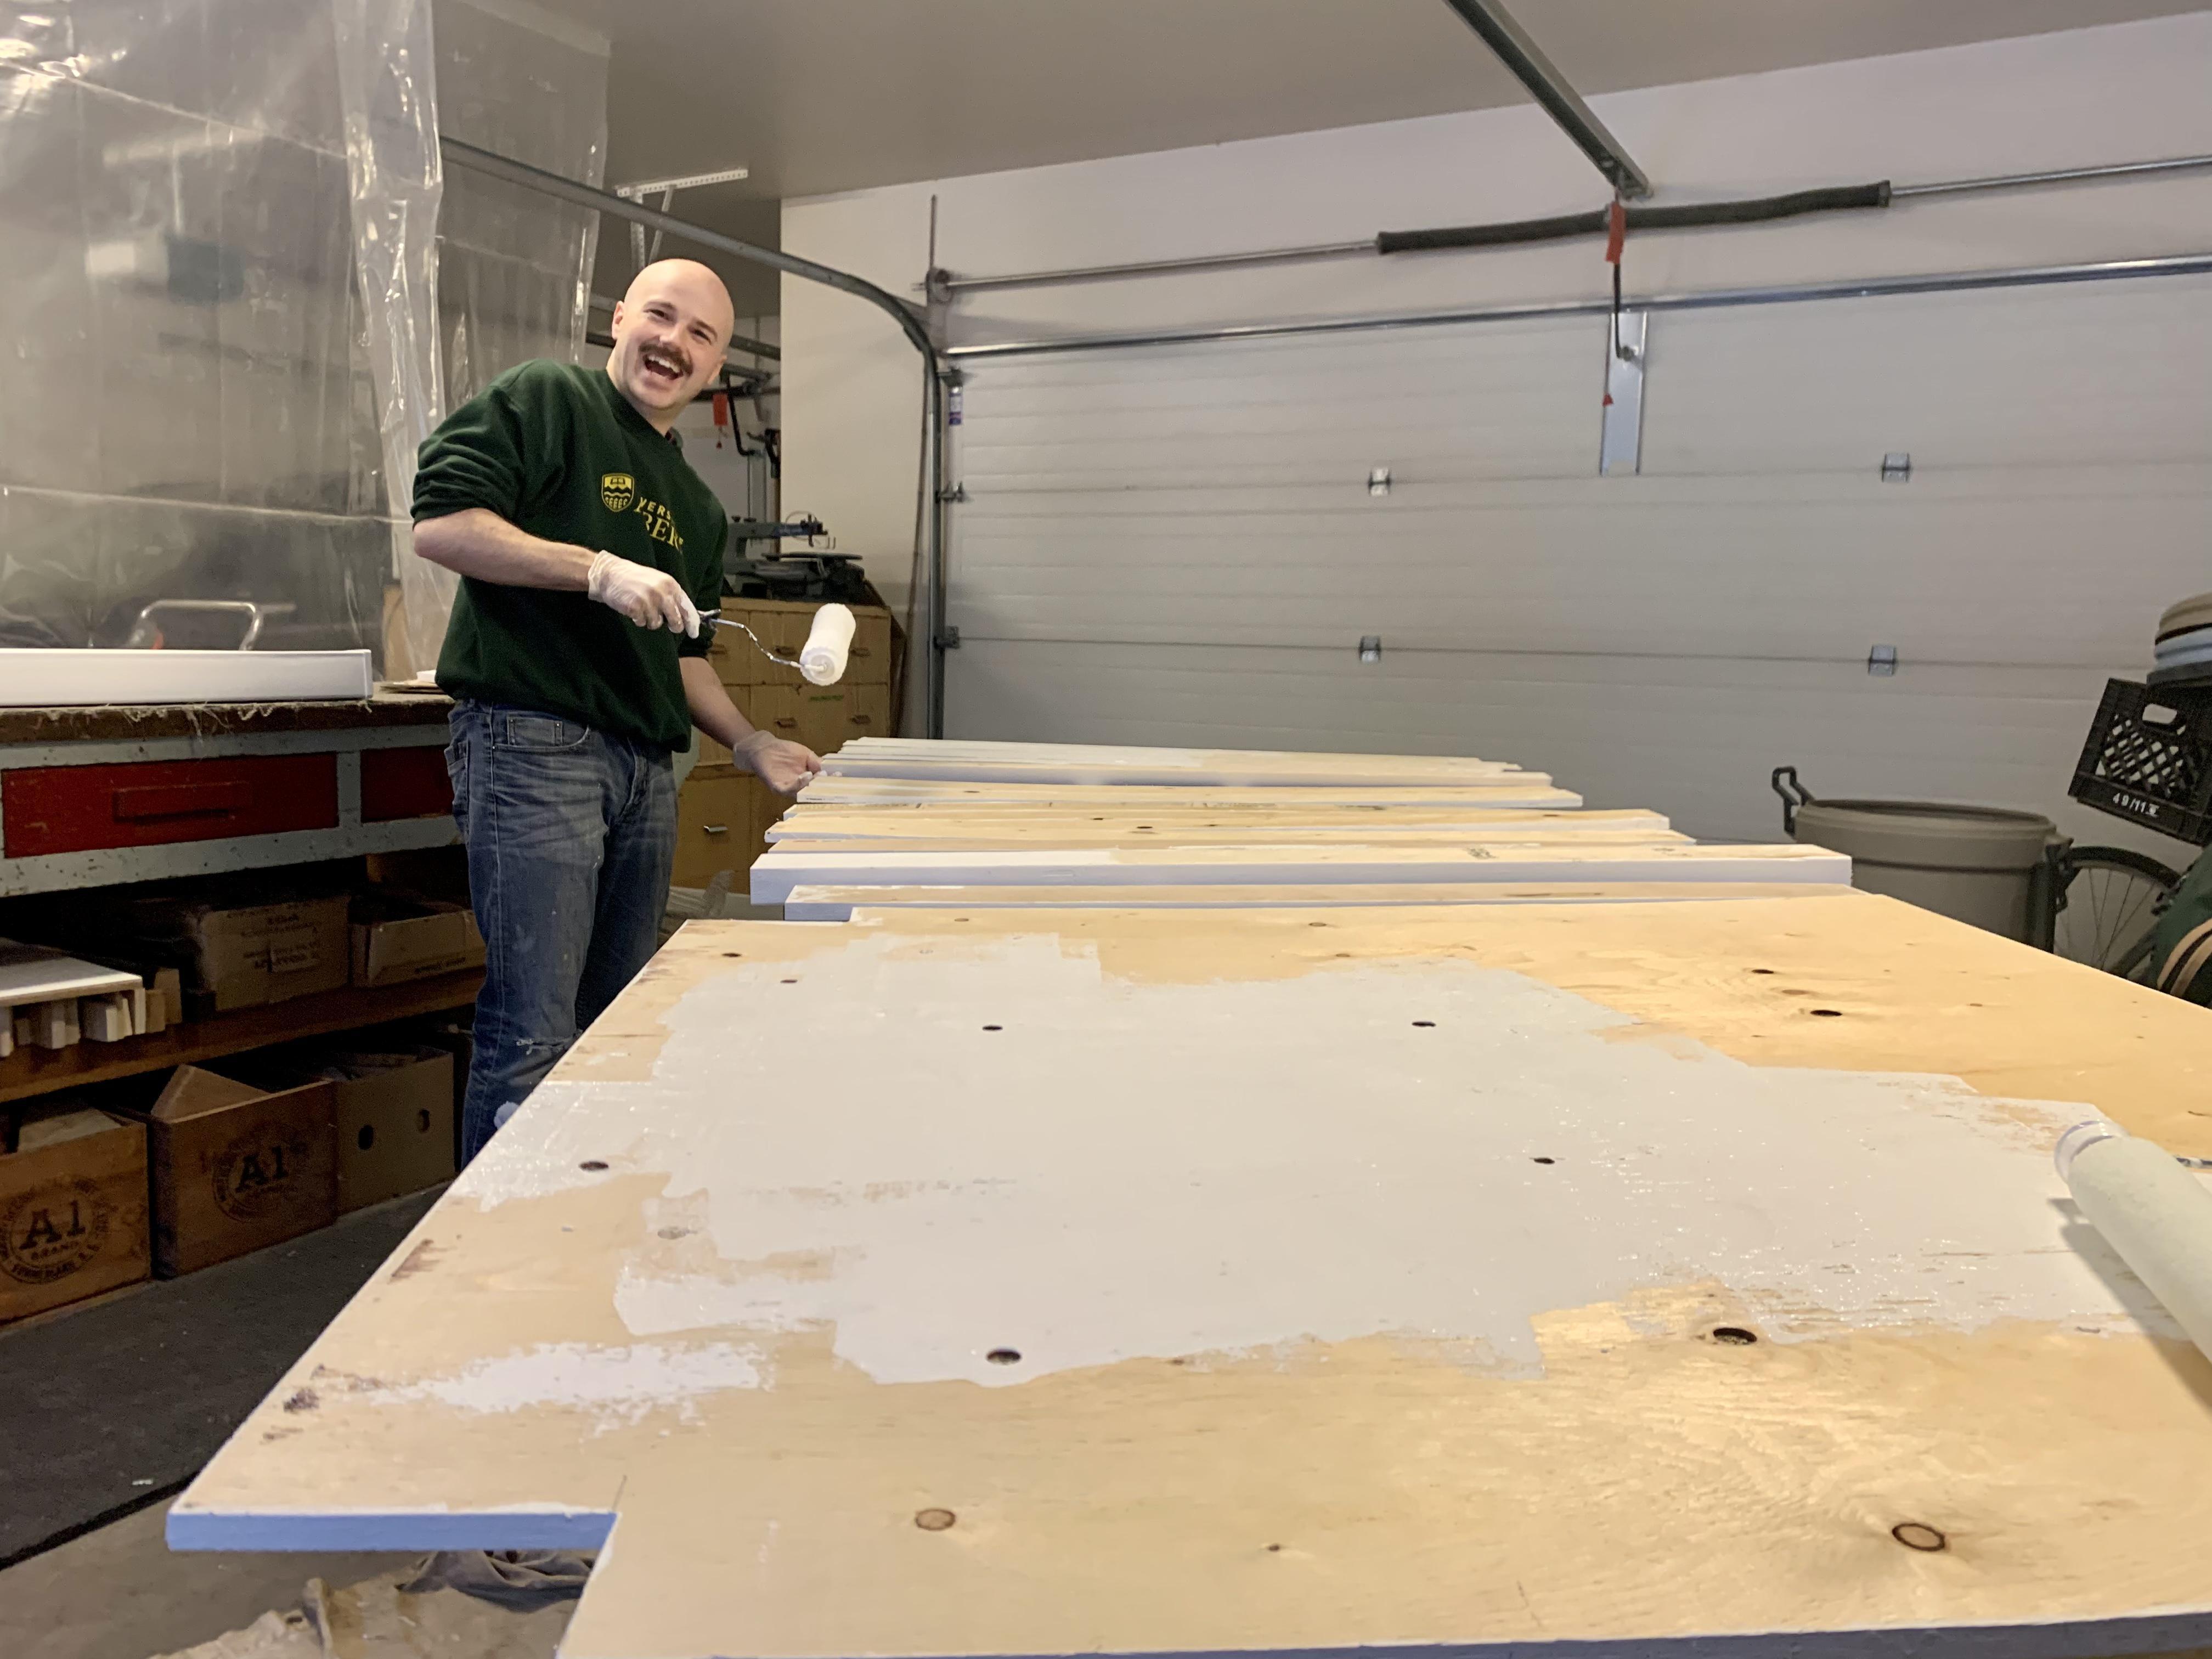
Still need to figure out how to mount the lighting to the whole system. Hopefully we finish the trim tomorrow.


CAD-ing up a plant-wall for my living room. I'm going to put a felt panel filled with tropical plants on the wall. Thinking of using rail lights to give the plants the 'sunlight' they need. I'll use a gutter as a reservoir at the base, and drip-irrigate the plants with an aquarium pump.
If all goes well, it should be fully self-sustaining!
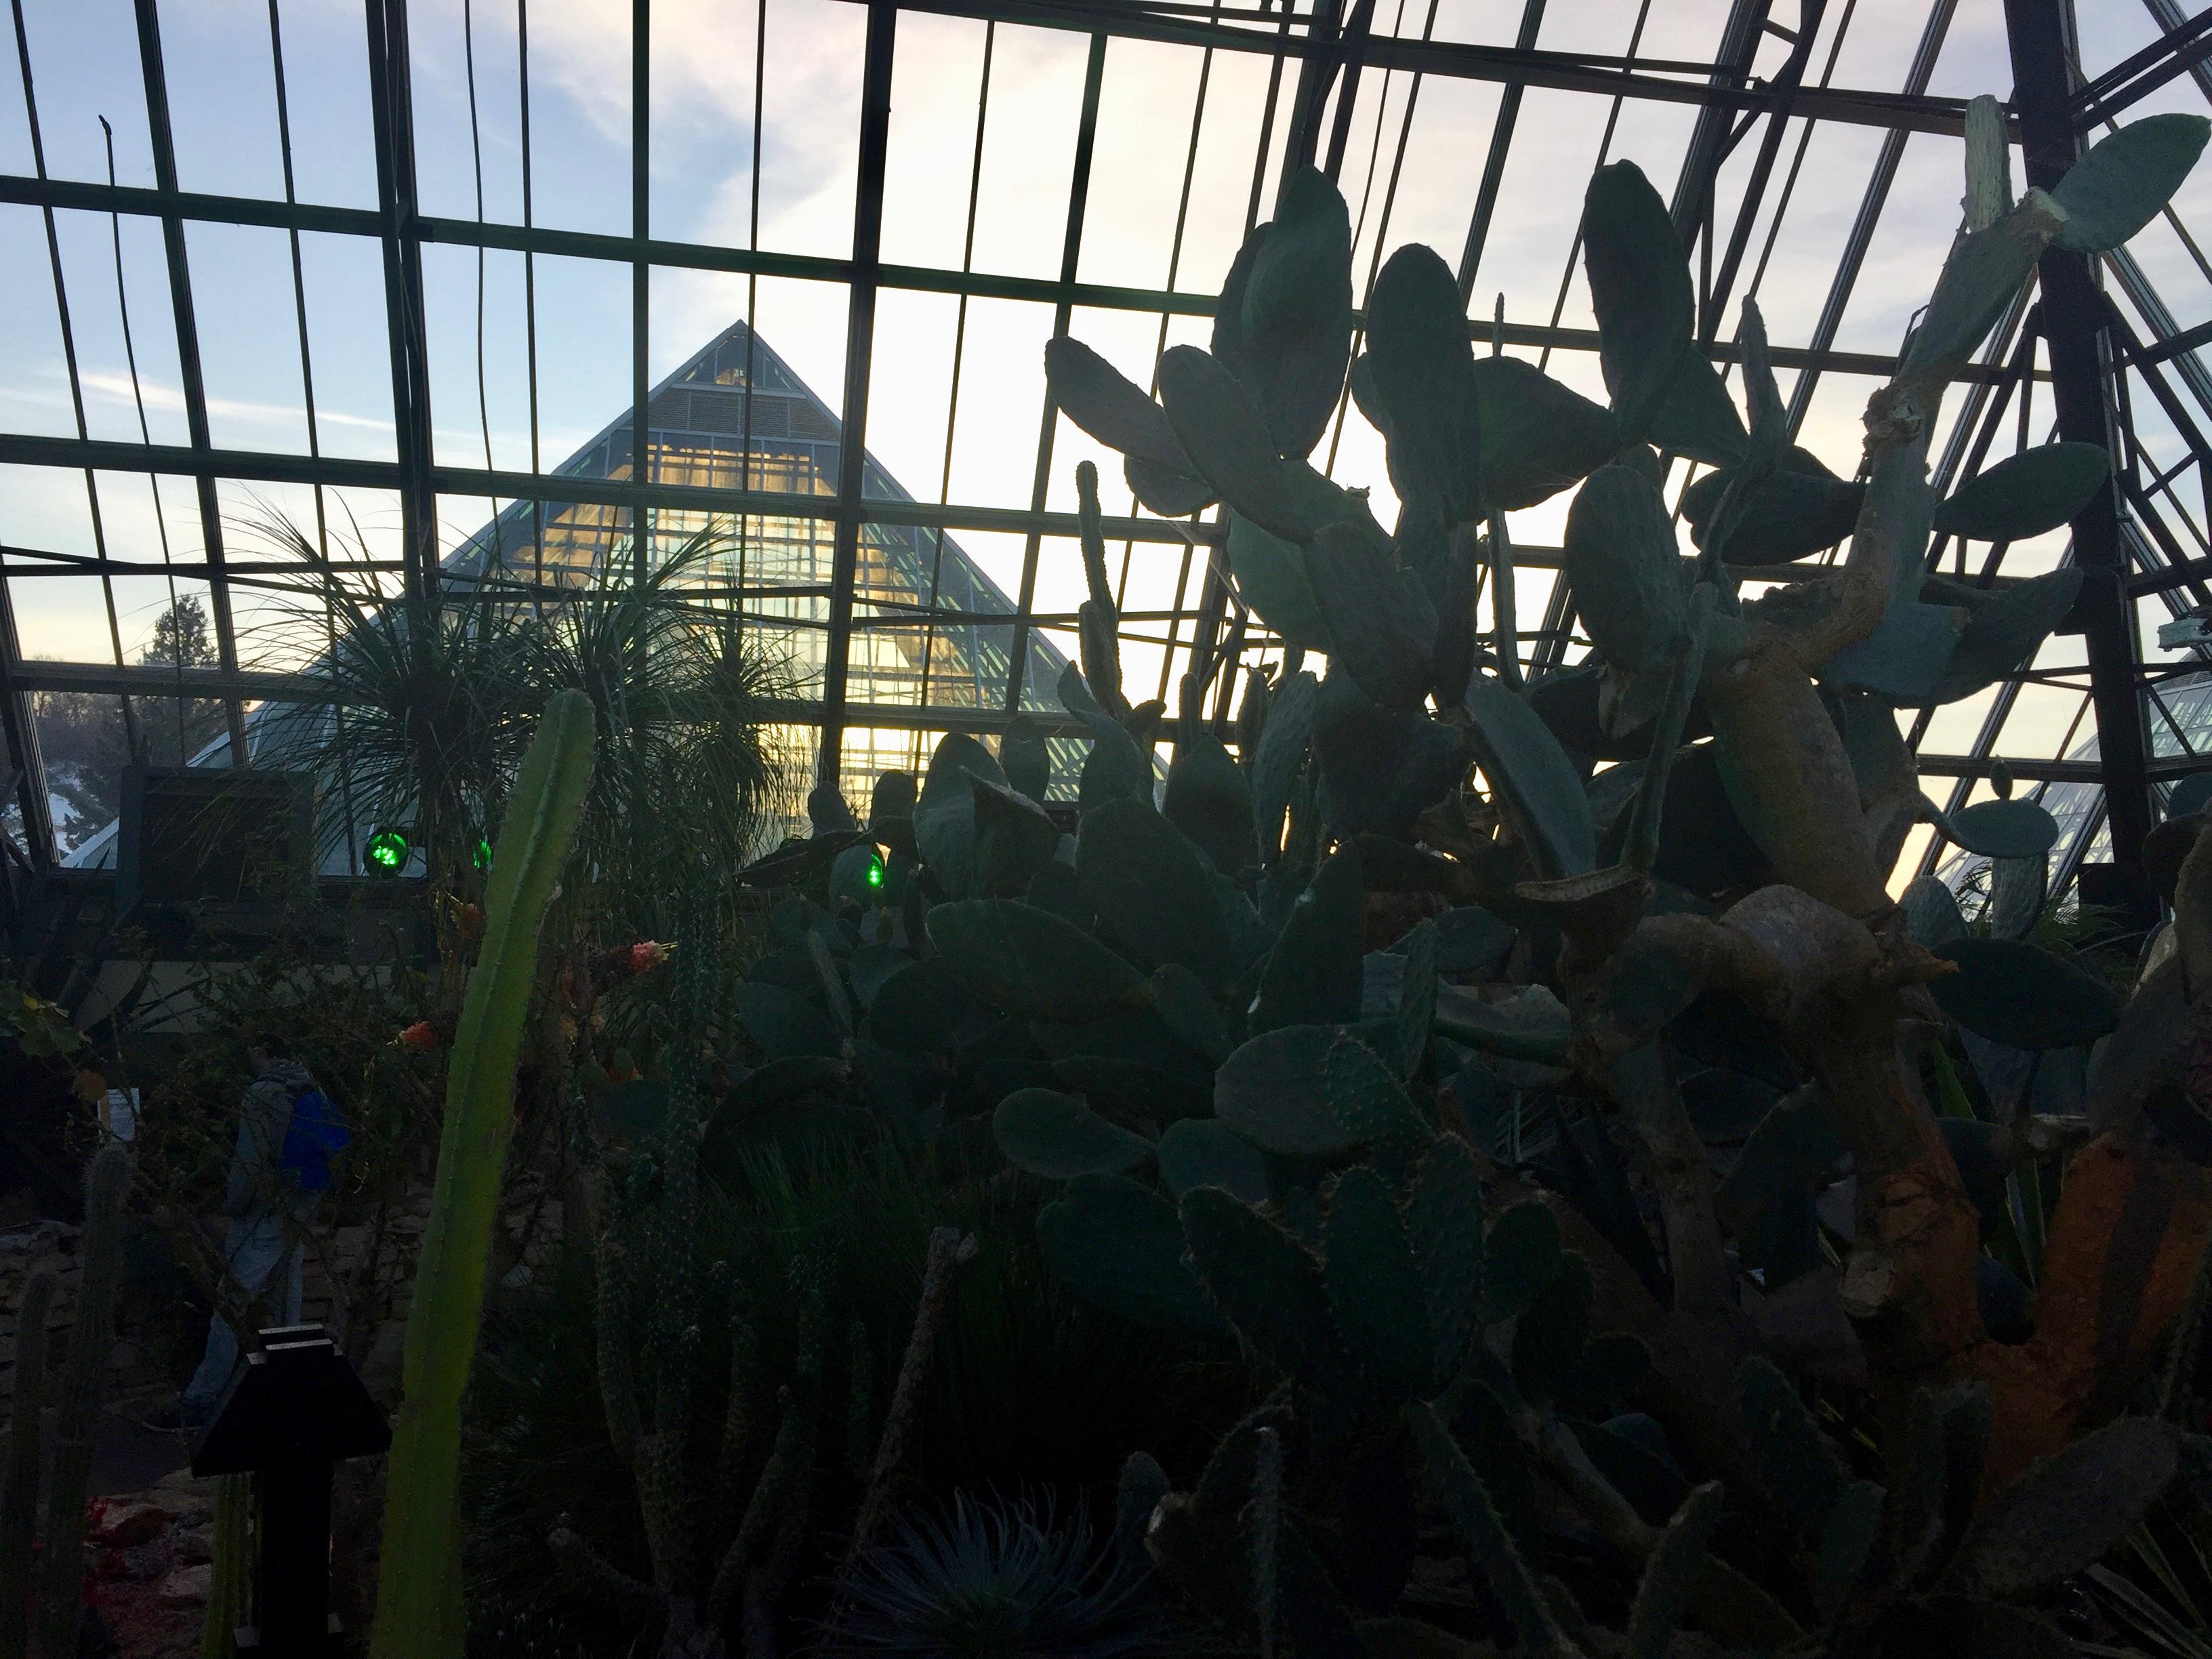
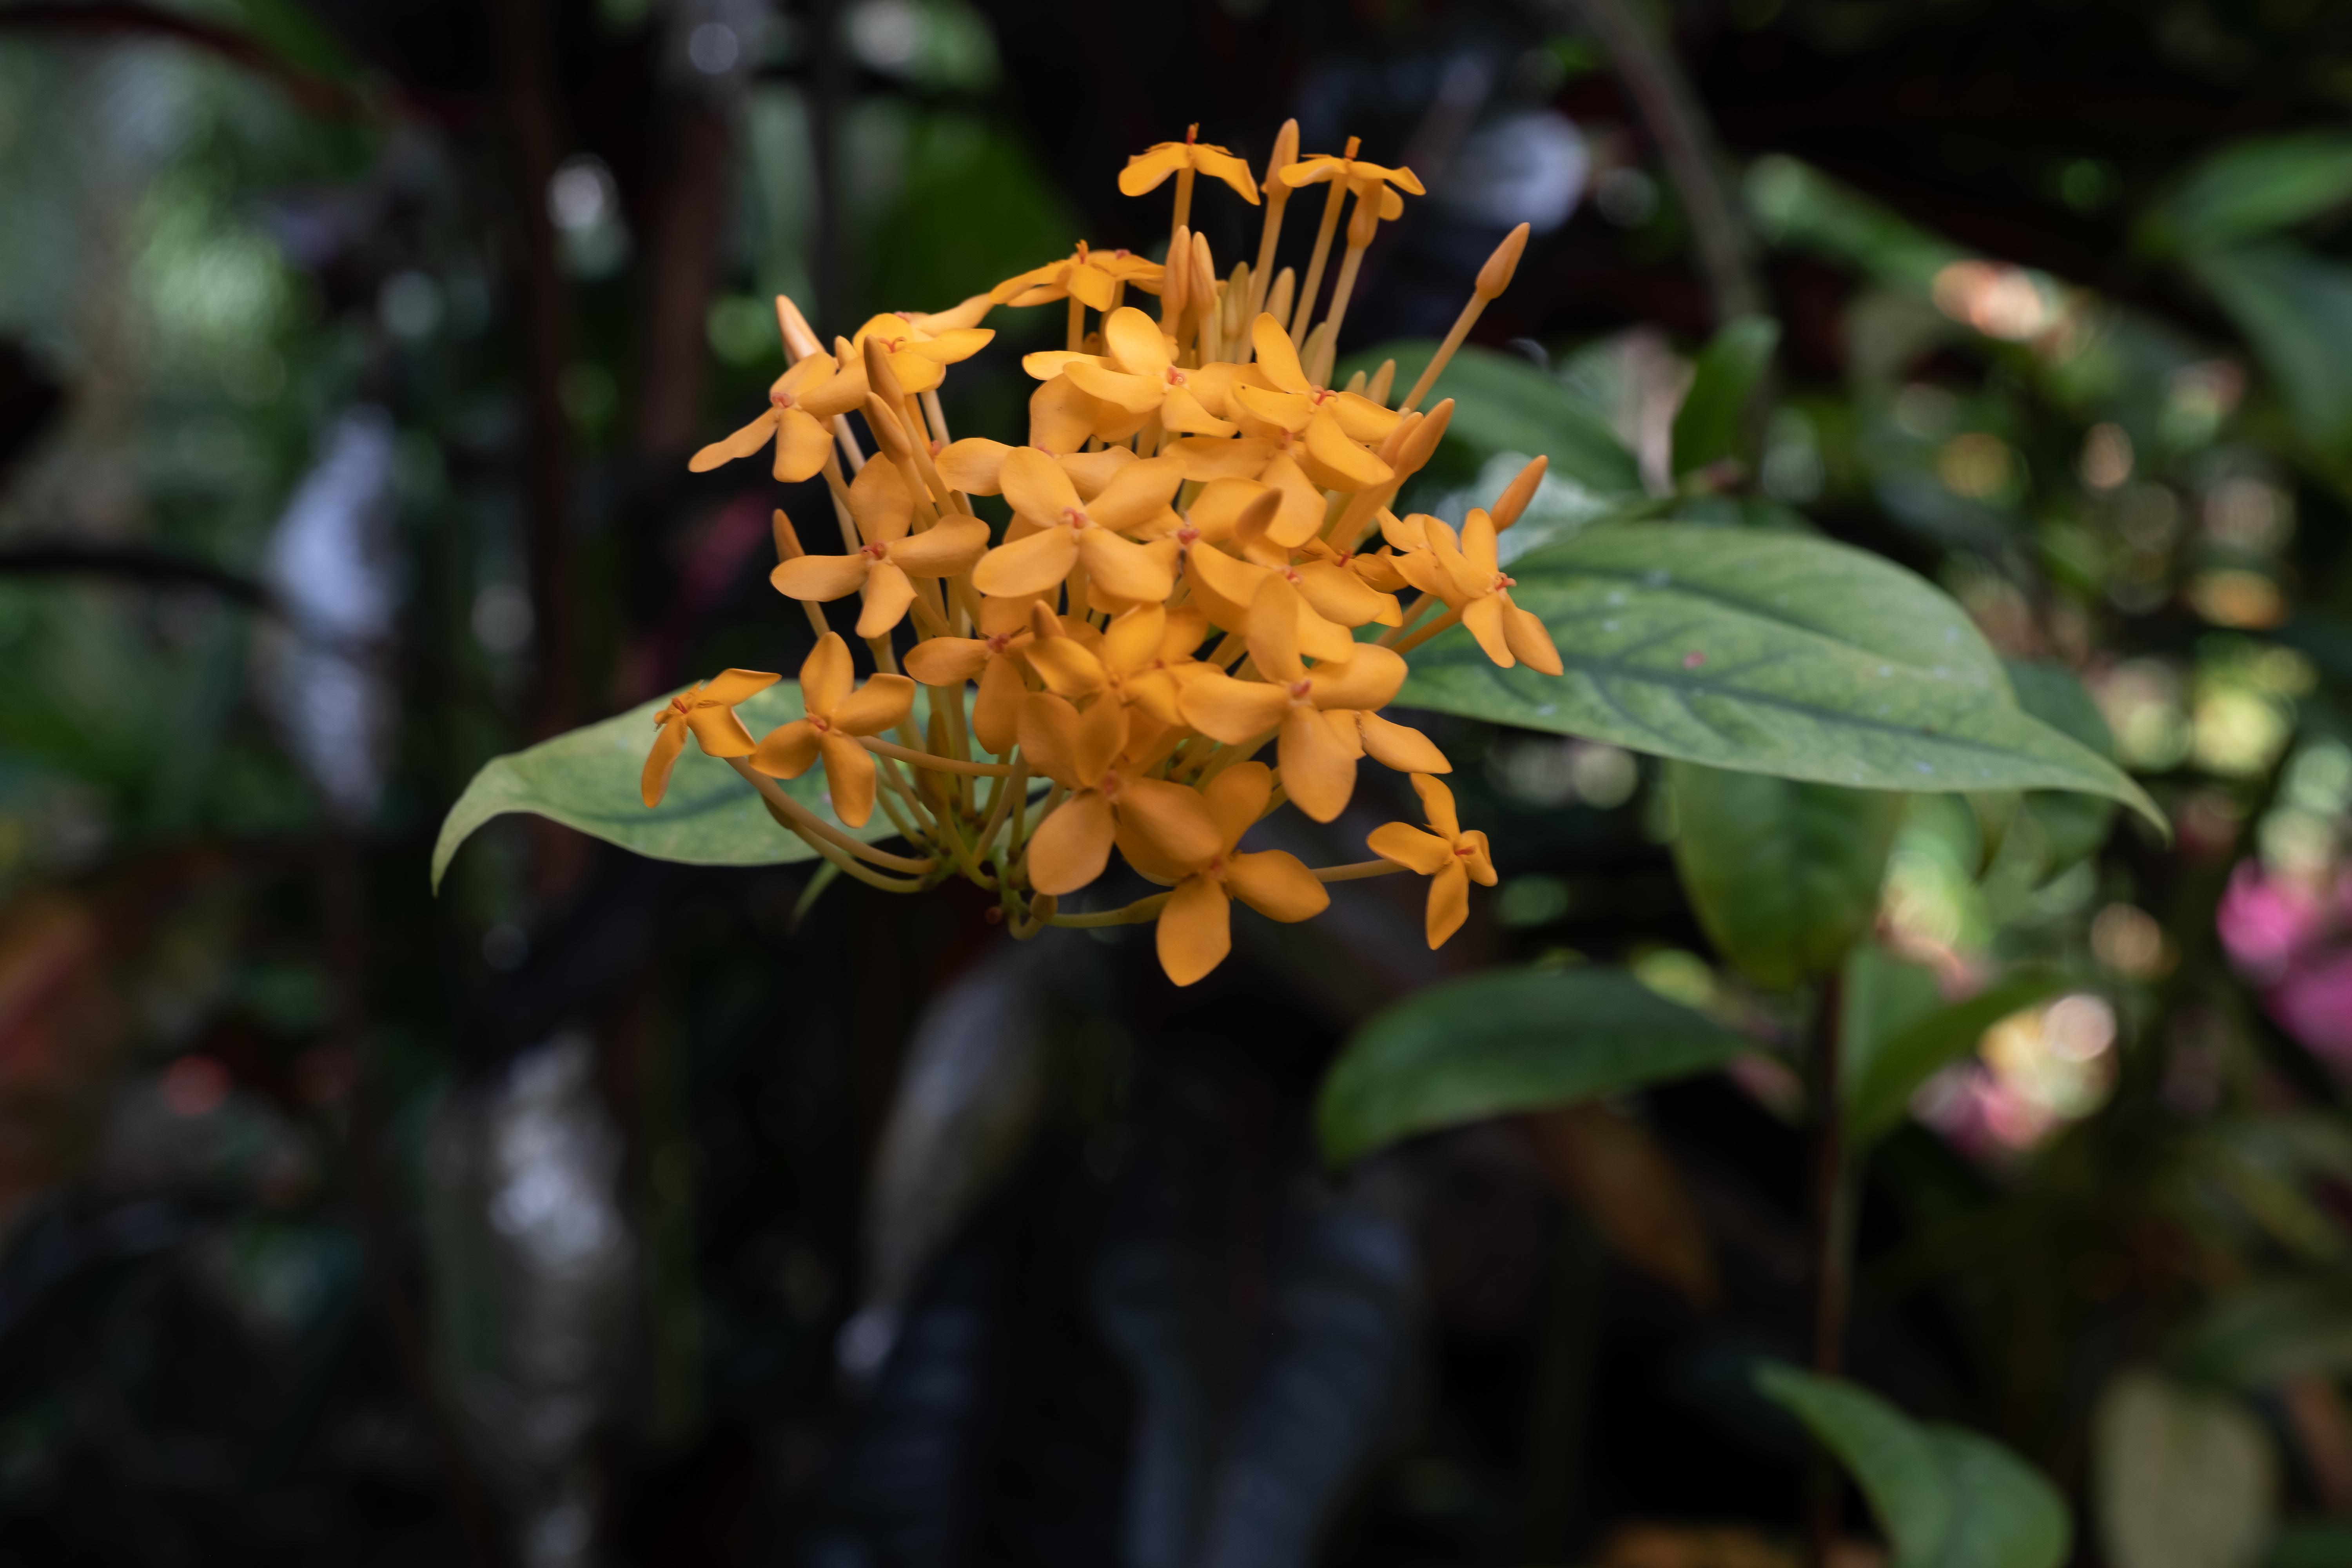
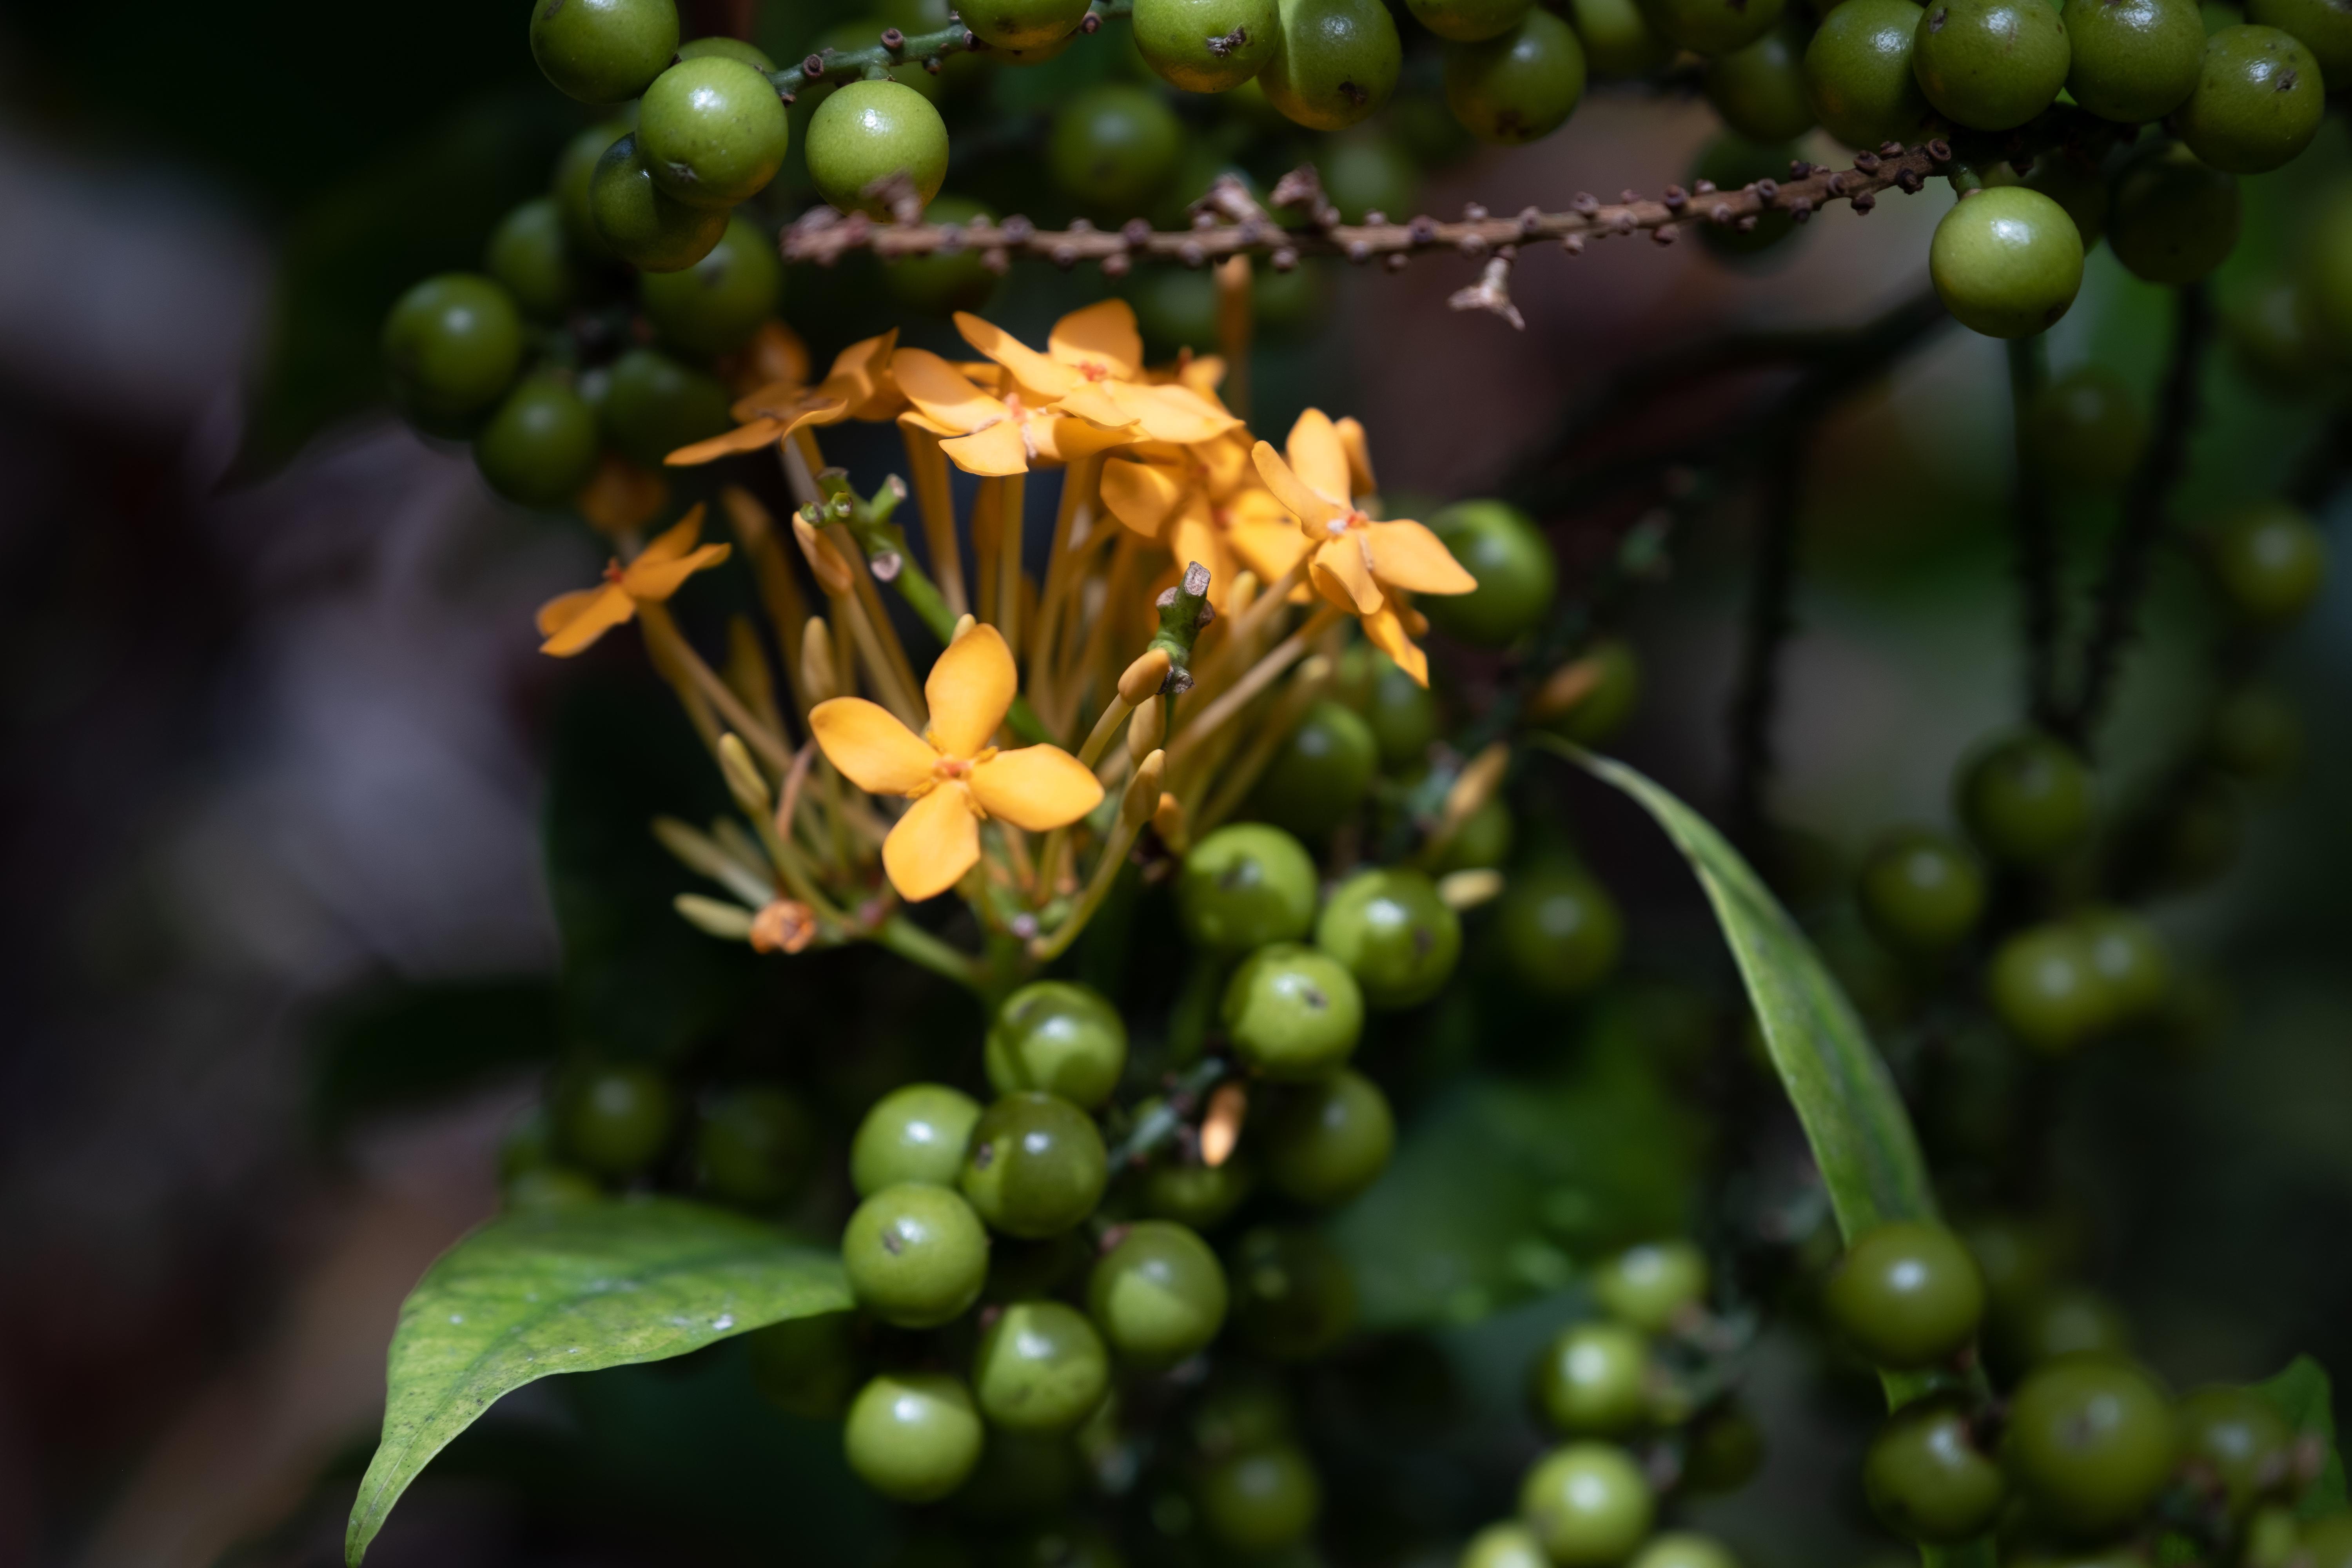
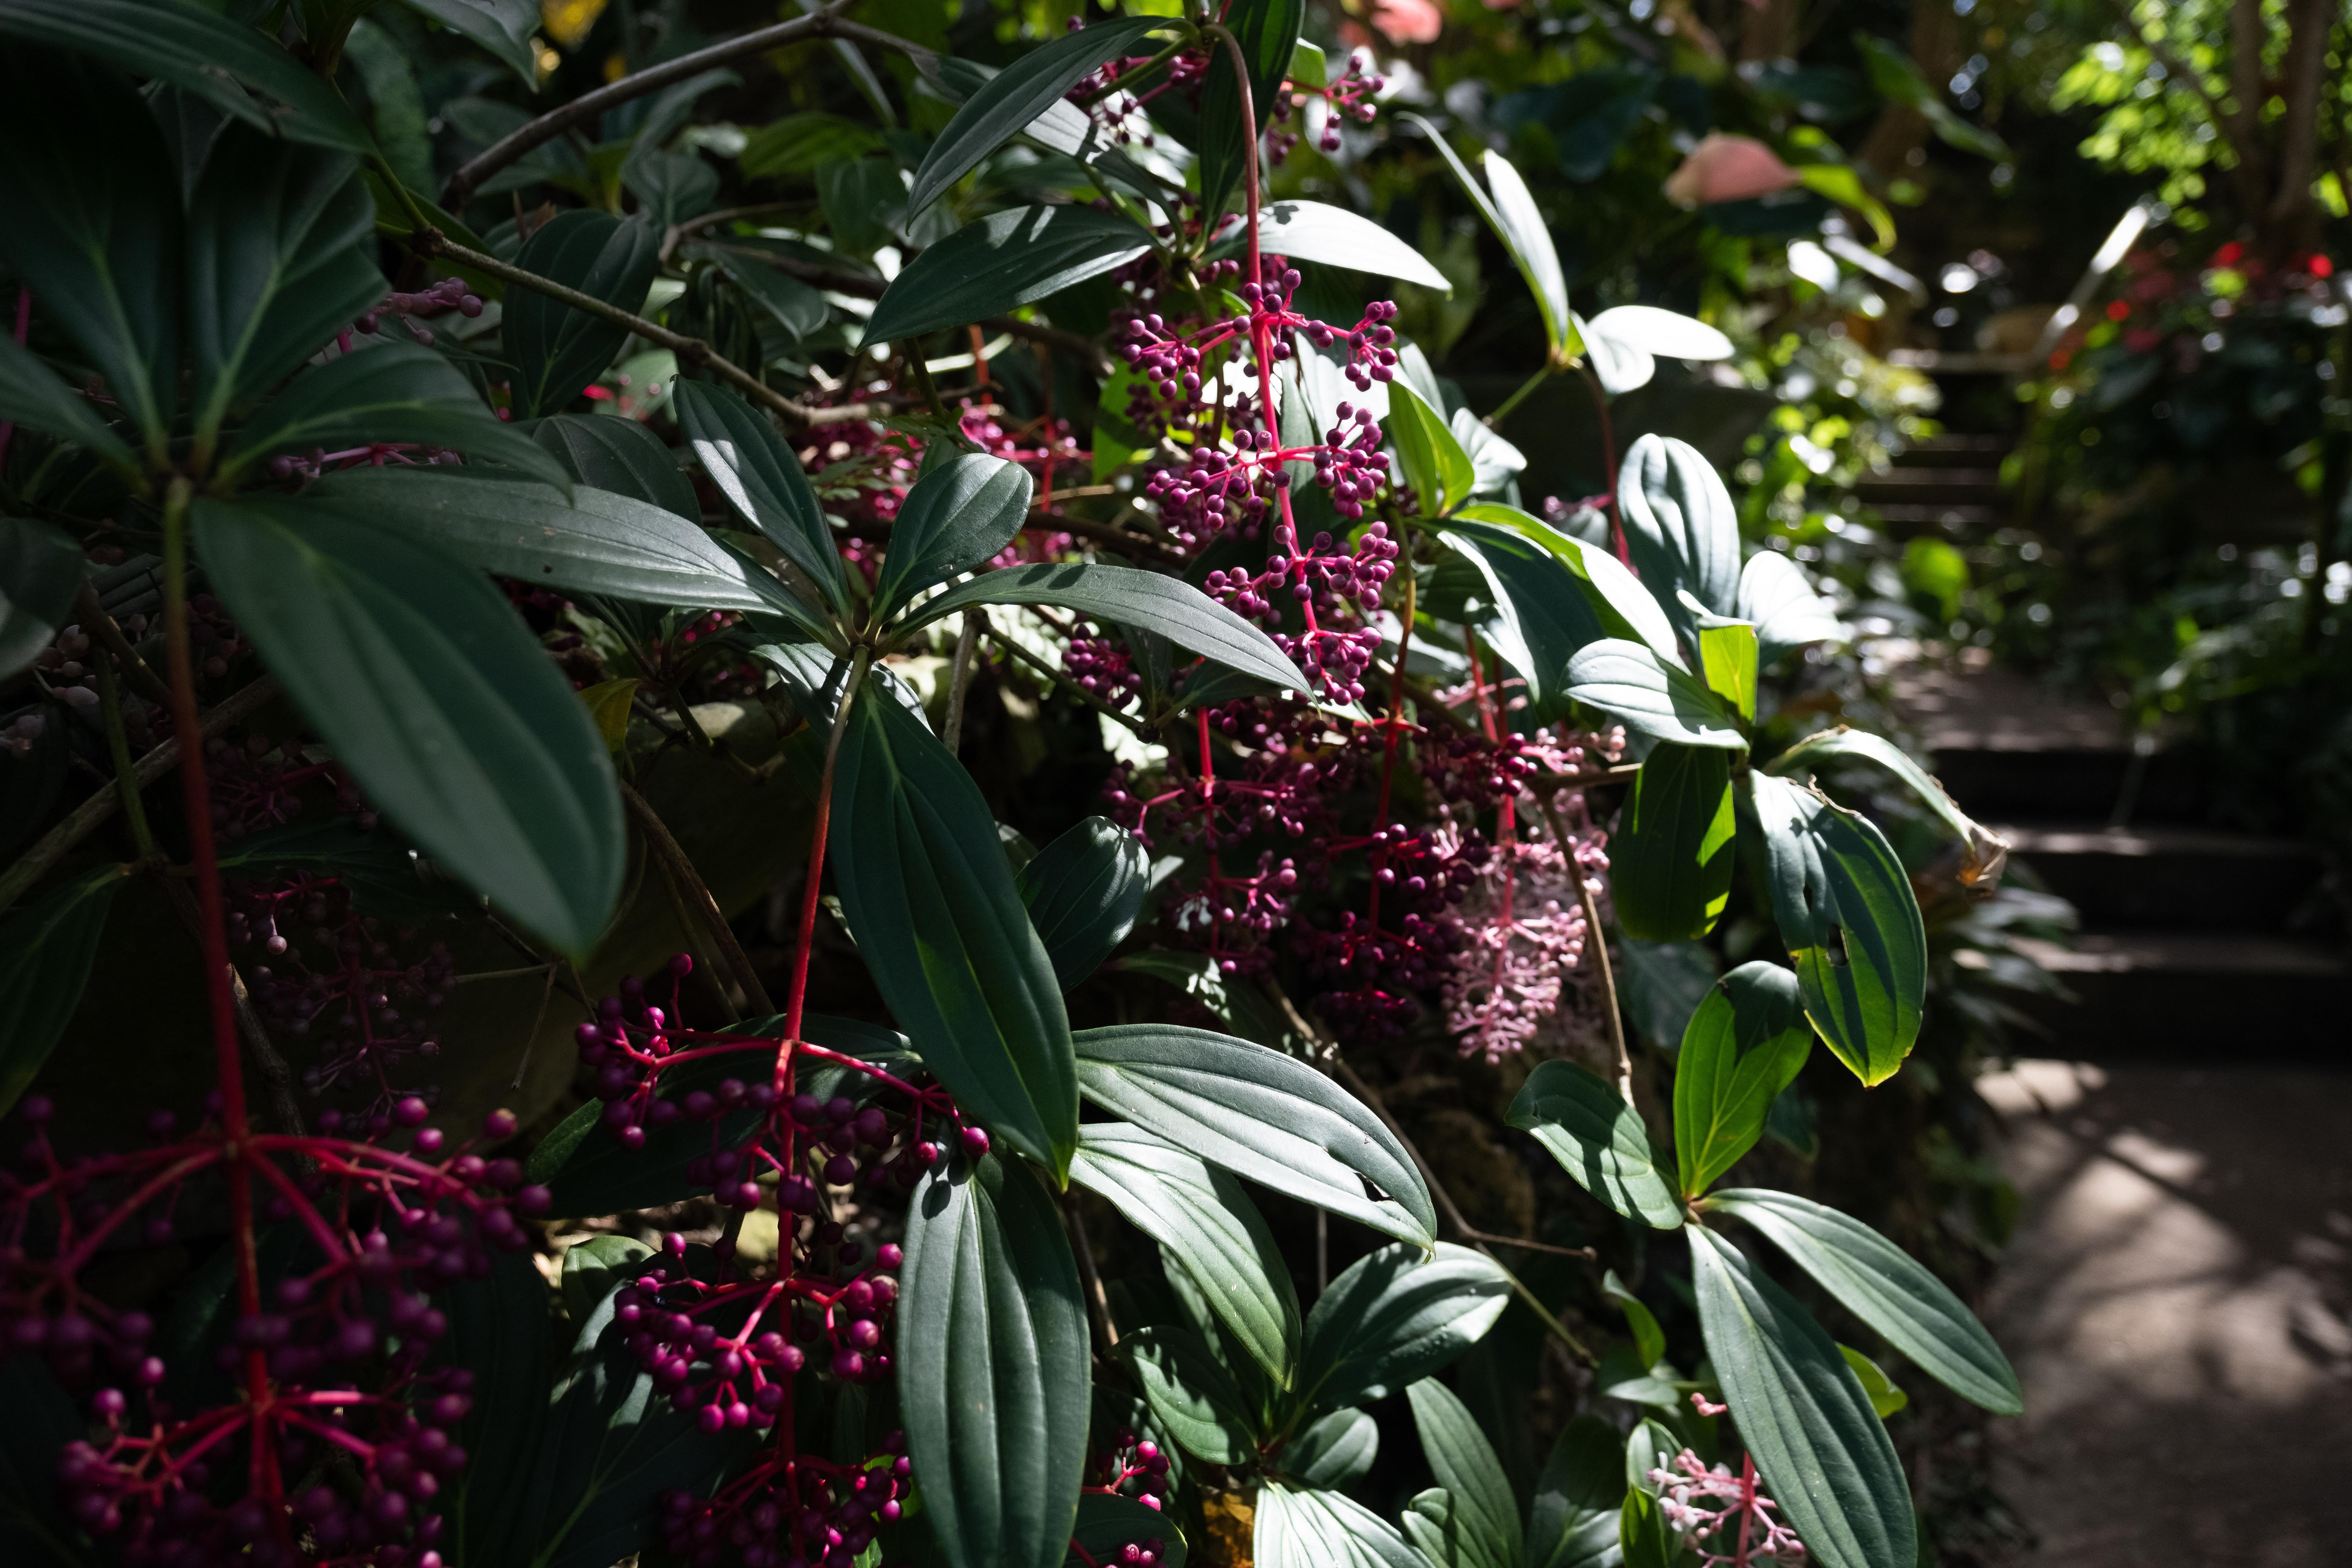
I went to a garden show. Genre: horror.
Bean becomes sprout
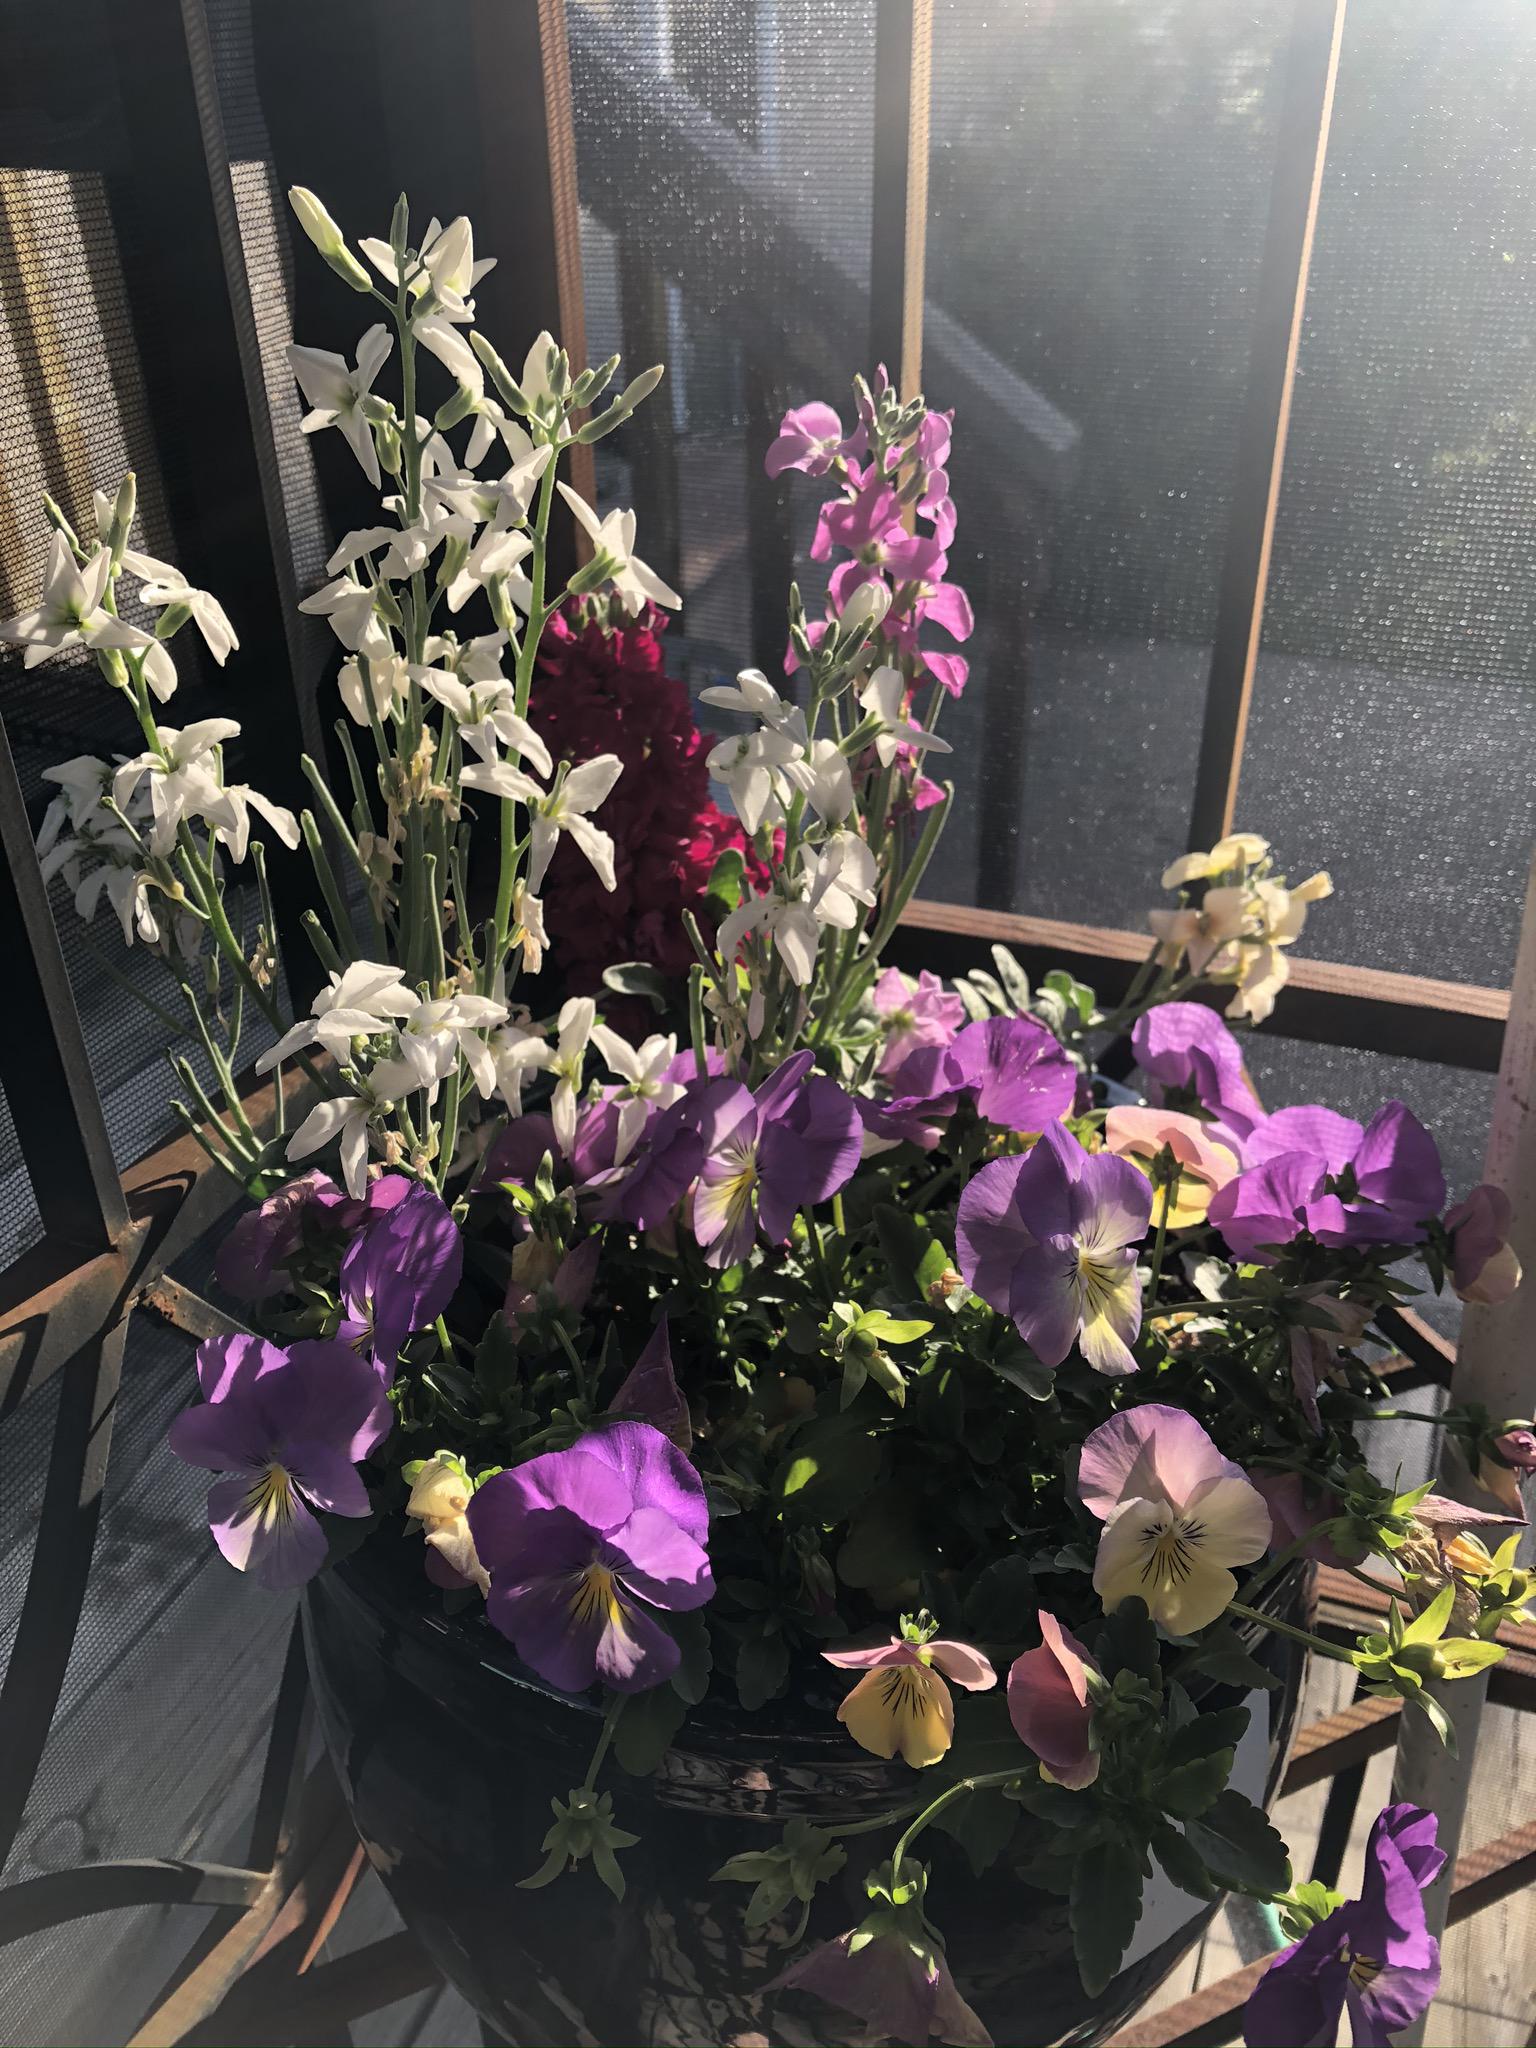
Spring confetti 🎉
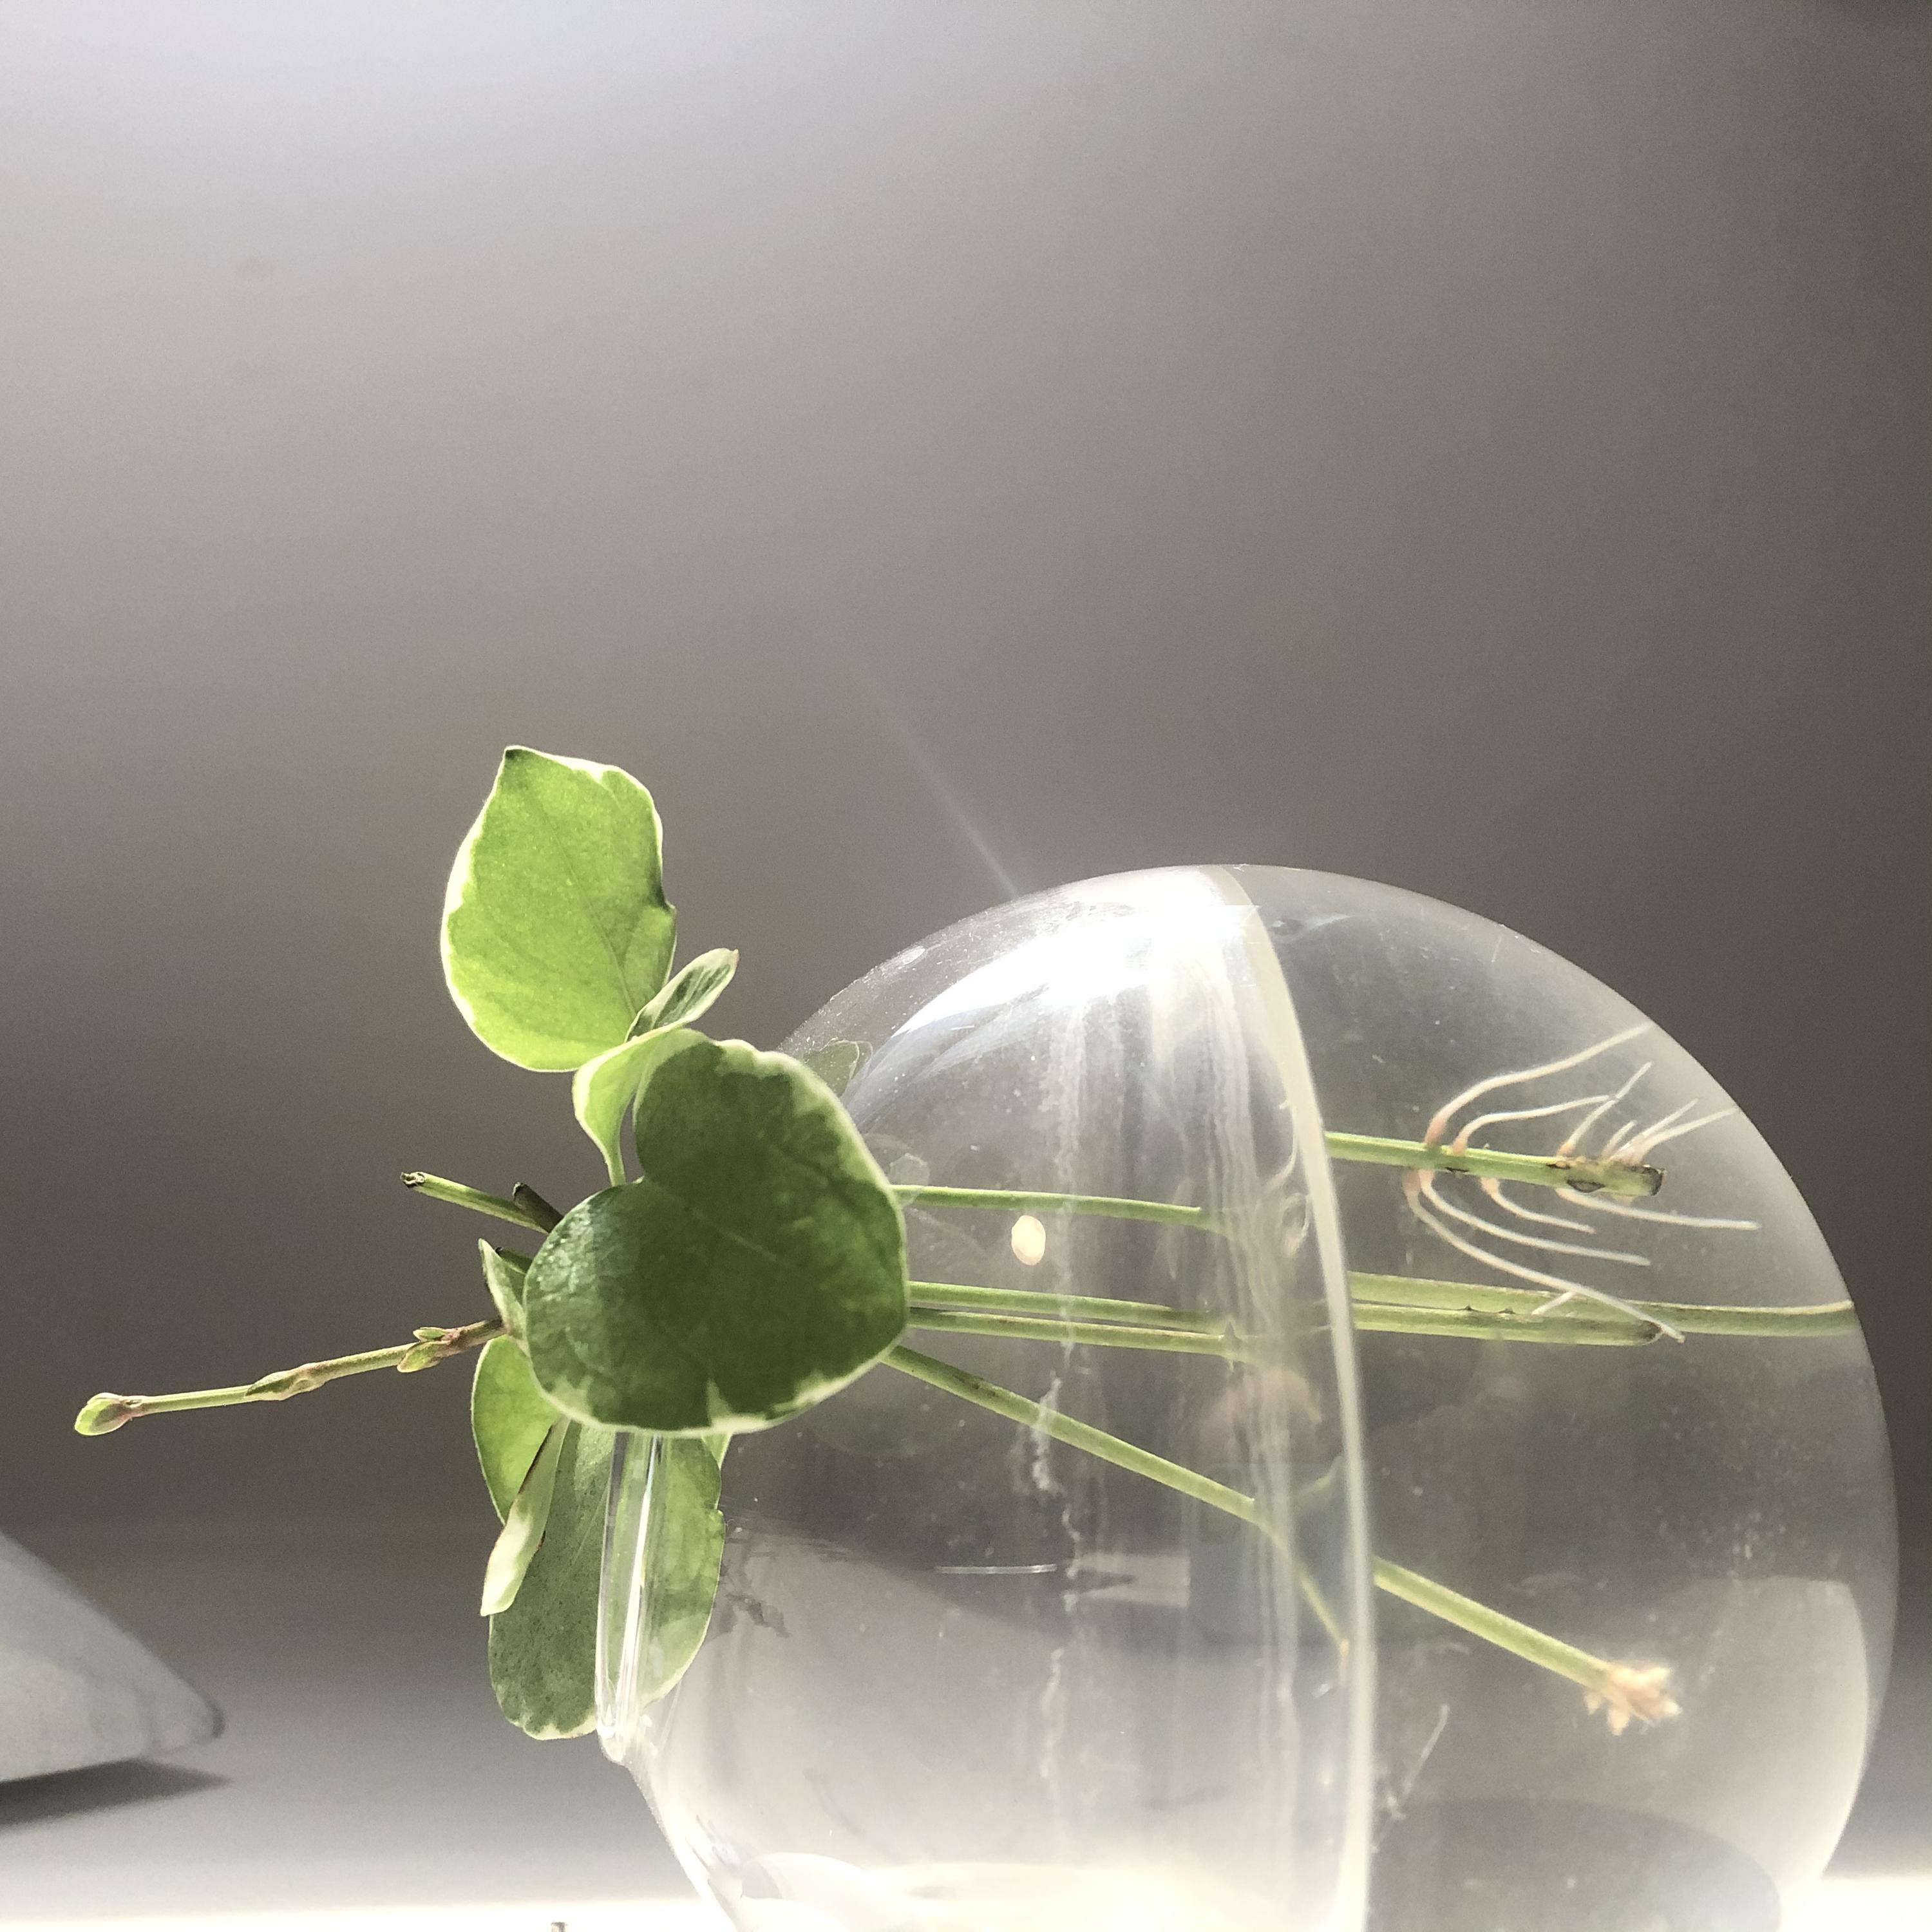
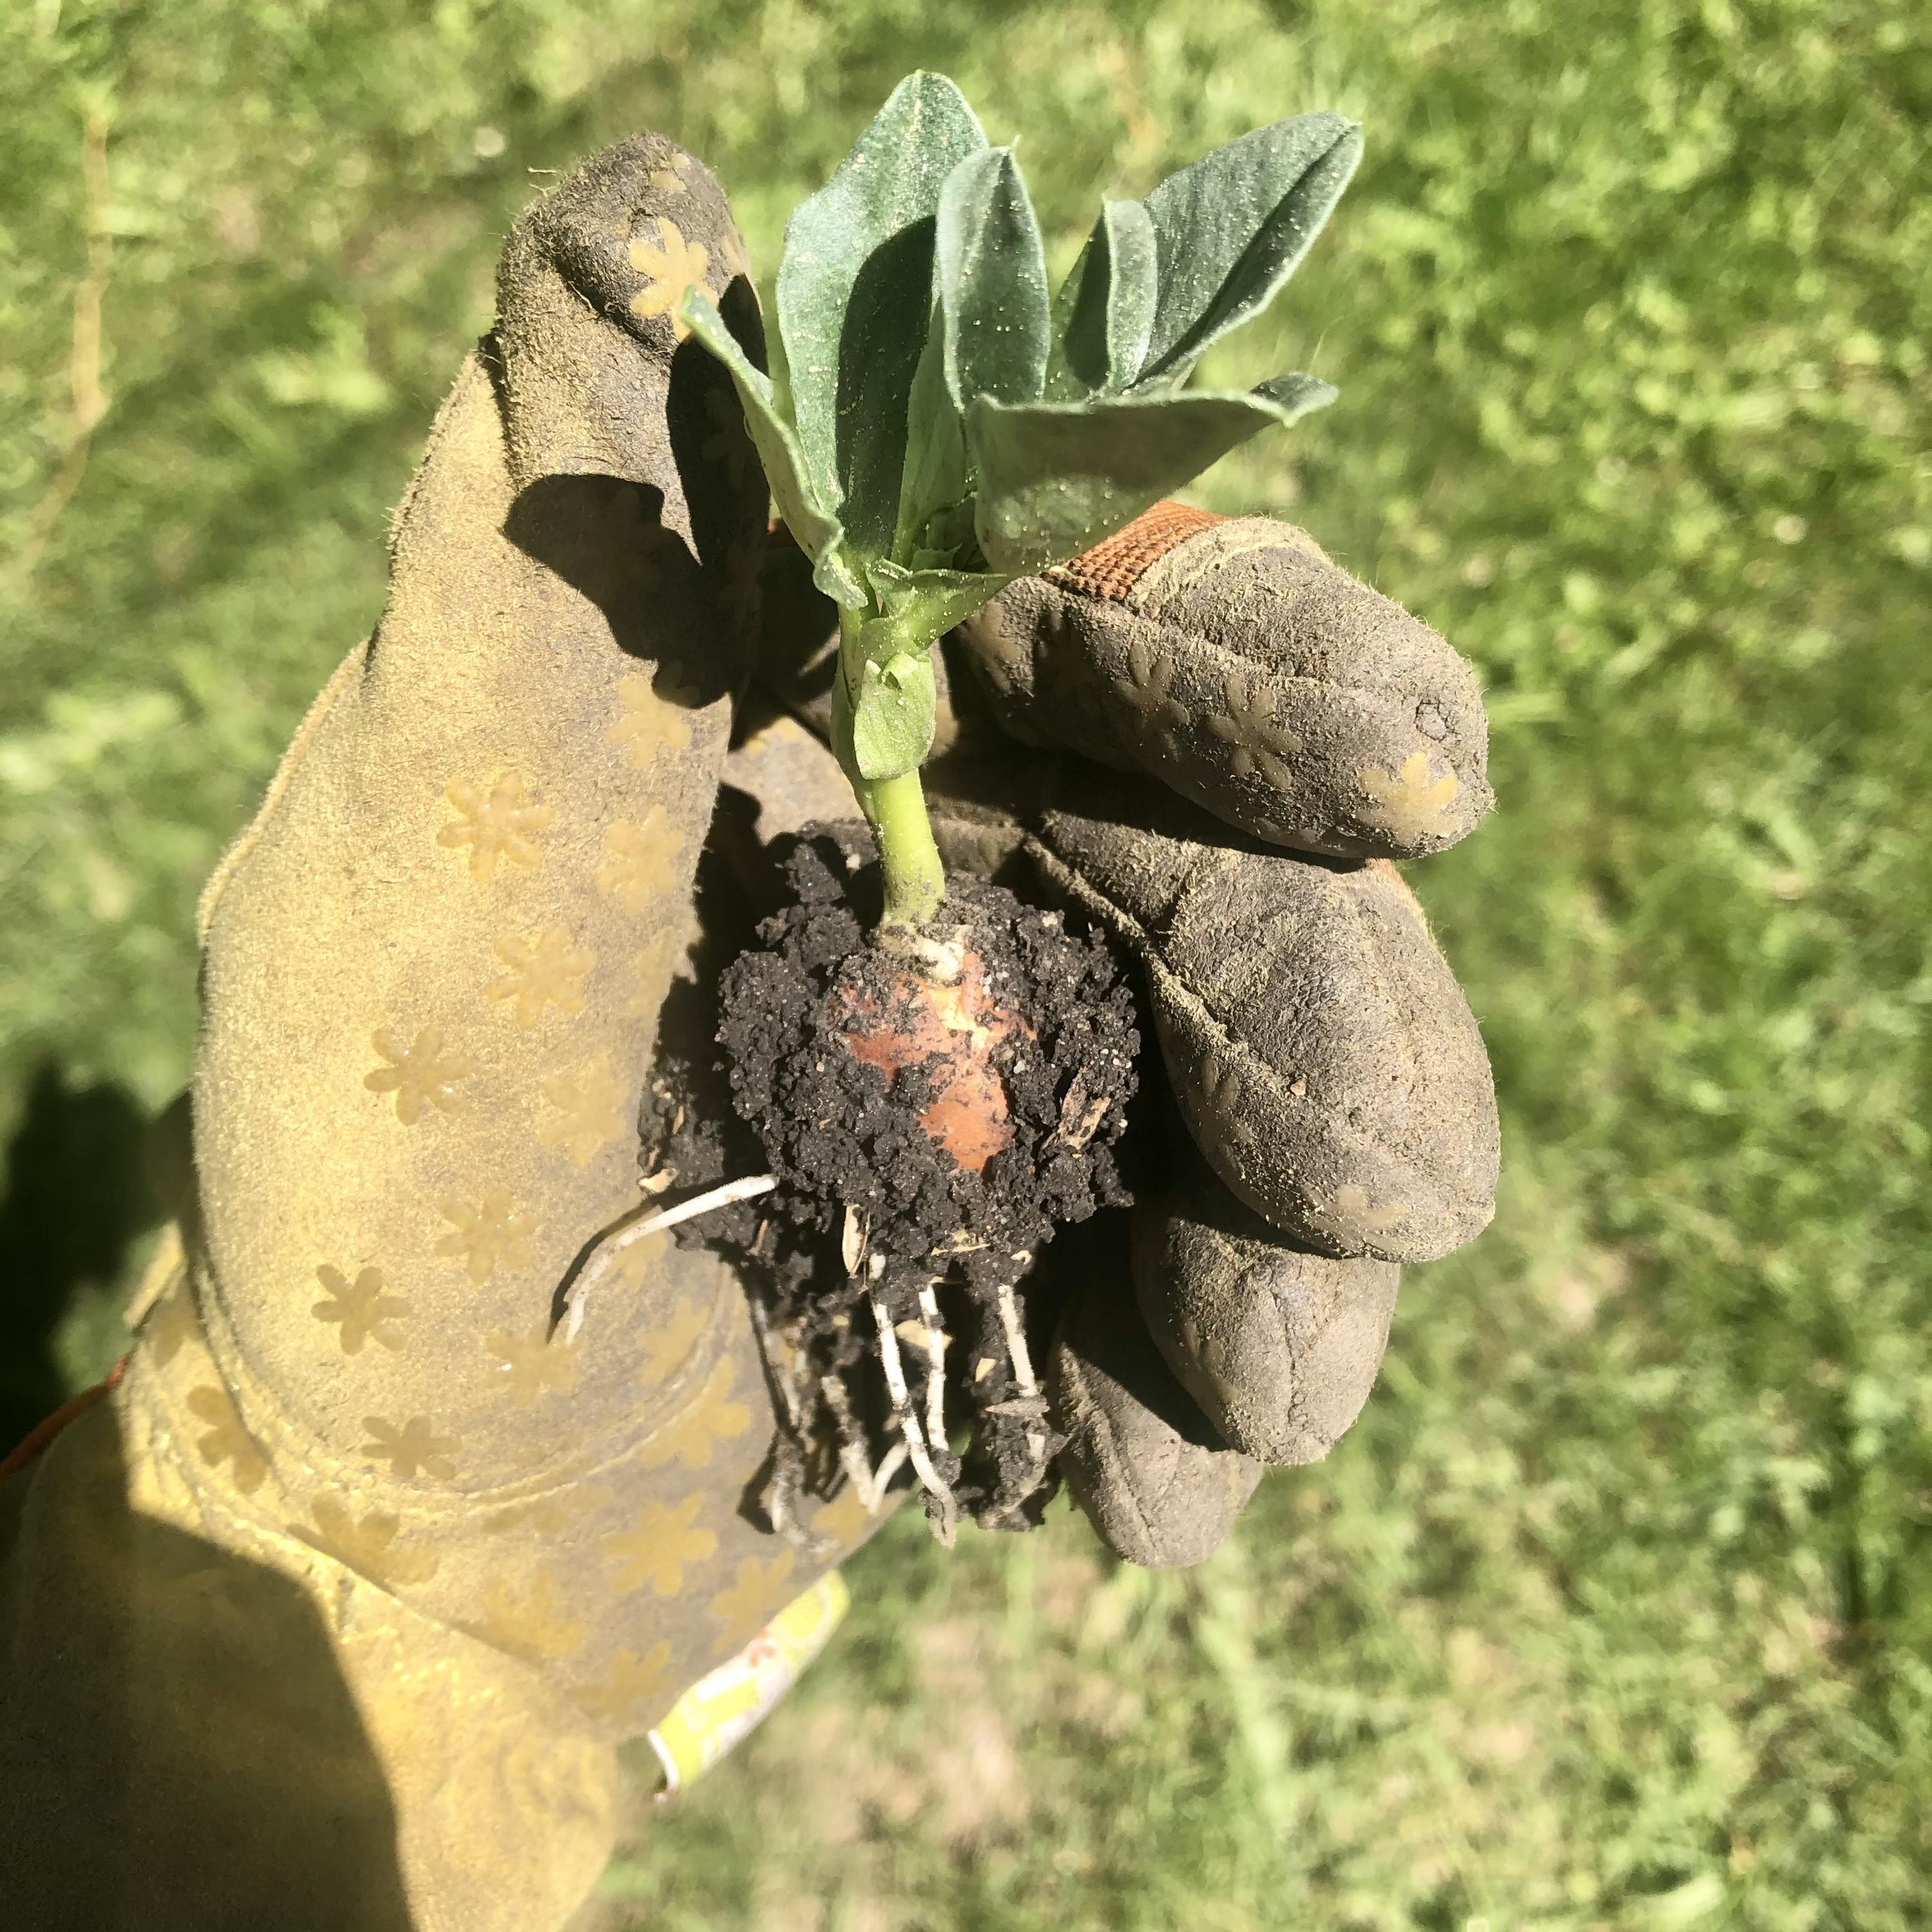
I took some cuttings before the frost and they just rooted. I feel like a plant magician.
FORECAST: My guess is that houseplants are going to be the popular hobby in winter covid. Plants are to winter-covid as bread-baking was in spring-covid.
I was at a hardware store recently, and the garden section was still hopping despite being out of season here.
Loads of friends are currently picking up green friends to keep over the snowy months. Most of the local plant shops seem to be low on stock.
An artist I follow recently did painting of a plant that they wanted to trade for cuttings of said plant.
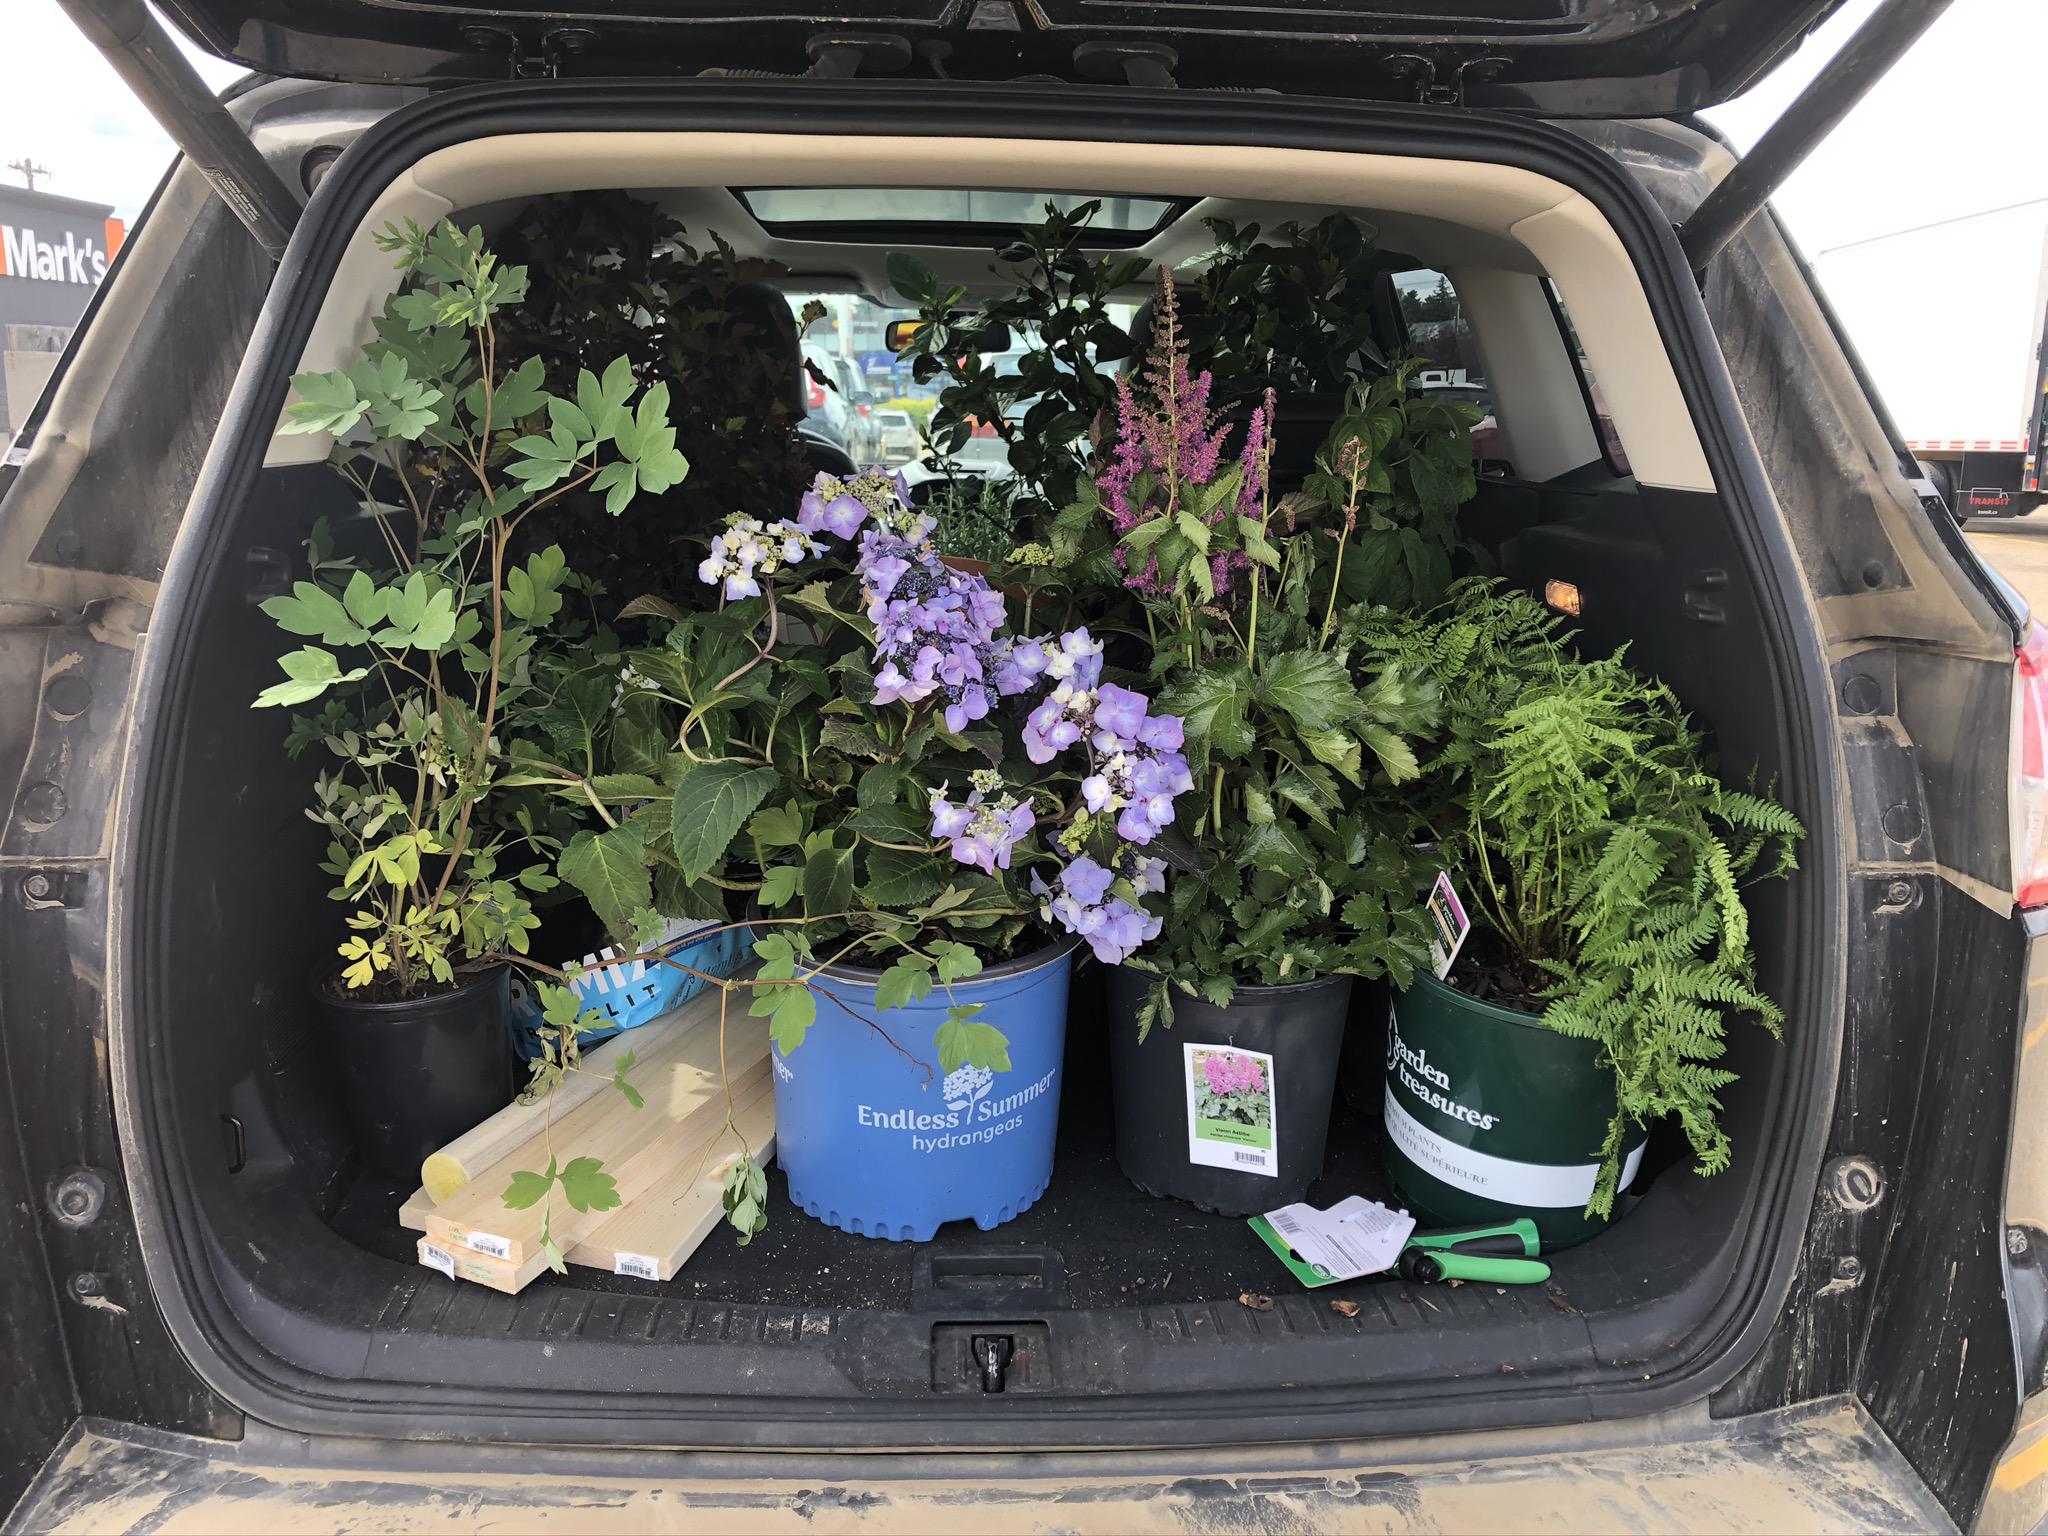

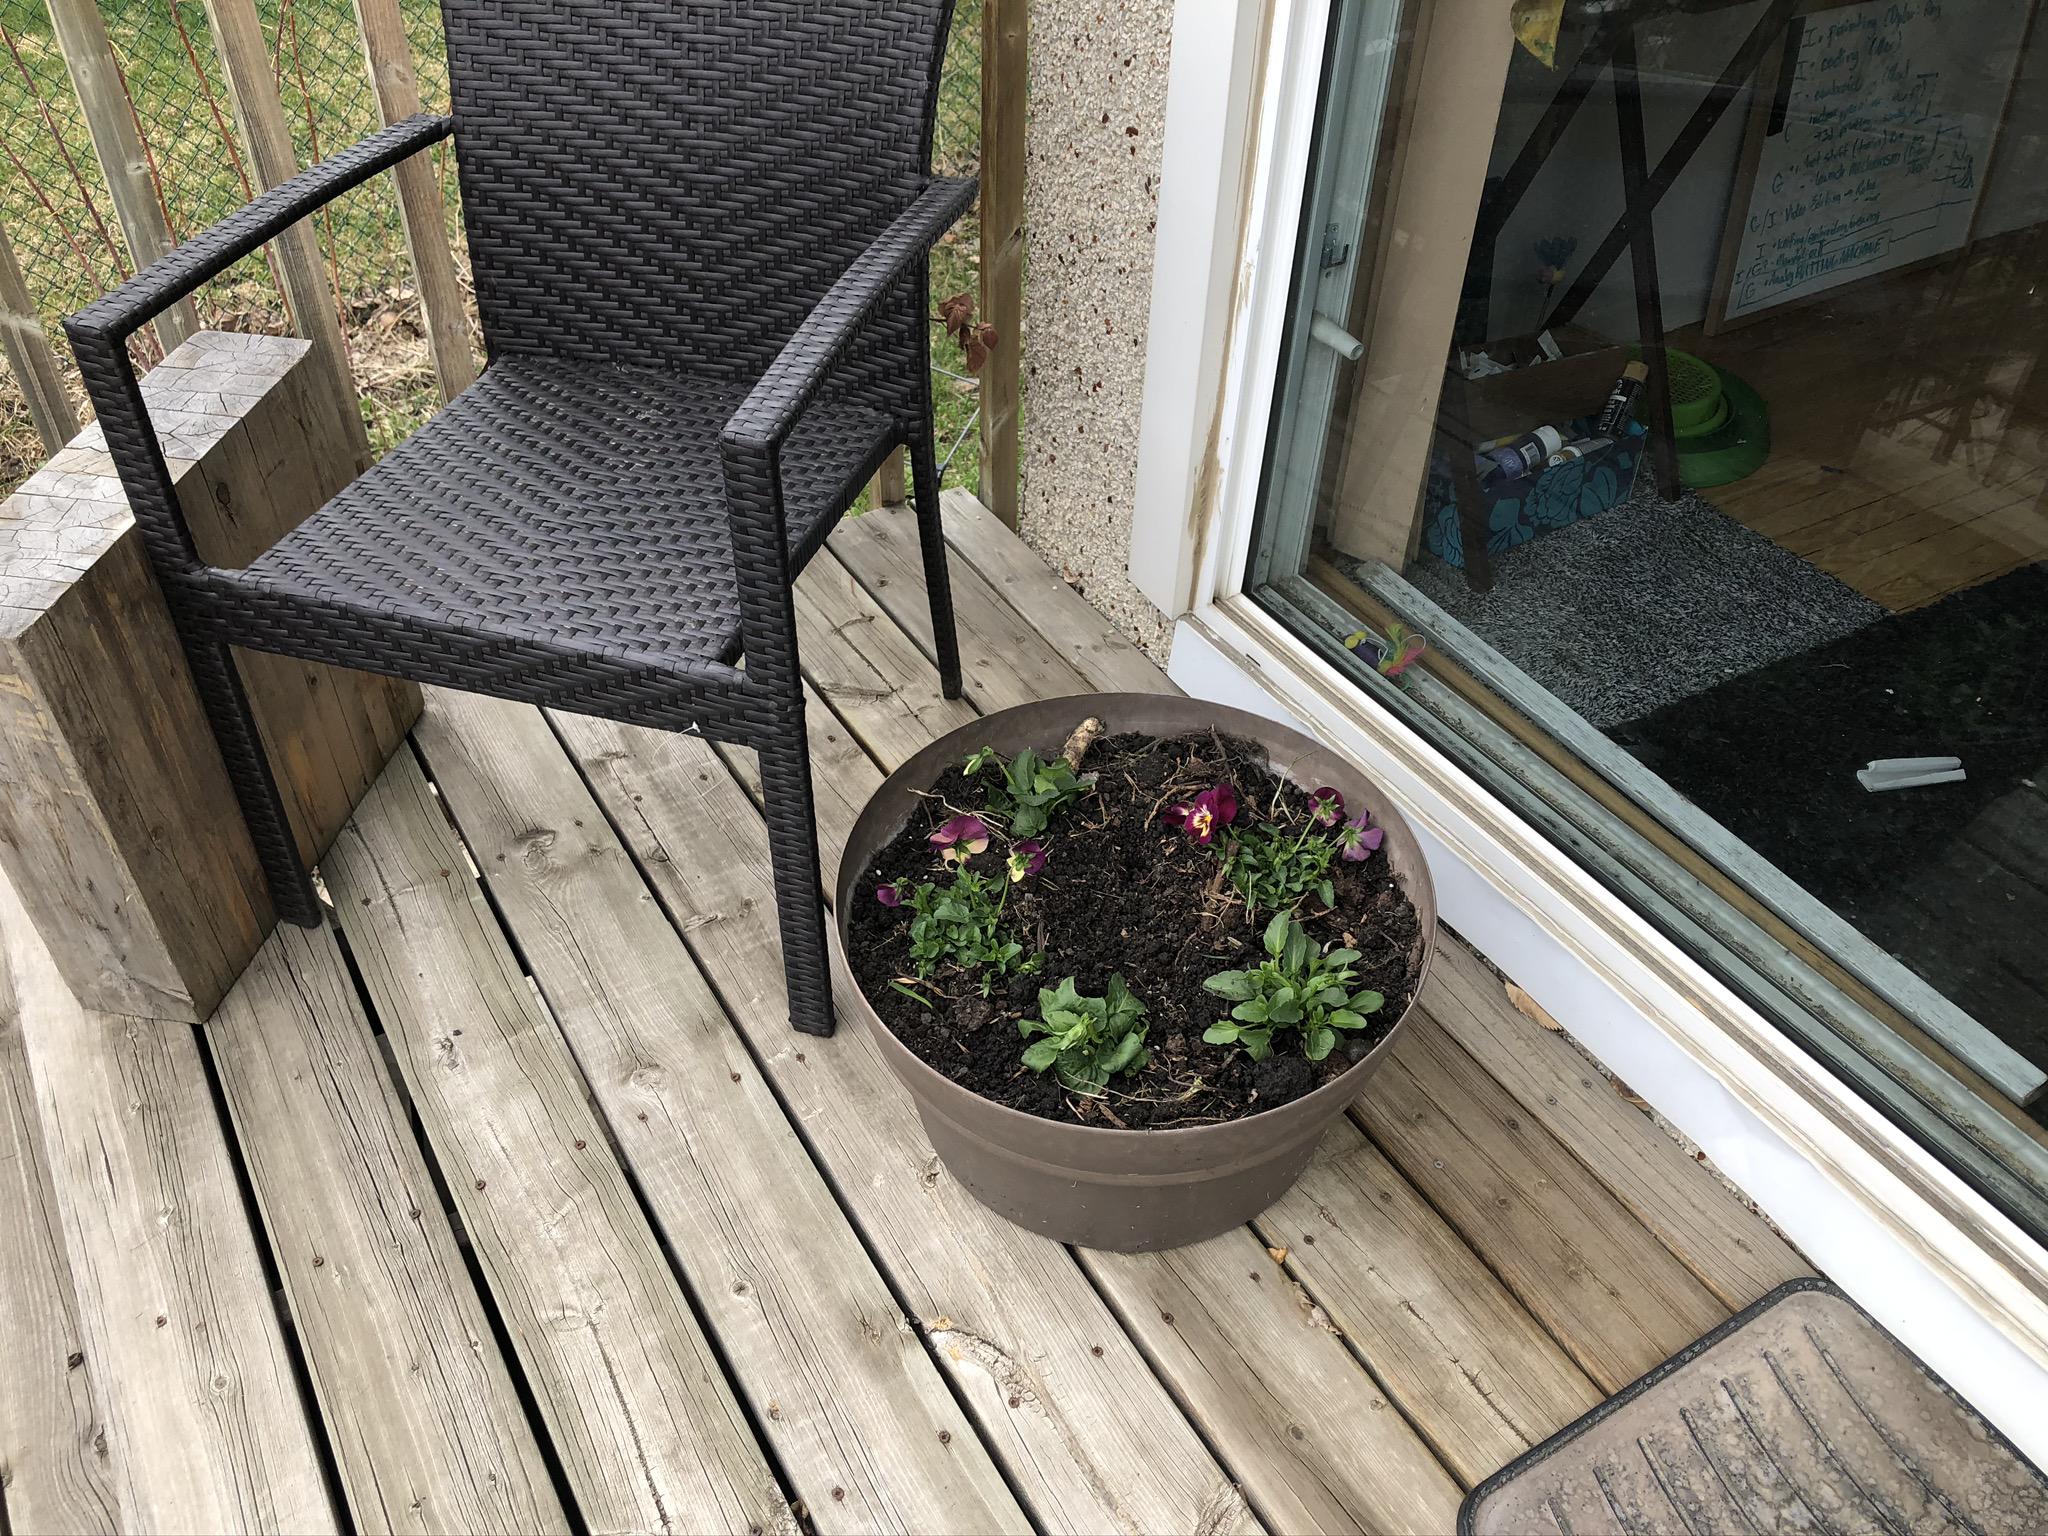
Working on the garden
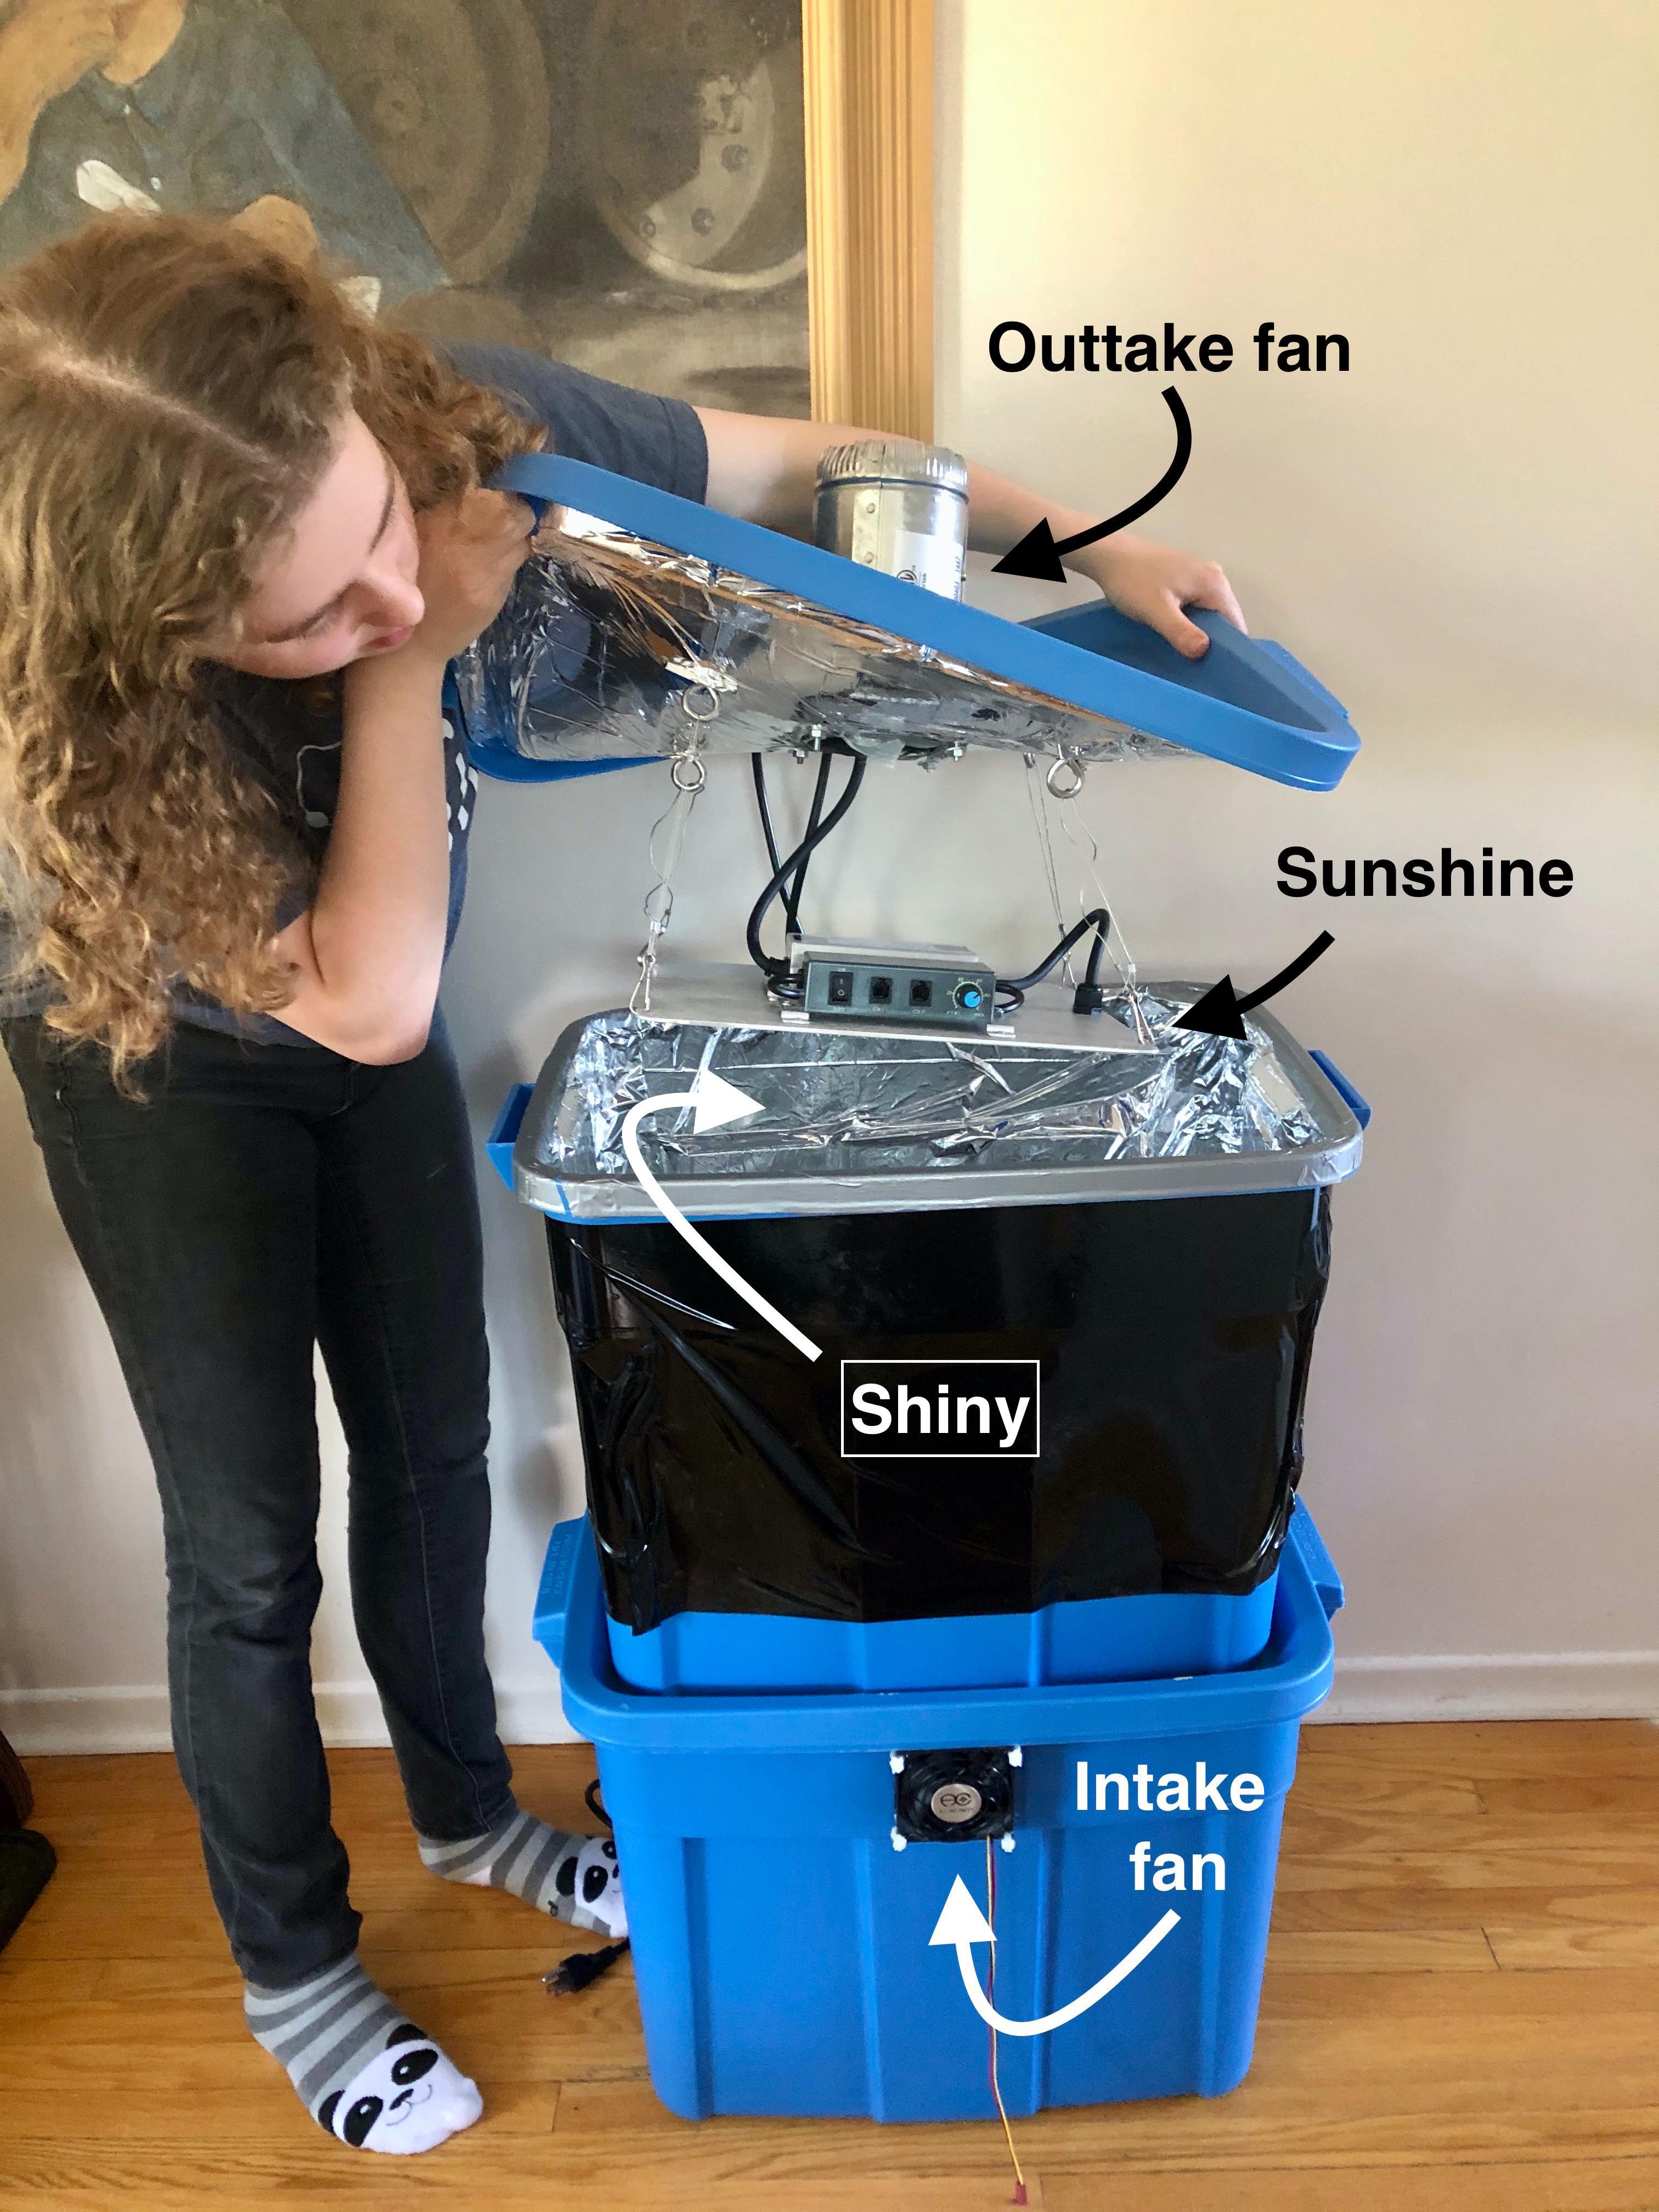
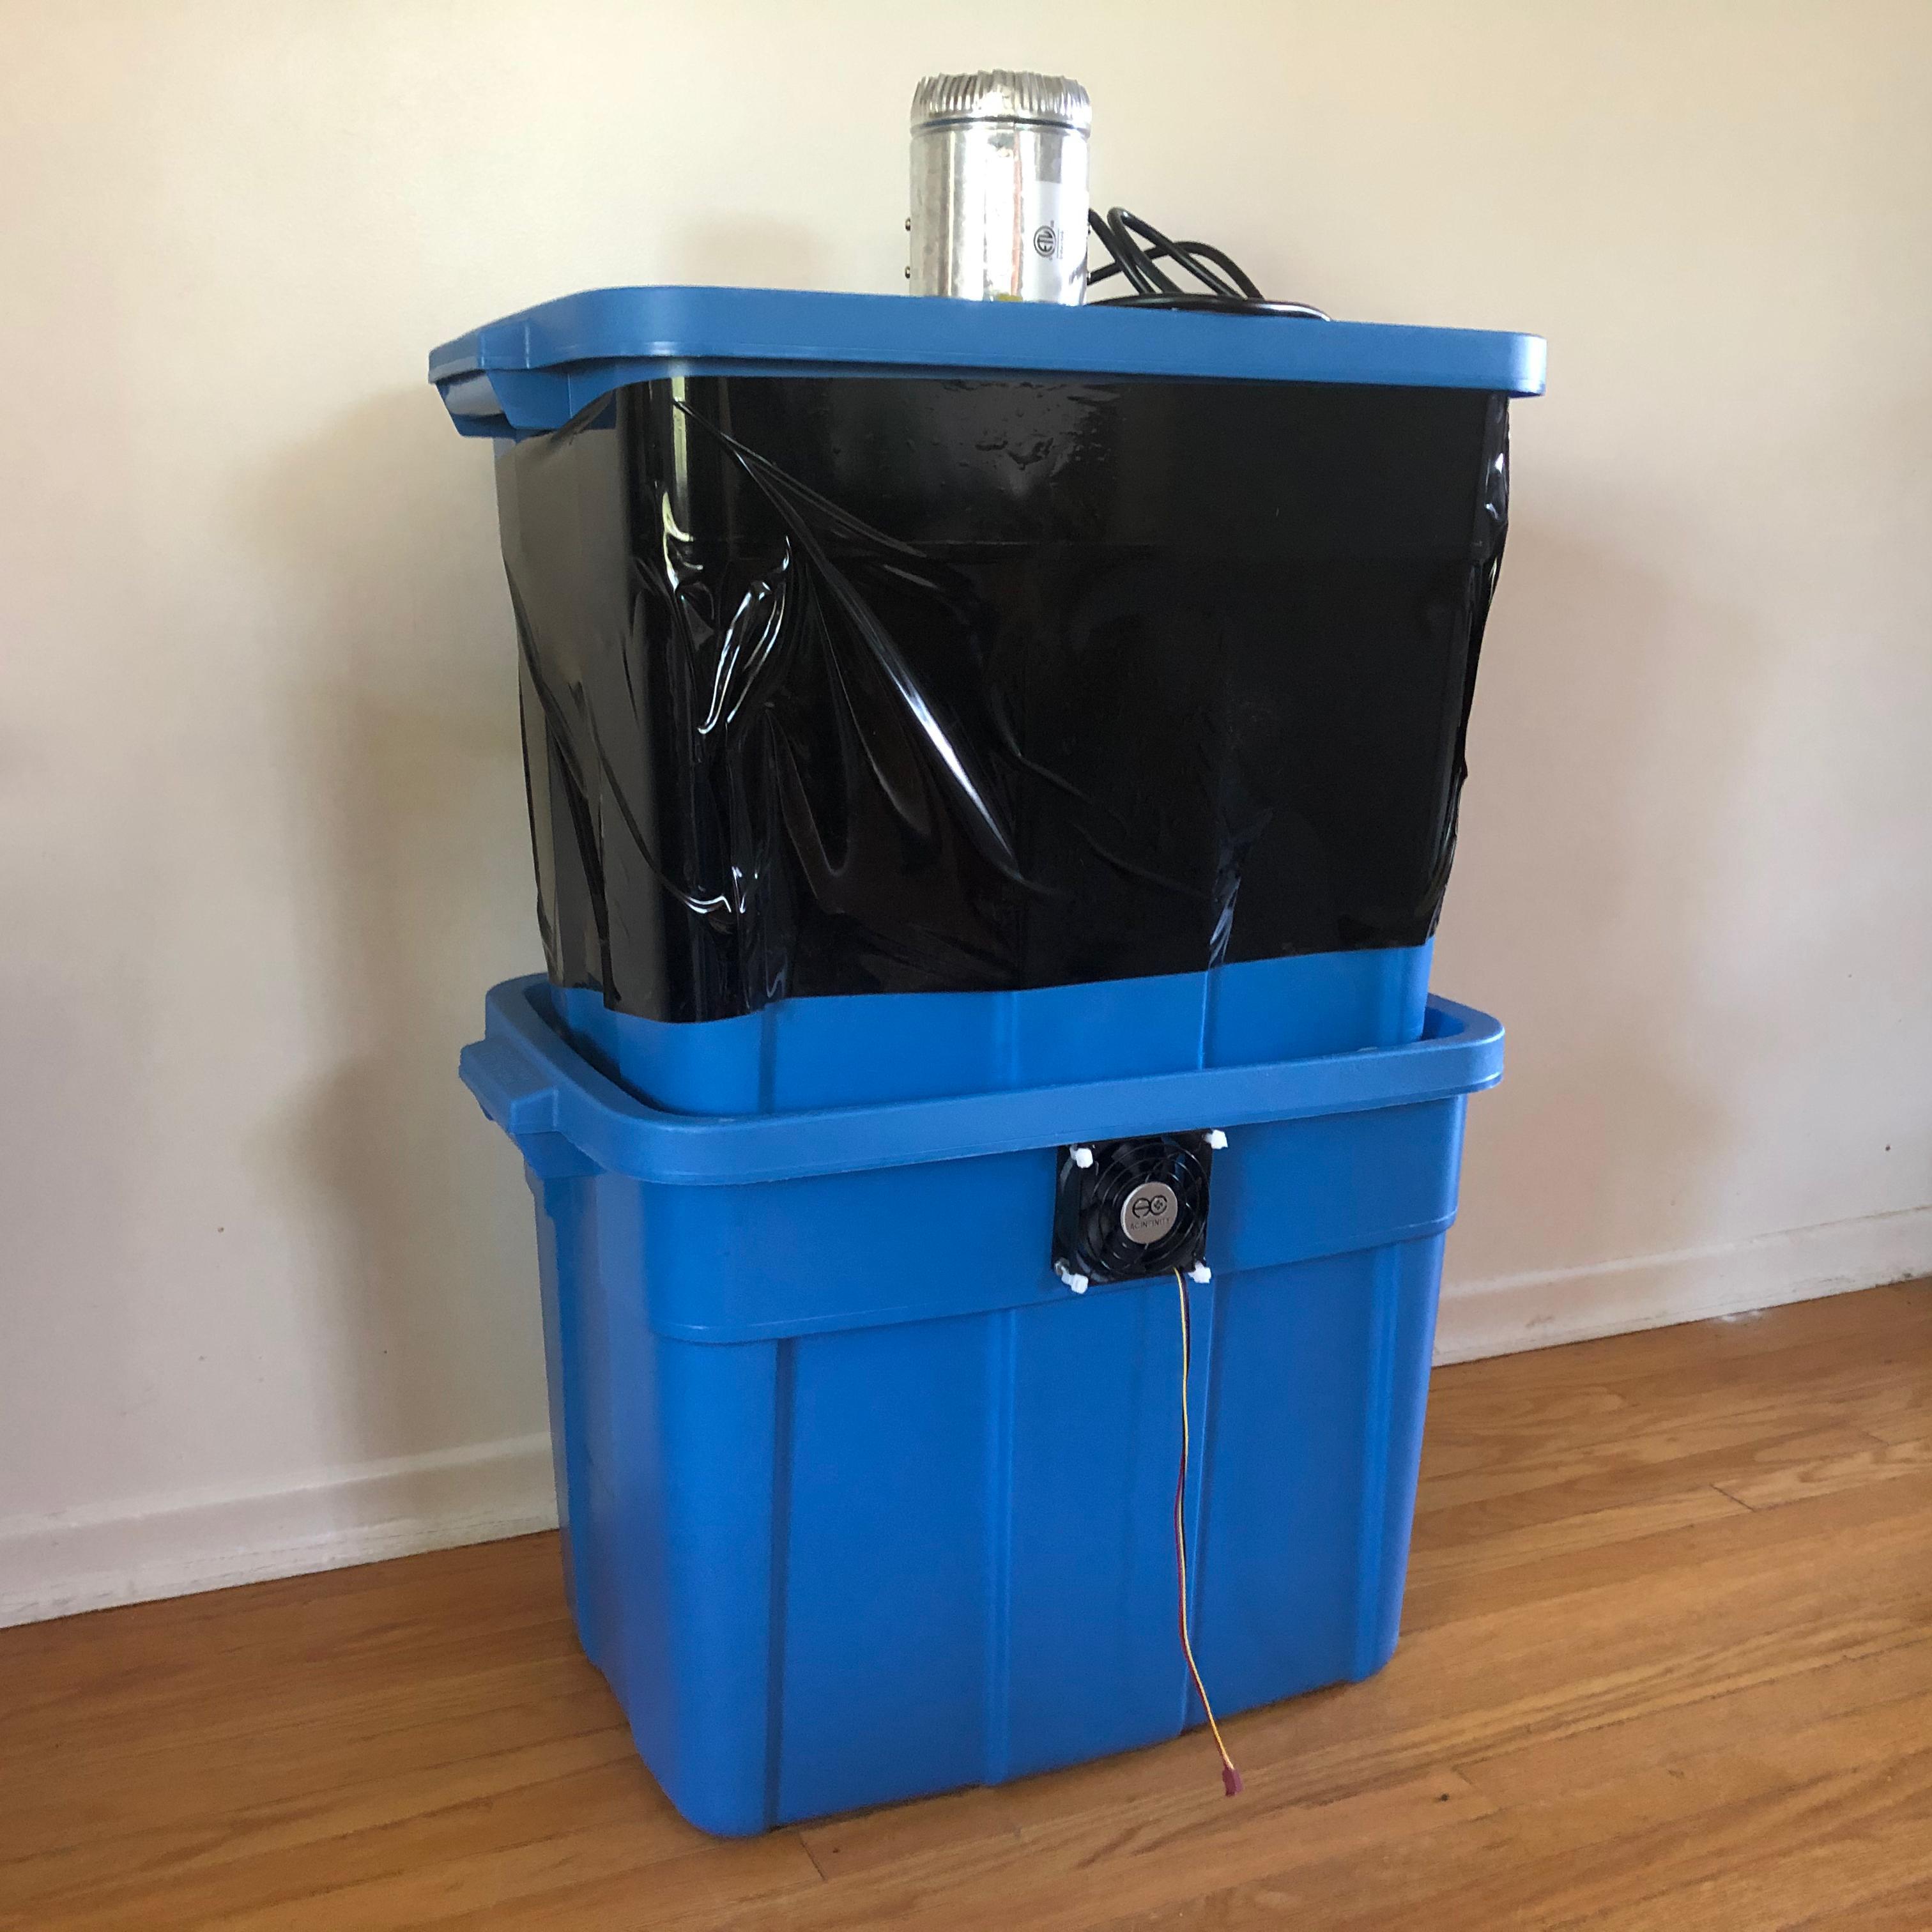
People who live in northern climes enjoy faking the sun. Some people get spray-tans. I made my plants a new home: a box full of sunshine.
Using household materials, I made a tiny greenhouse. Even during the winter, I can cultivate finicky plants and experiment with automated gardening.
The greenhouse has a small footprint---it can easily slot into the corner of a closet. When deconstructed, it is the size of a single rubbermaid container.
I started this project before I had proper tools, so I designed something that I could construct using only a dremel and a power drill.
I also wanted my project to be fairly simple to put together: I didn't want to have to get a ride to the local hardware store and get pieces pre-cut. As a result, my materials are all things that are common-place: either things that you probably have at home, or things that would be easy to find online. For my build, only needed to purchase the light, fan, and mylar---it was something I could throw together.
materials and parts:
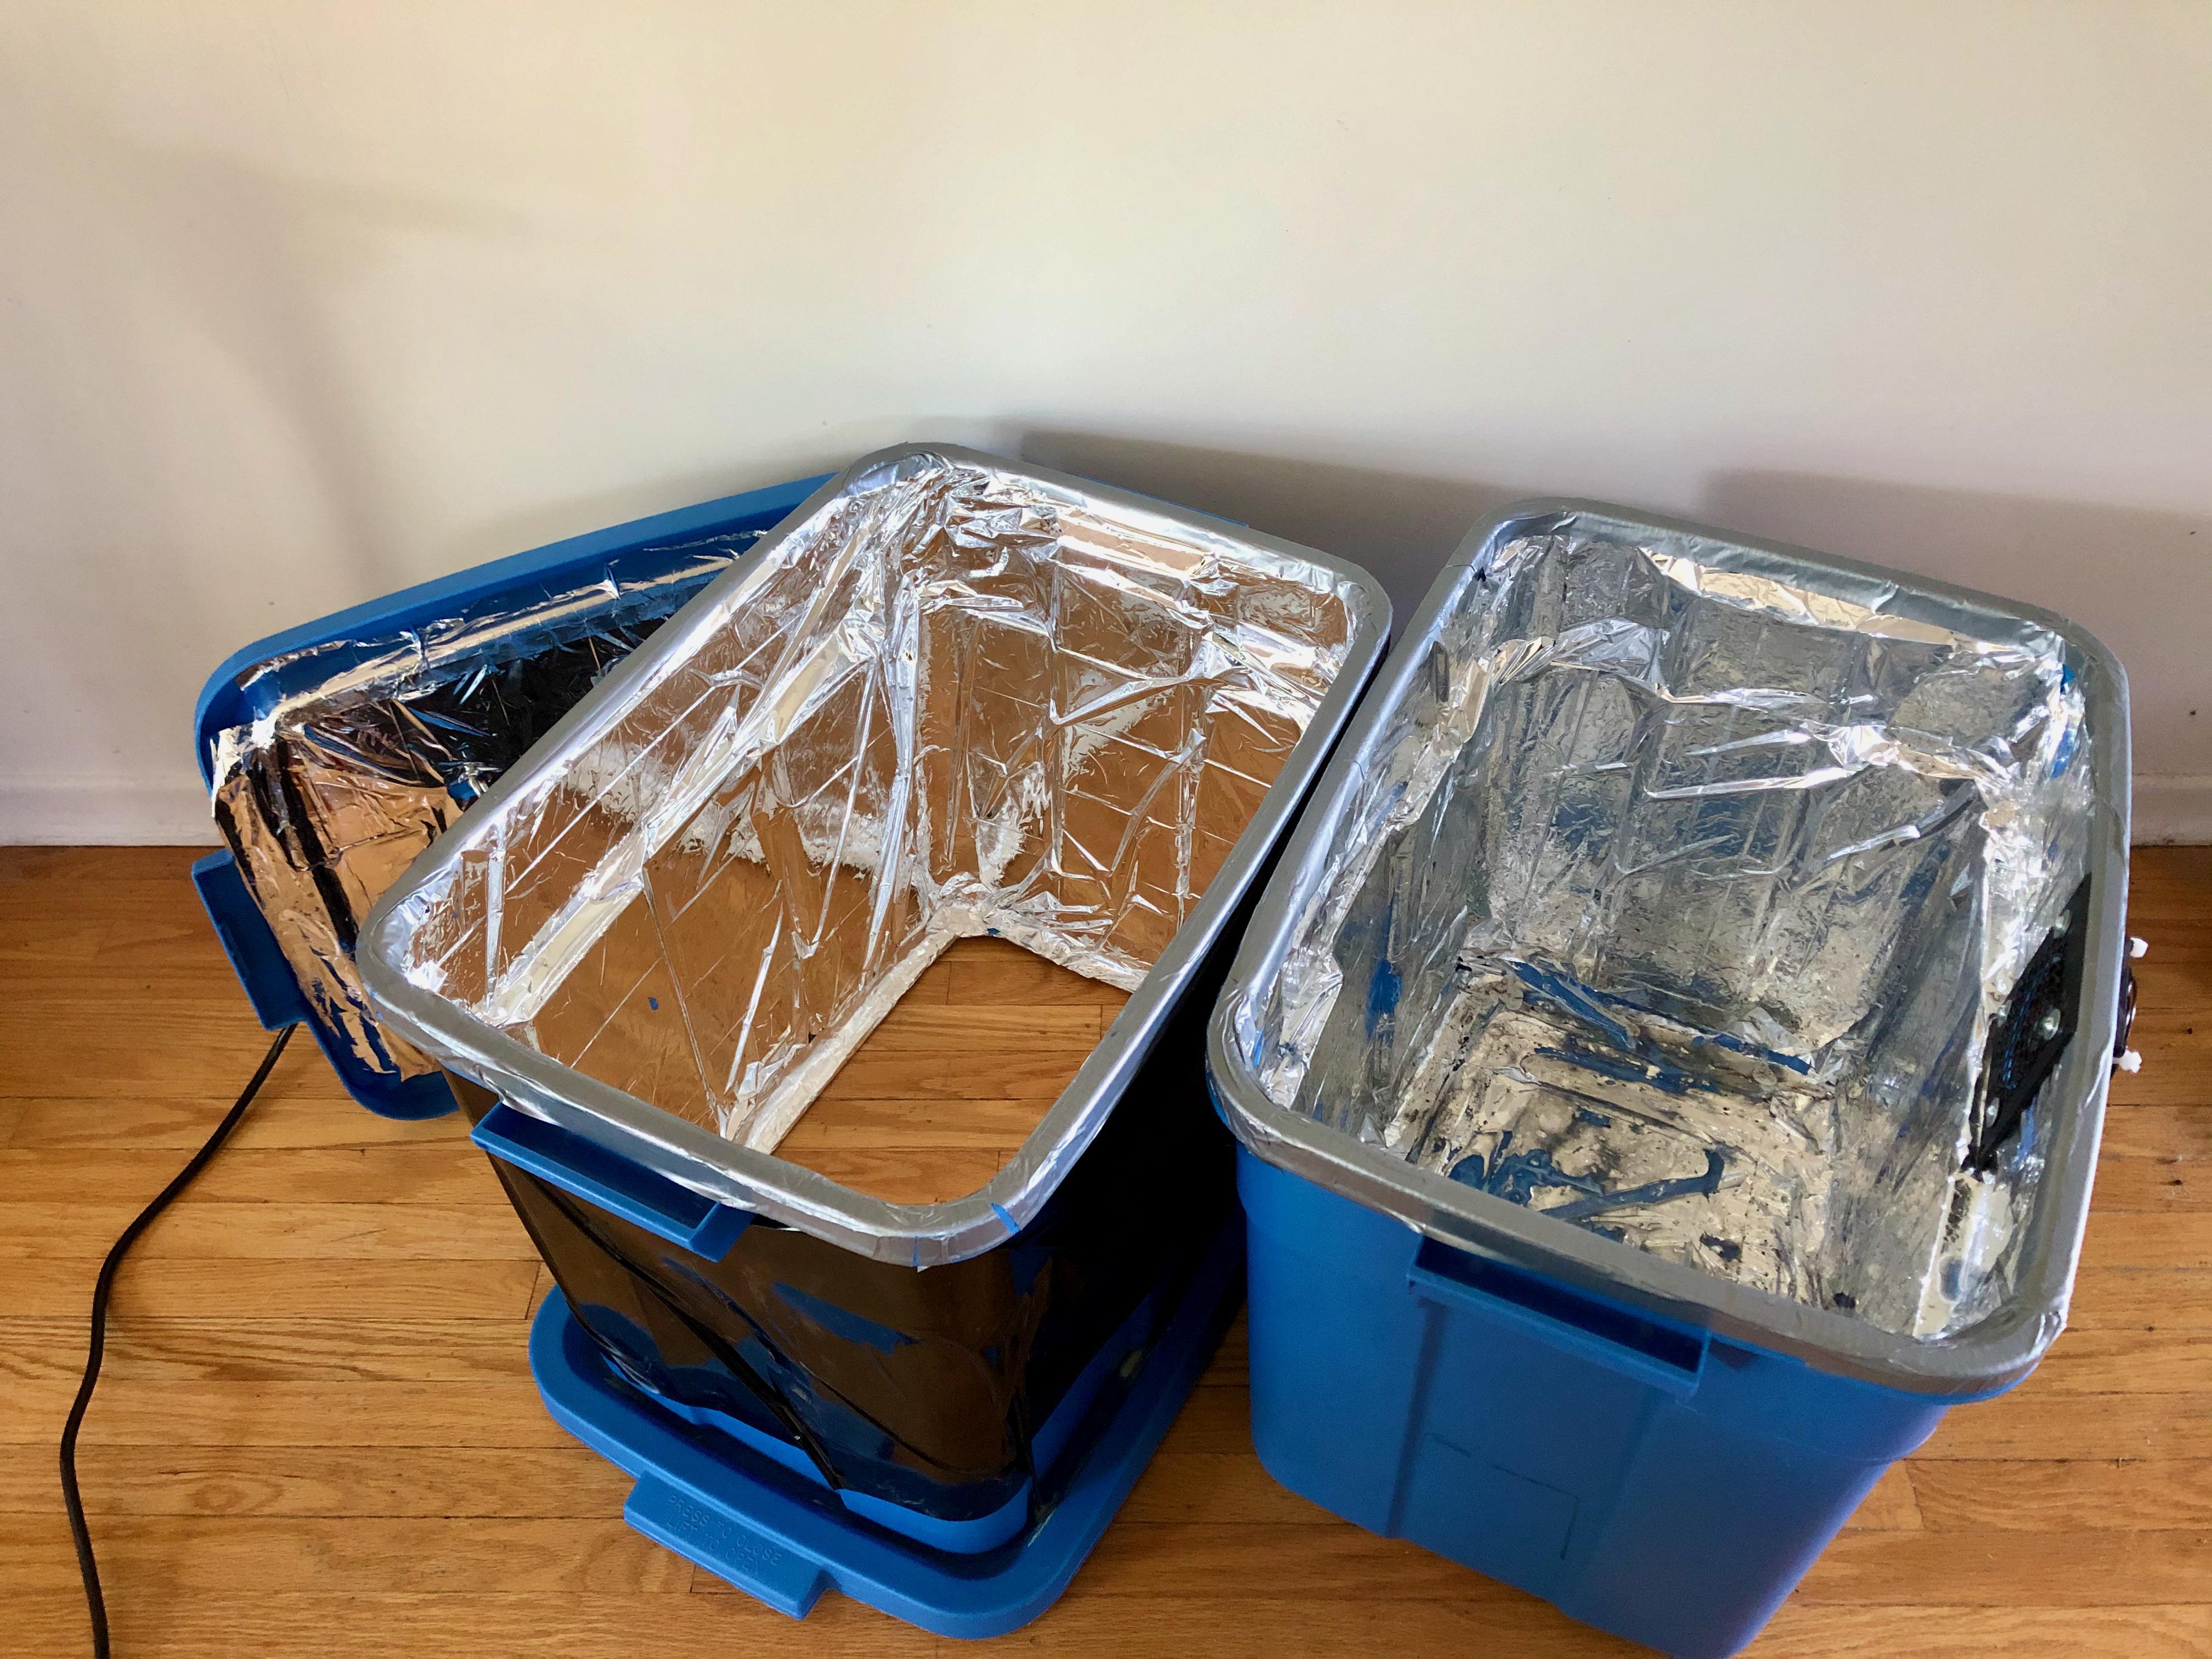
So you have the tools and you have the materials. The first step is to turn the two separate stacked boxes into one mega-box. To do this, cut the bottom out of the top box so that the two boxes form one.
To do this, I glued the top box to the bottom box and used a dremel tool with a saw attachment to cut both the bottom of the box and the lid at the same time.
Cutting both at the same time ensures a good fit between the lid and the upper box, and makes it stack nicely.
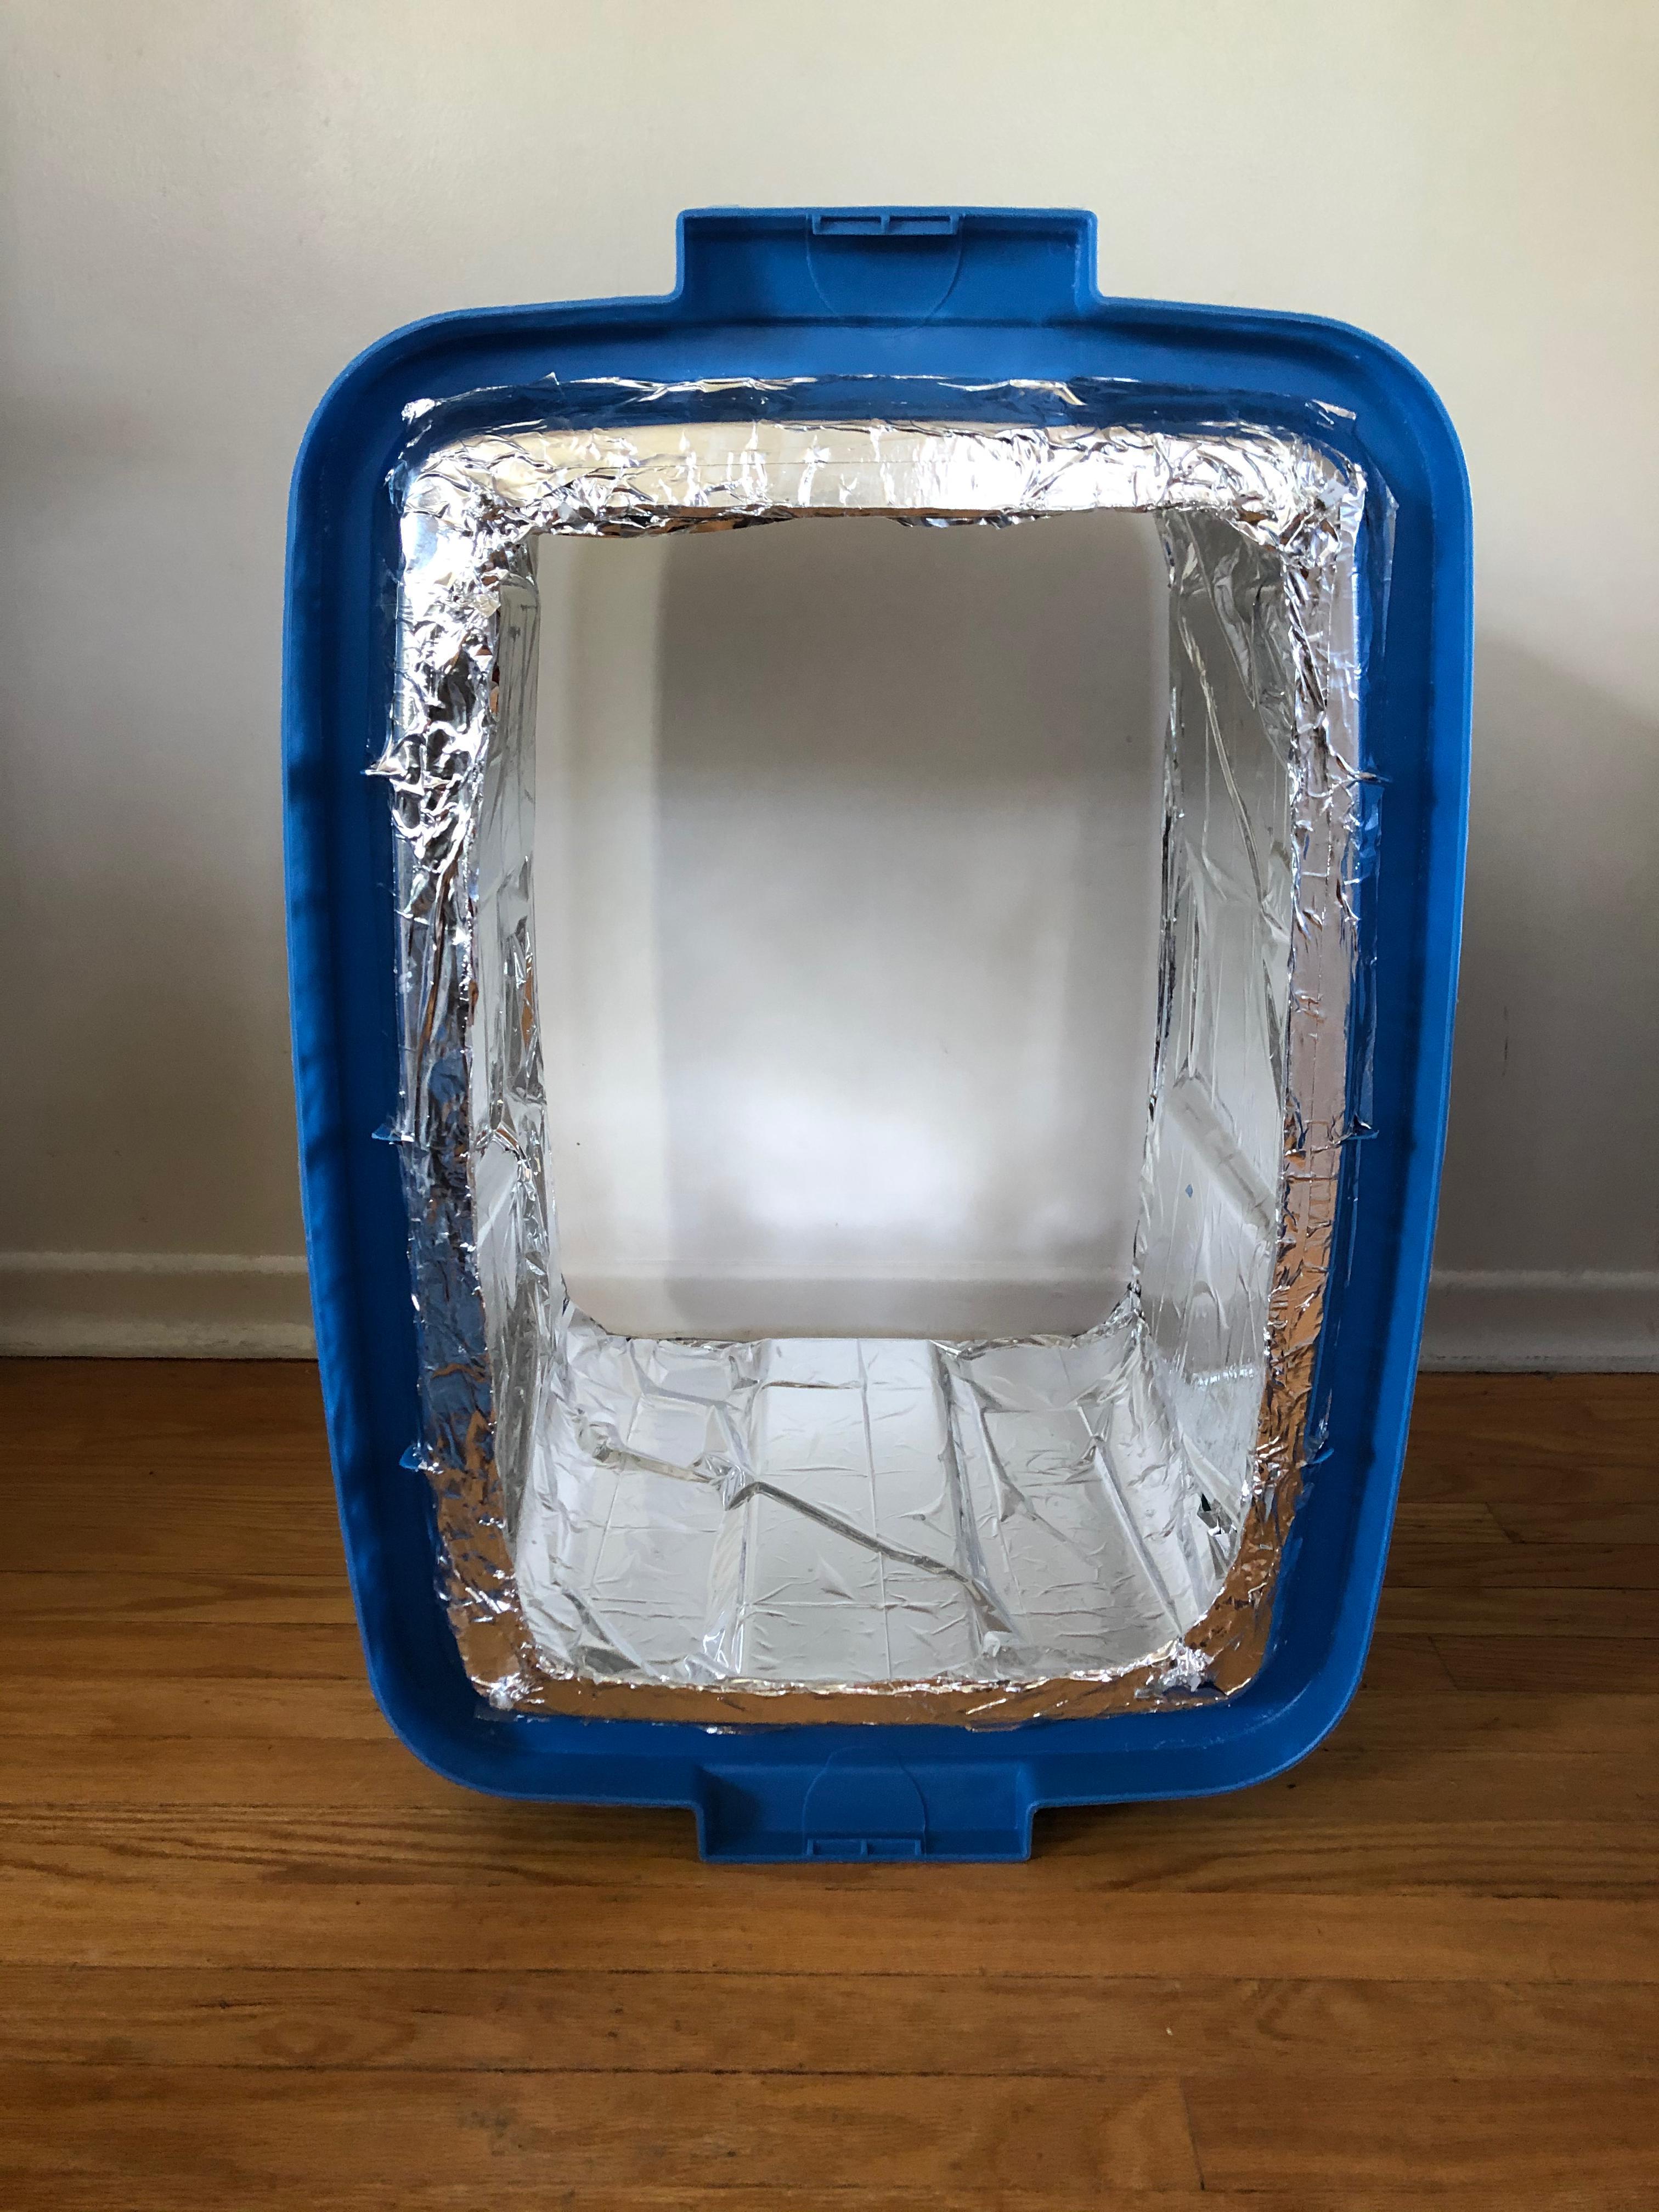
You have a big box now. We're going to shine a light in the box to give the plant what it needs to survive. If we have a single source of light, we want it to be dispersed in the box as efficiently as possible to feed the plant. To disperse the light, I made the walls of the box reflective with mylar.
First, I spread glue on the interior of the box. With the surface of the box primed, I carefully cut and laid sheets of mylar that were sized to perfectly wrap around one layer of the box.
By applying mylar the inside of both boxes becomes a reflective chamber, efficiently making use of whatever lighting you choose.
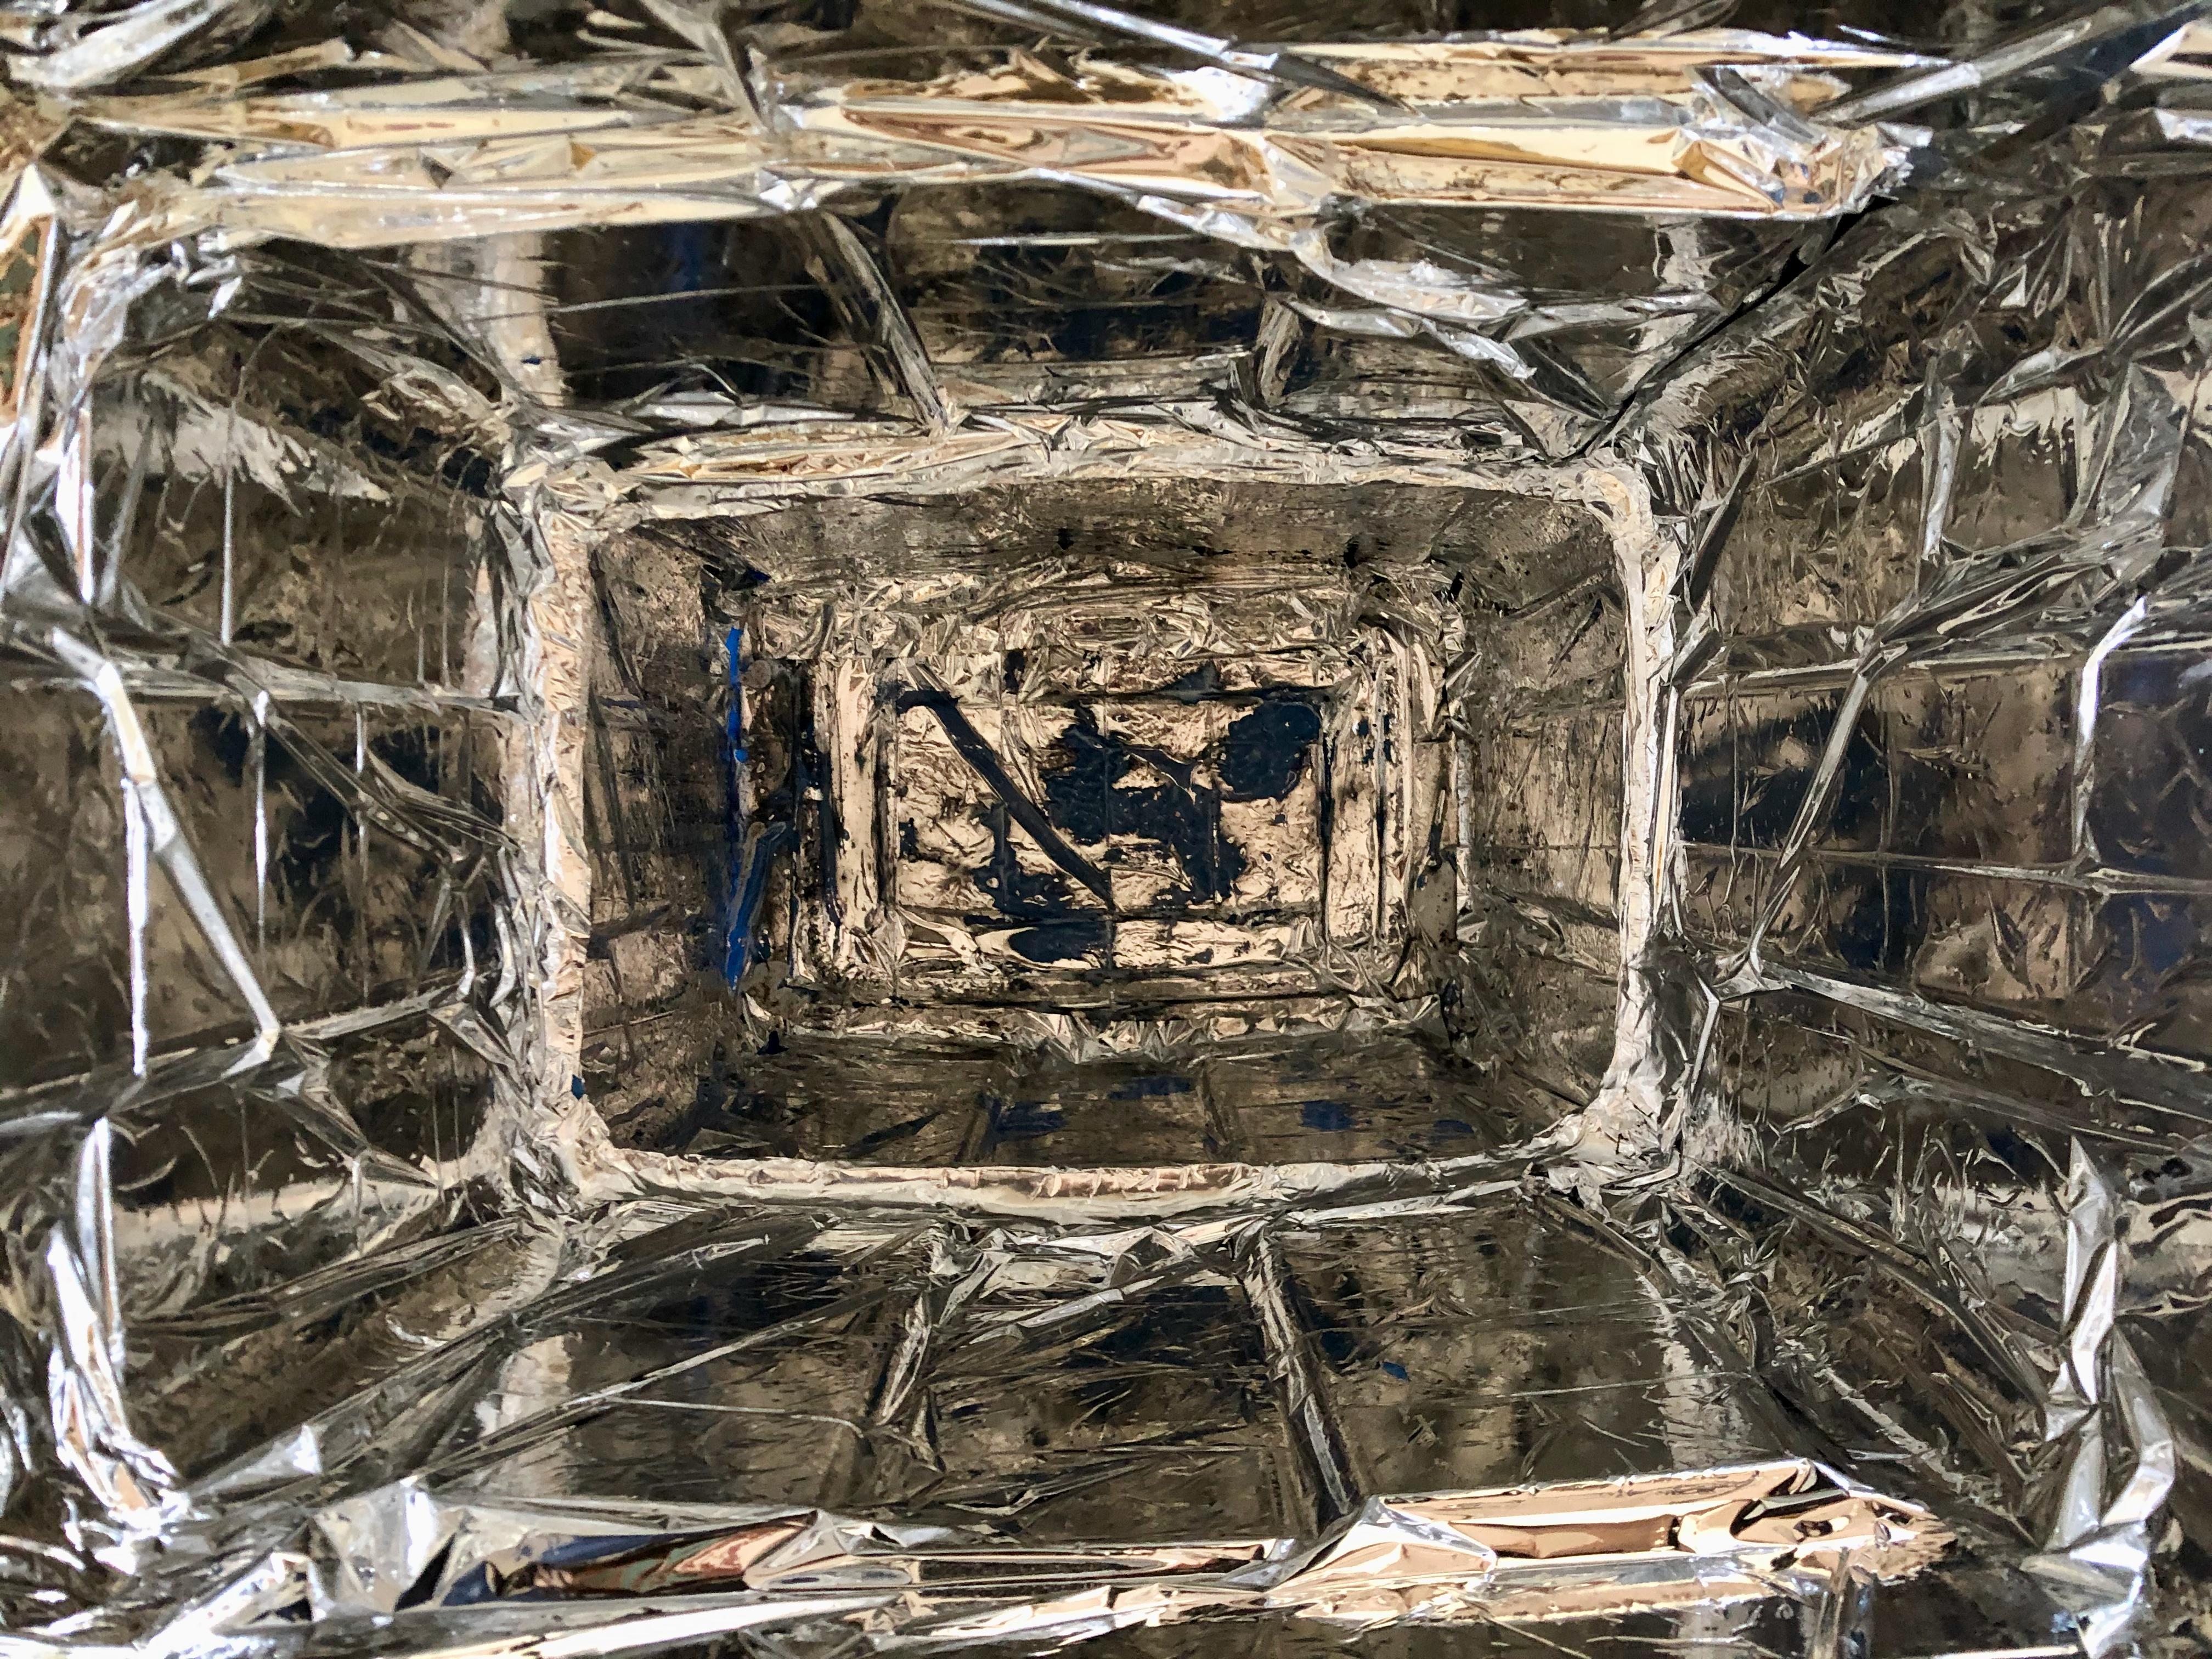
The lip of the bottom box might be a little rough around the mylar. Since you may want to lift the lid from the bottom box to get at your plants, you'll want to tidy it up---you don't want the mylar to tear from the sides when lifting the lid.
To clean up the edges and protect the reflective coating, I applied duct tape all around the edge of the box.

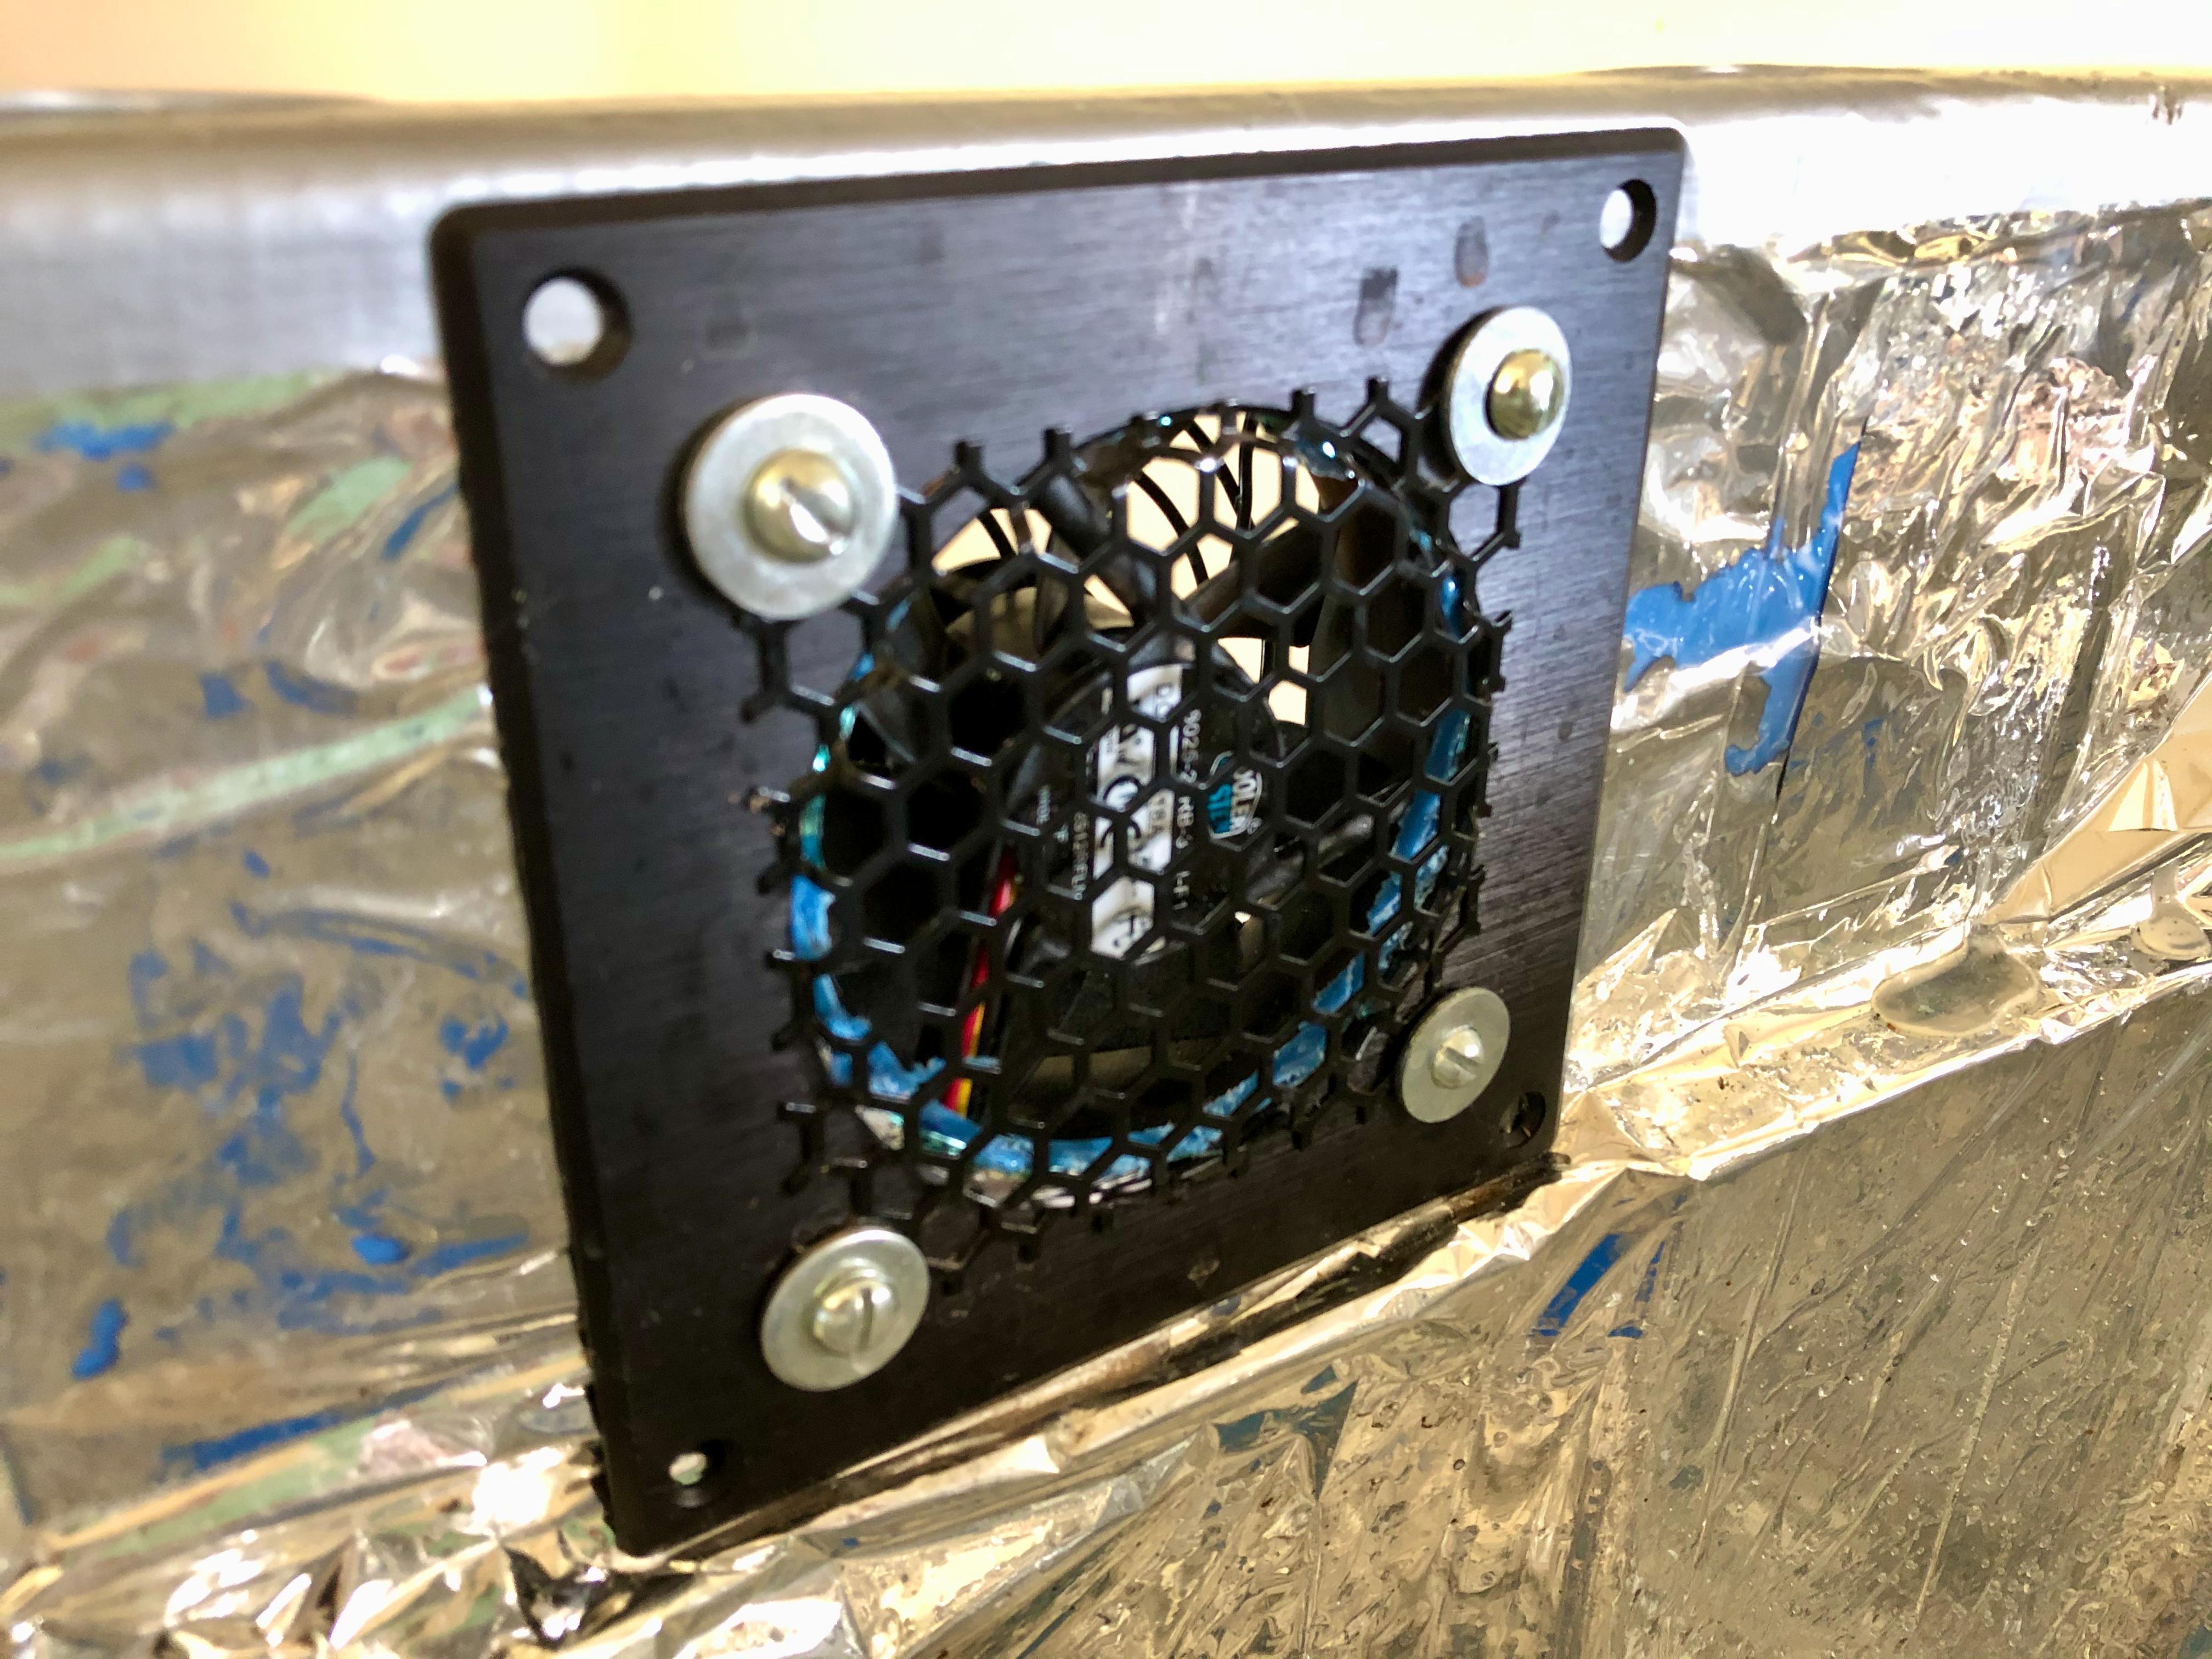
Plants need air circulation. I used a PC Fan for air intake. In most cases, this is all you'll need.
To get a good fit, hold the fan up to the box and trace a square outline of the fan. Inside the square, trace a circle with a diameter that equals the fan. To cut the circular hole, I used a dremel. In each corner of the square, drill out holes. Using screws, attach the fan to the holes drilled.
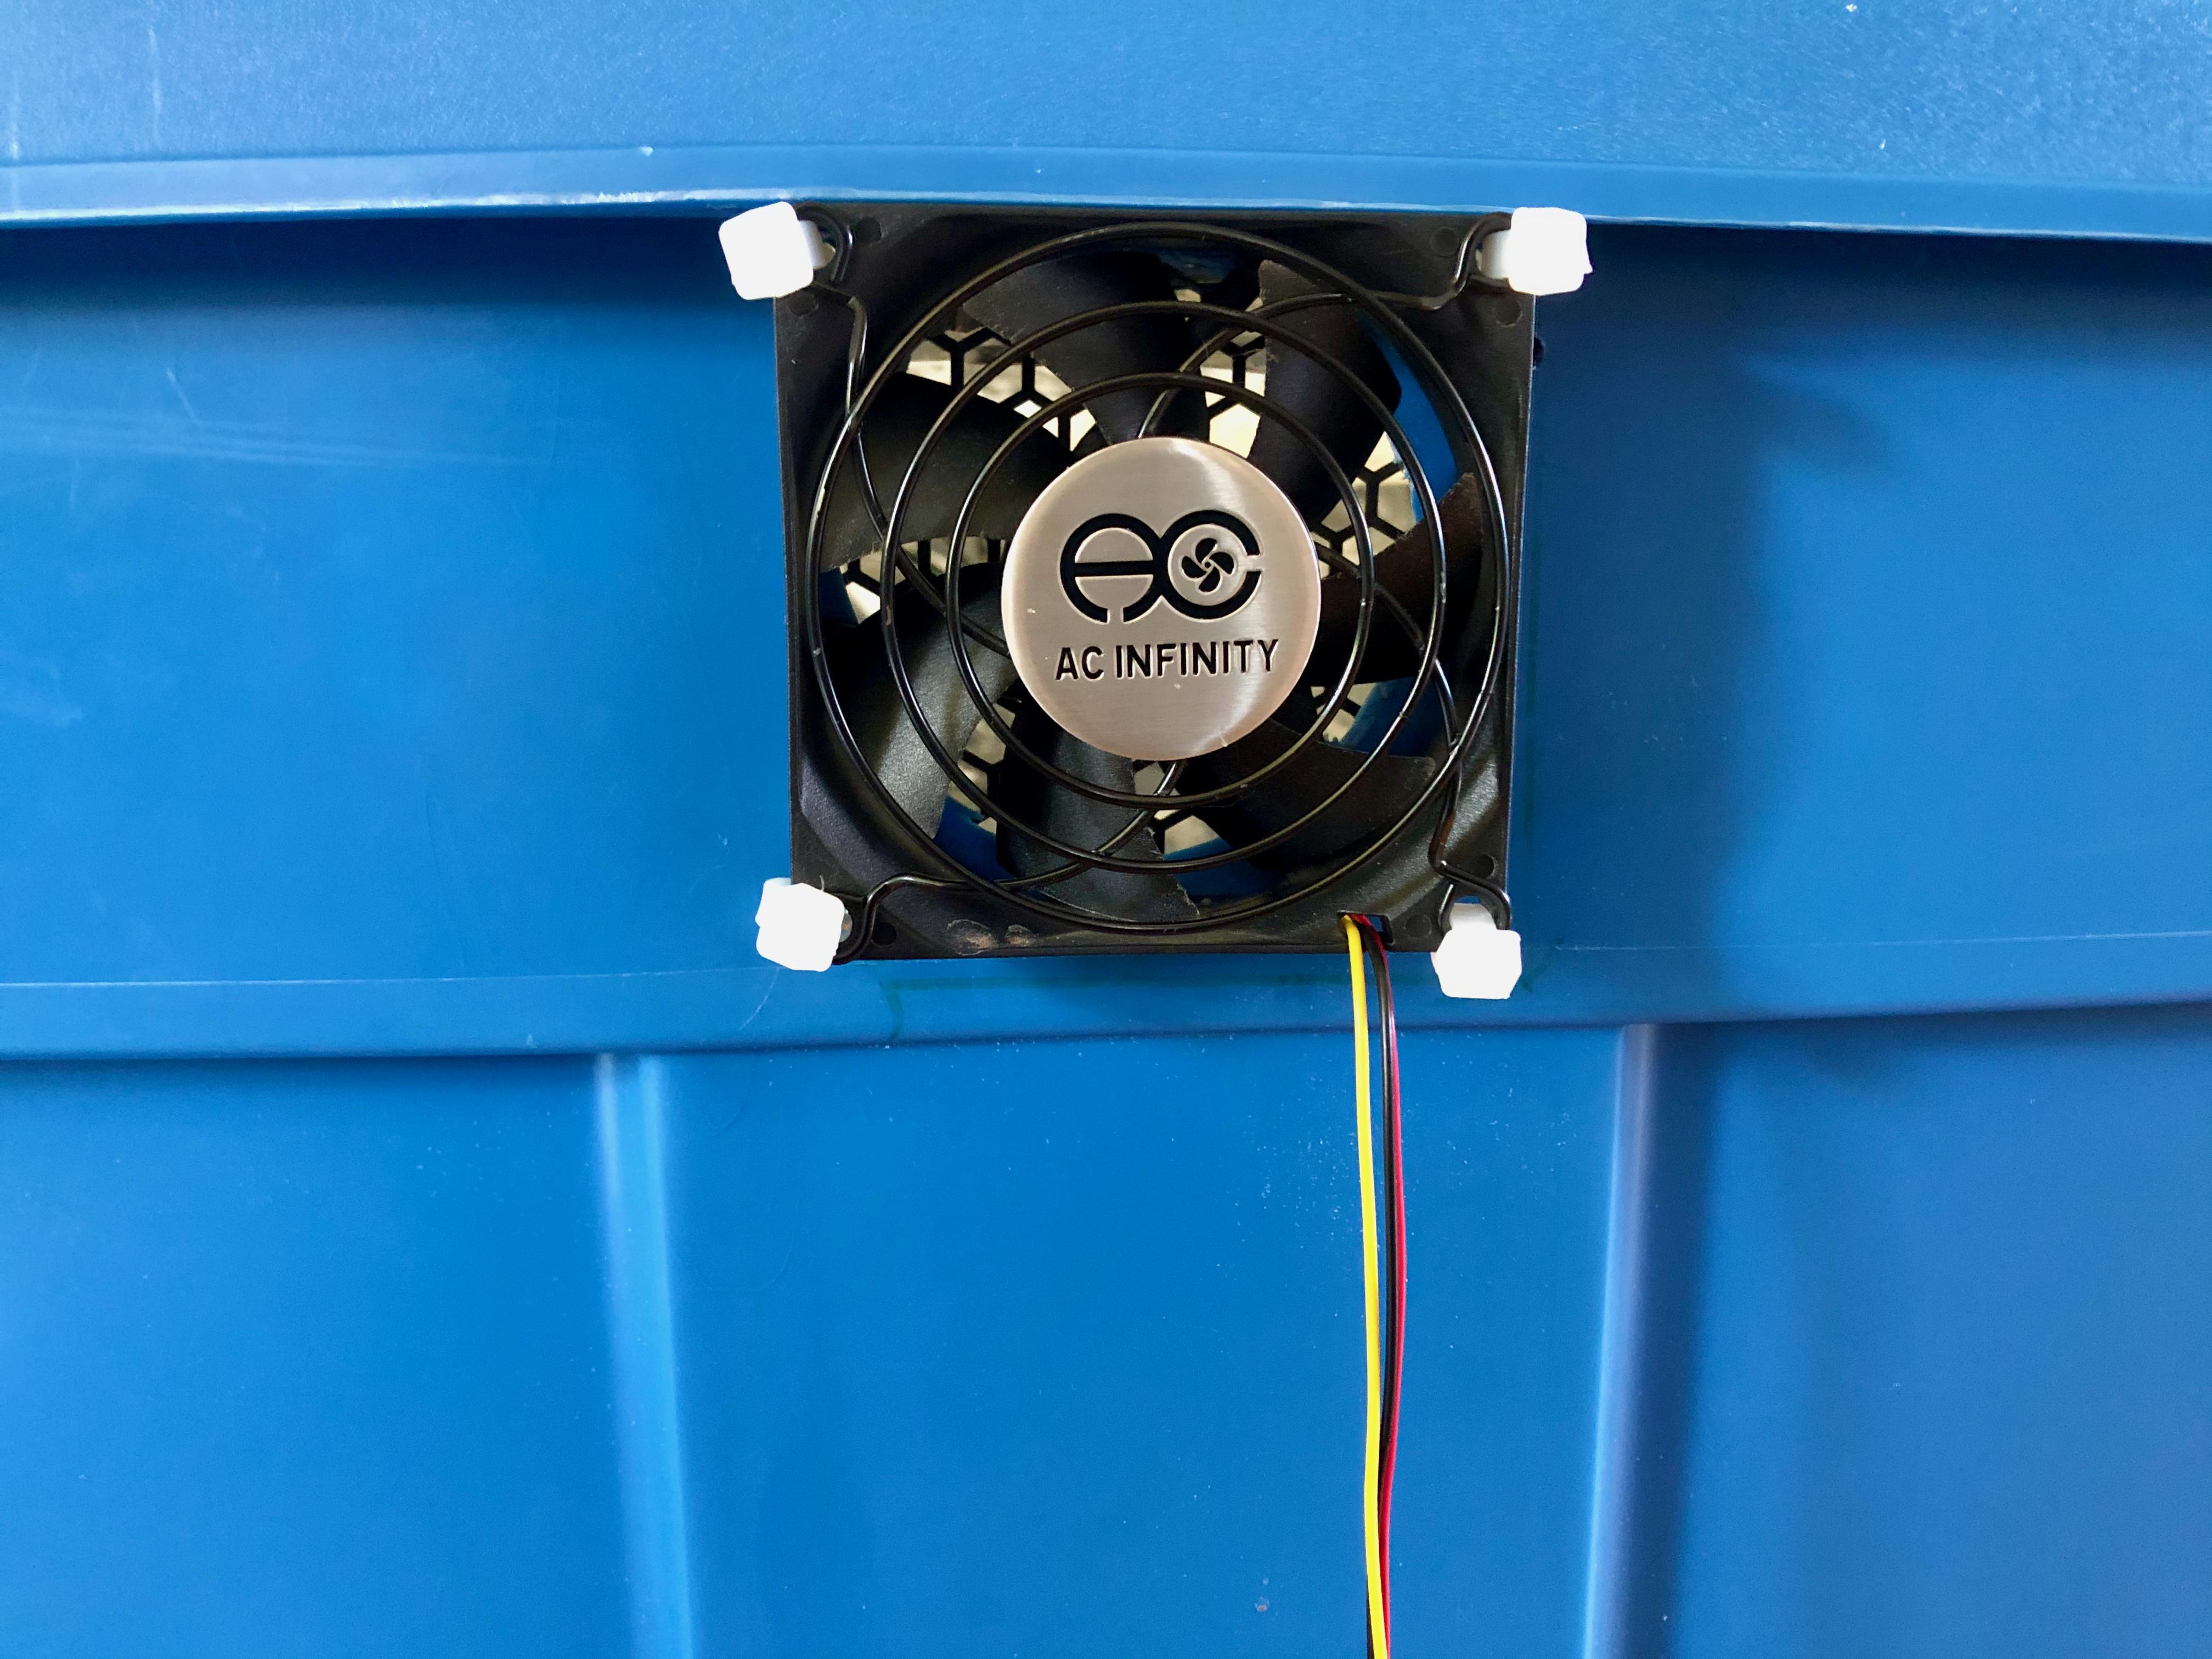
I chose to get protective plates to attach to either side of the fan. This adds a little extra protection and makes sure that anything your growing doesn't get in the fans, and that anything next to the box doesn't get caught.
Because I used a 4 inch inline fan for out-take, this wasn't strictly necessary. I knew I was going to probably want to build something bigger later, so I got myself a bigger fan.
My light hangs from the top of the box to give my little plants some sunshine. I drilled four holes into the boxes lid and attached four hooks around the box. These hooks have screws so that you can attach nuts to the end of them. I placed washers between the screw and the nut on either side of the plastic to add some stability and prevent stress from tearing the plastic lid around the drilled holes.
Using a box cutter and the dremel, I made a little hole for the light's power cable to thread through. After attaching the light, you can pull the power cable through the hole and plug it in outside of the box.
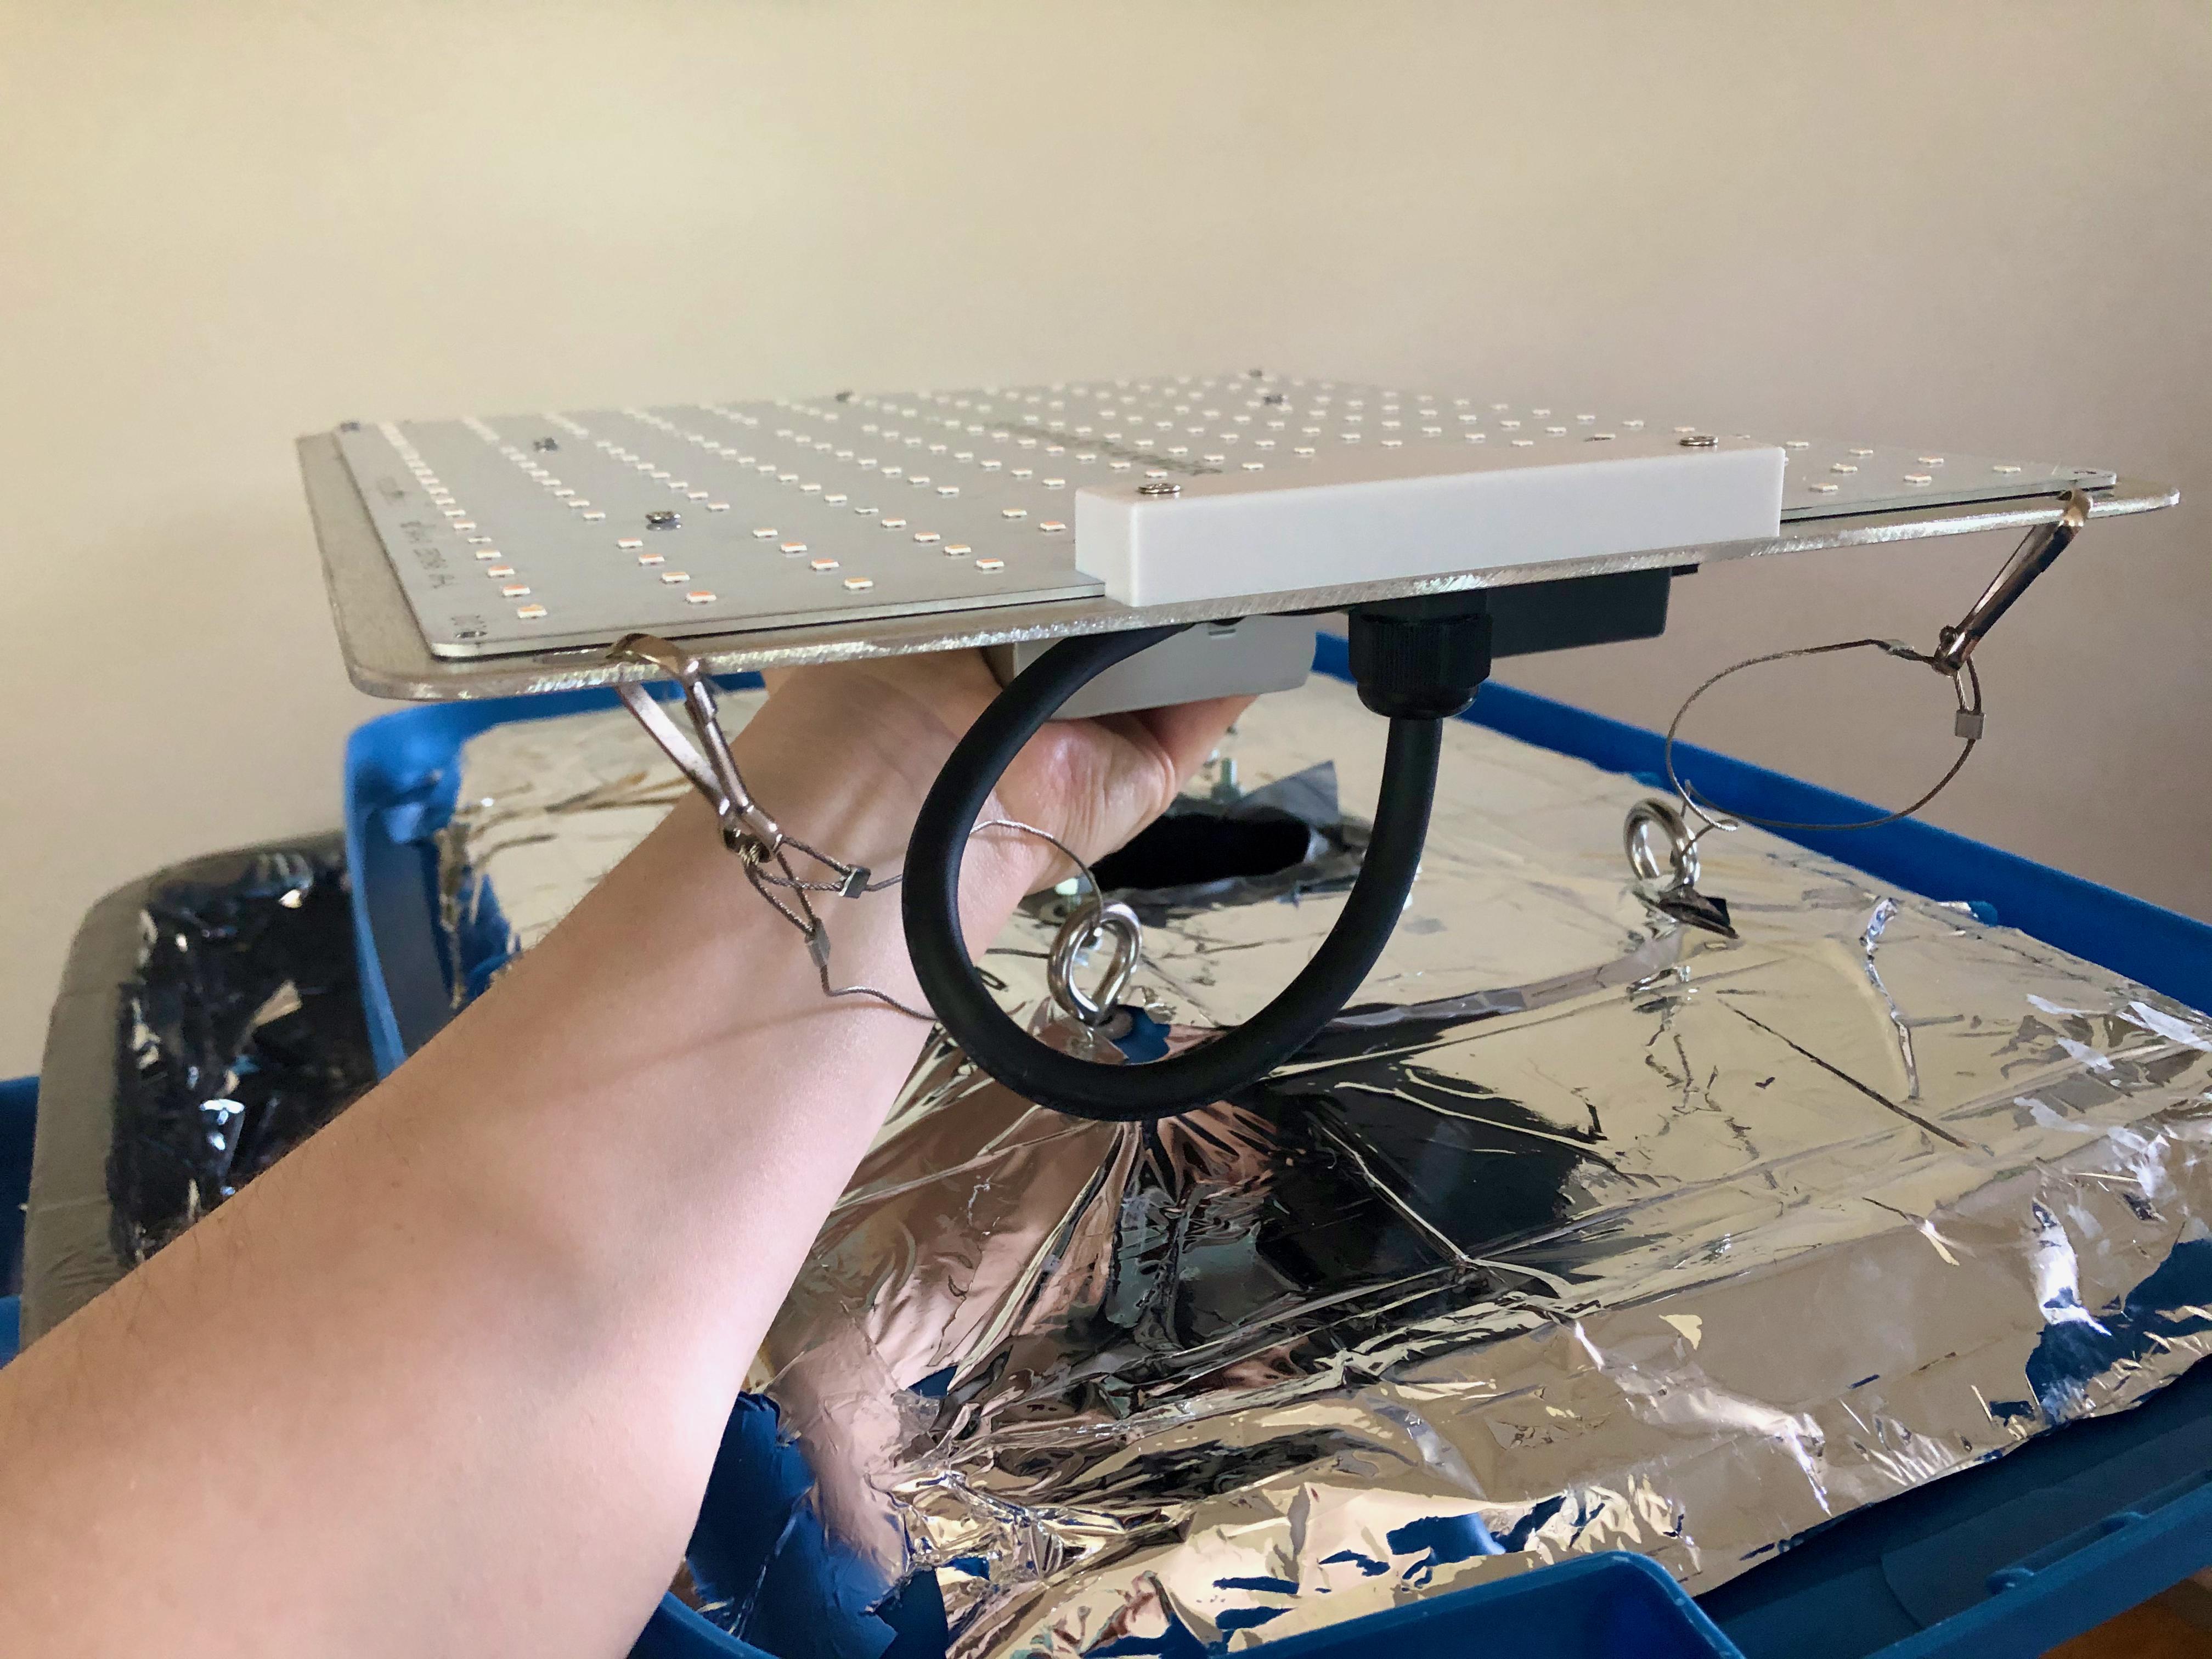
Most lights come with clips and metal cables. I looped these through the hooks and clipped my light in. The draw-back of this is that the light is at a fixed height. For some plants, you need to adjust the height of the light to maintain a correct distance from the plant as it grows. Nothing I plan to grow is that sensitive, so a fixed height is fine for me.

An outtake fan isn't really necessary for a small box. I had a feeling when I started this project that I would get more invested in indoor gardening, so I picked up an inline fan. I knew the fan would be useful for a bigger iteration of the project.
If you're not using an outtake fan, you can simply cut a hole in the top of the box. If you're feeling special, an extra grill to protect the hole would be a nice addition.
You now have a fully functional indoor greenhouse. Slot it into a closet and wait for the fruits of your labour.
I went to another workshop at Fern's school of craft! Ash Alberg from the pembina fiber-shed taught to courses focused on using natural materials to dye and print on fabric.
The first course was on eco-printing. Unlike dying, eco-printing is creating a surface print of some source materials--typically plants--on a target material. It's like using a printing press, but involves a chemical transfer between plants and some protein or cellulose based material. For this course, we worked with cotton tea-towels and silk scarves, however, you can print on all sorts of materials, including wood, wool, and leather.
This post is a collection of my notes from the class.
Before you can begin dying or printing, the material must be prepared. Oils and debris accumulate on fabrics. These oils can be on both new fabric as result of initial processing of the materials, or on second-hand materials from use. It's important to remove the oils, as they create a resist--- a section in the fabric where dyes and prints cannot transfer. We remove the oils by scouring the material.
Ash mentioned two detergents for scouring:
For textiles, it's best to throw the material in the wash on the cycle you expect to use to clean the end-product.
Once the materials have been scoured, we pre-mordant them. A mordant is a substance used to cure and fix dye or stain to a textile. For cellulose-based materials we use sources of tannins as our pre-mordant; for protein-based materials we use metal-ion based mordants.
Tannins can be found in rhubarb leaves; however, rhubarb leaves are toxic. If you're extracting tannins from rhubarb, make sure your workspace is well ventilated!
To pre-mordant, we weigh an appropriate amount of mordant based on the weight of the material we are treating, place it in a pot with our material on low heat, and leave it for an hour or two.
Alum is one of the most common pre-mordant to use with protein-based materials, and it's safe to use. You should use 15-20% of the fibre weight in alum for mordant.
After your materials as scoured and mordanted, it's time to print!
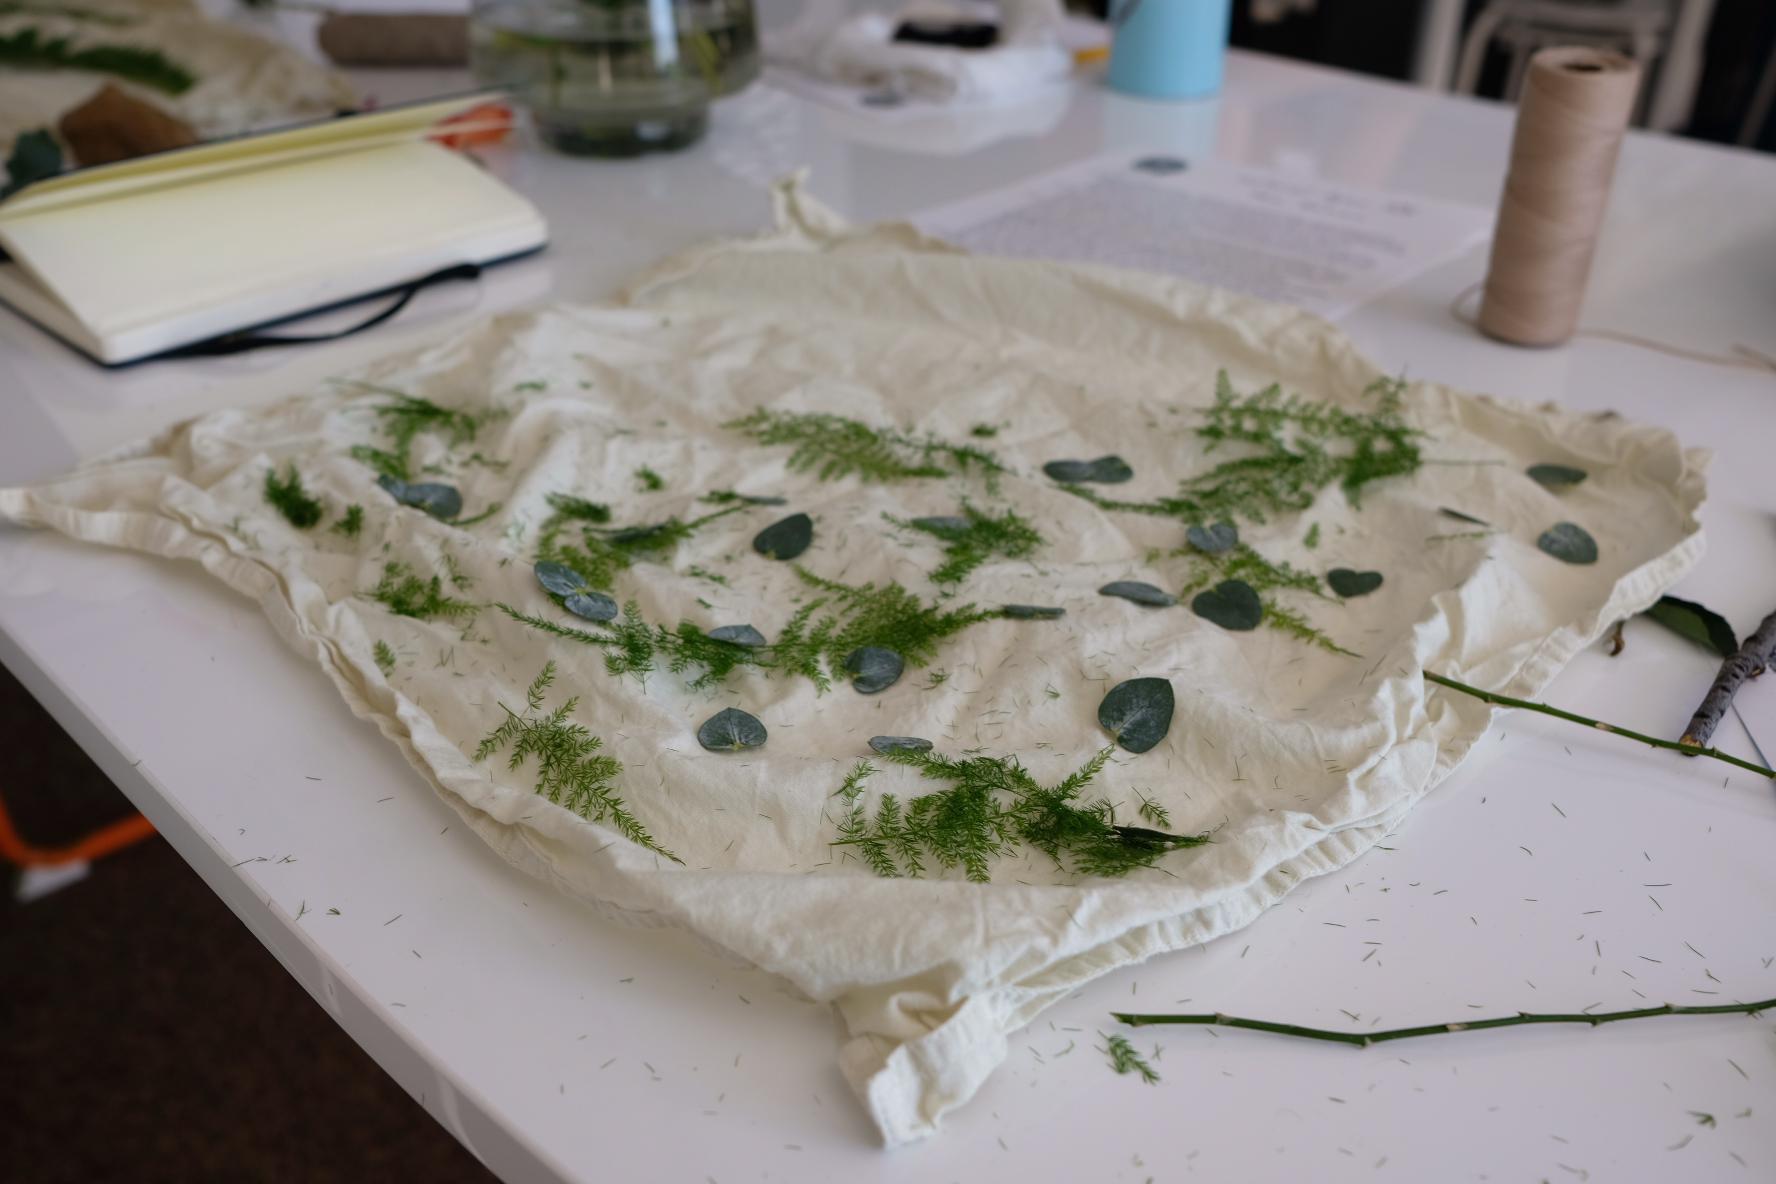
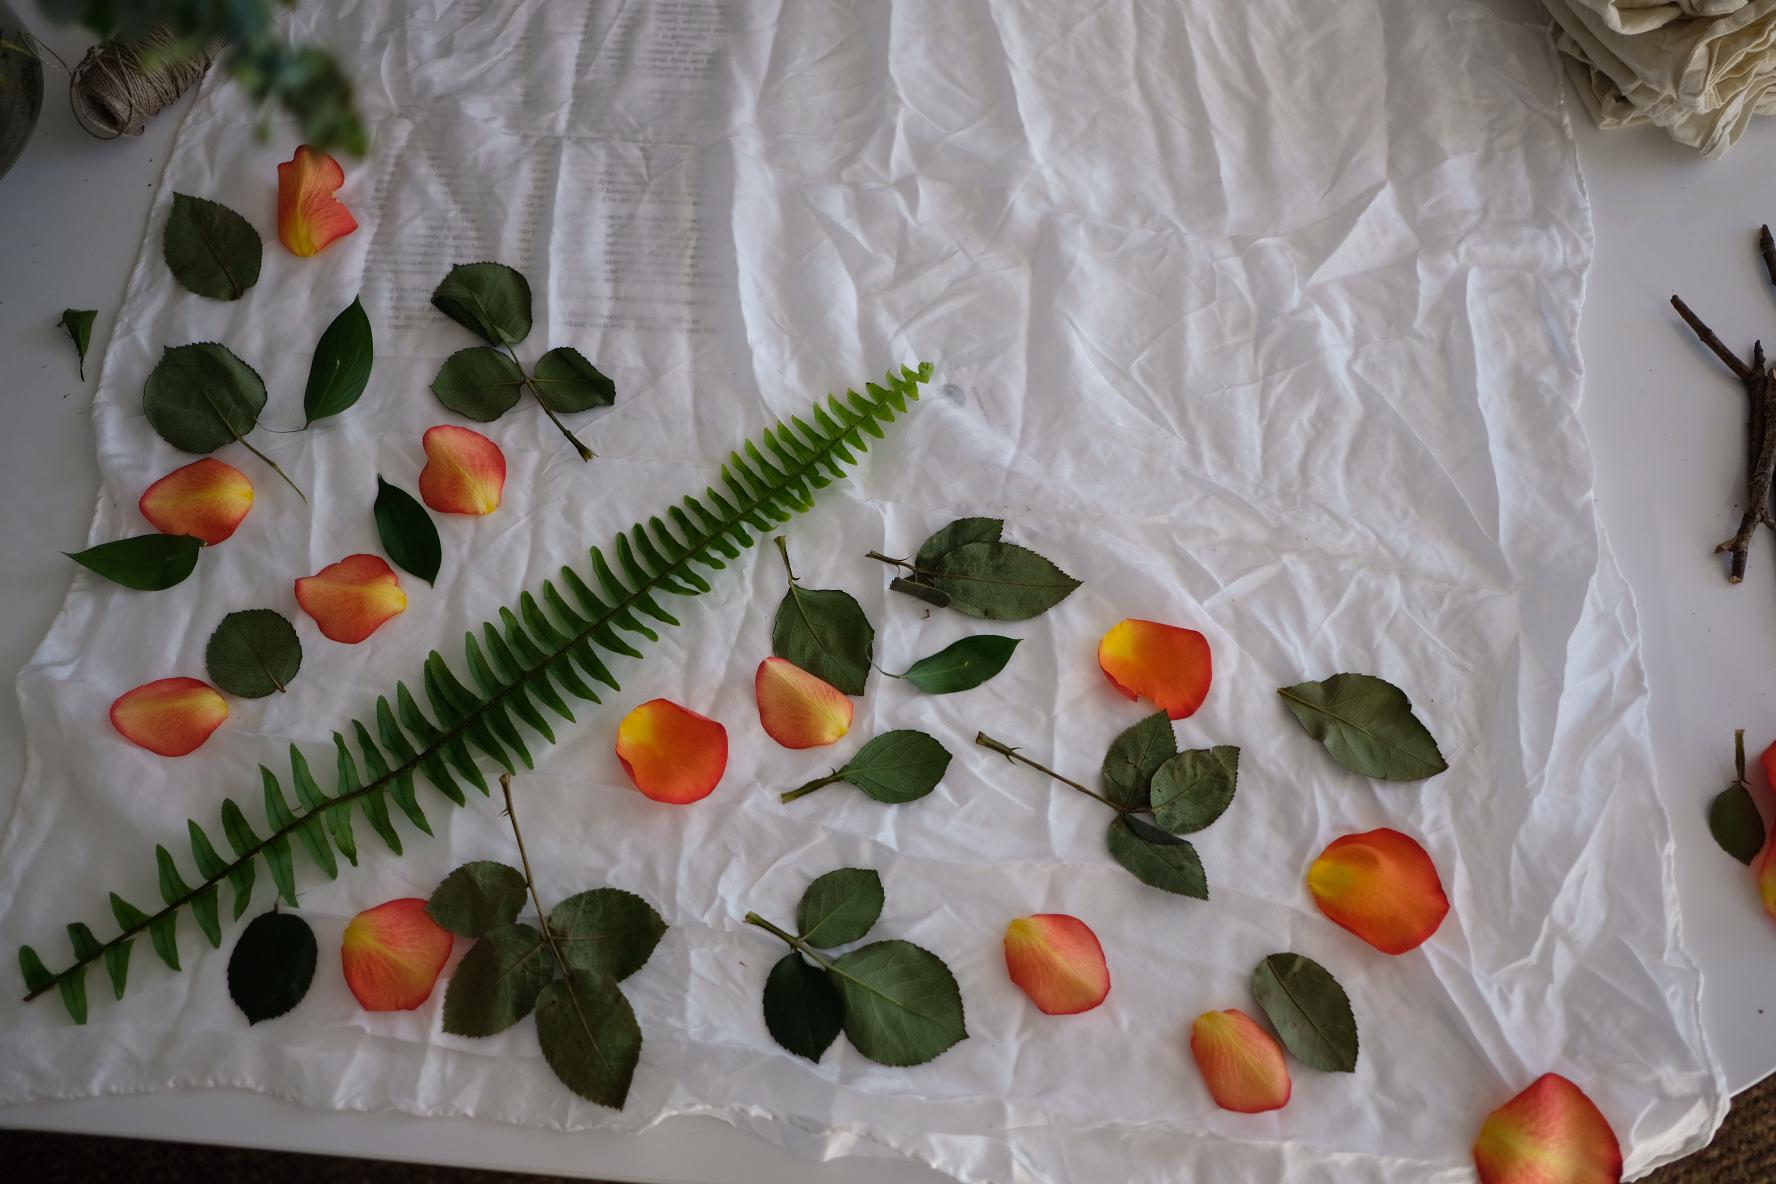
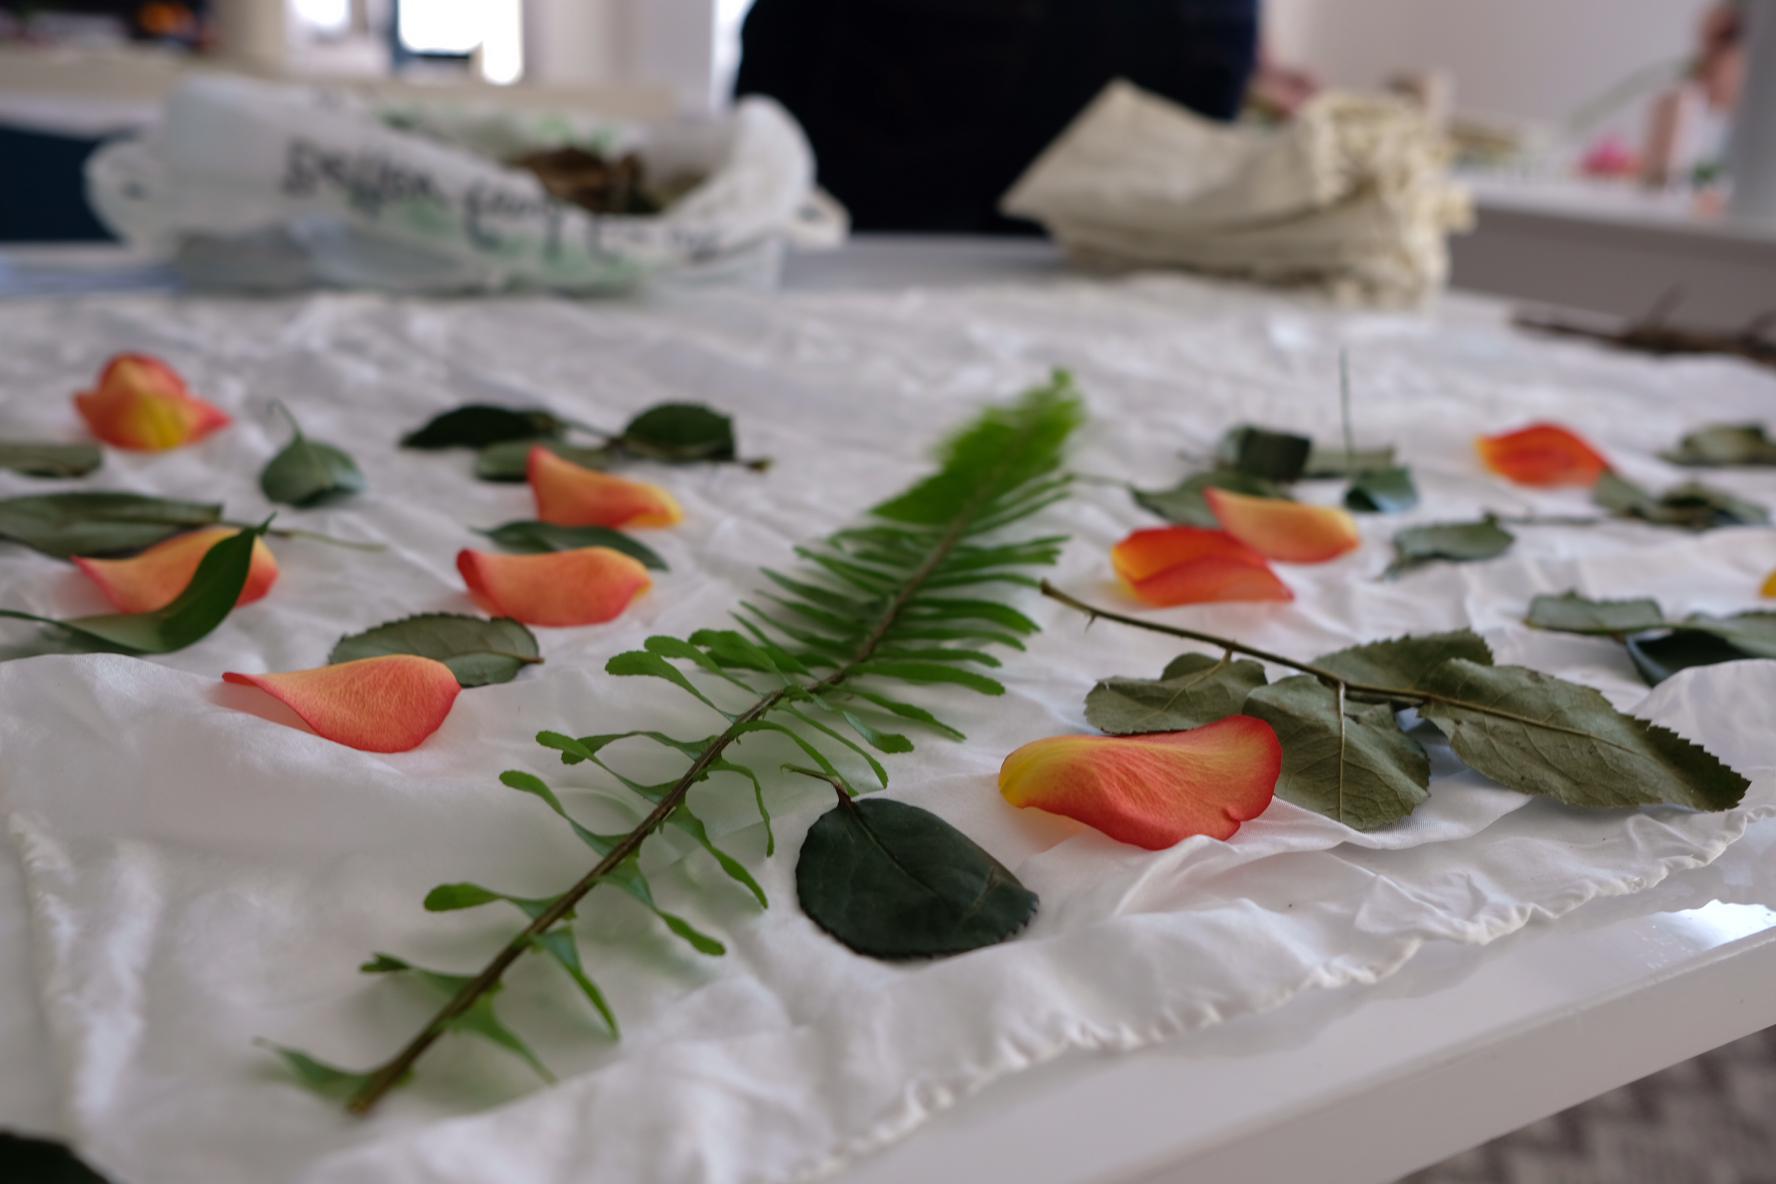
At the workshop there were a few bouquets for us to dismember and scatter onto our projects. One thing to remember when eco-printing: just because a plant has a particular colour, doesn't mean that it's going to imprint in that particular colour.
Although eucalyptus is a pretty teal-green, it leaves behind a purple impression. Similarly, the rose petals and leaves left behind colours ranging from black-brown to green.
Once the pieces are in place, there's a number of different ways to leave an impression.
You have to wrap your bundles really tight. No, seriously. If you want your impression to come out, you need to apply substantial pressure. The way you do that is by tightening your bundle and tying it down. It's easy to think that you're bundle is tight enough. You can be oh-so wrong. One of the issues during the workshop was that few people got substantial impressions onto their work. A few people had barely any impression on their work.
This could have been for two reasons: 1) the bundles weren't left in the pots long enough due to time-constraints, or 2) the people's bundles weren't tight enough. Given everyone's bundles were on the stove for roughly the same amount of time, and some of us got striking impressions, my money is on 2).
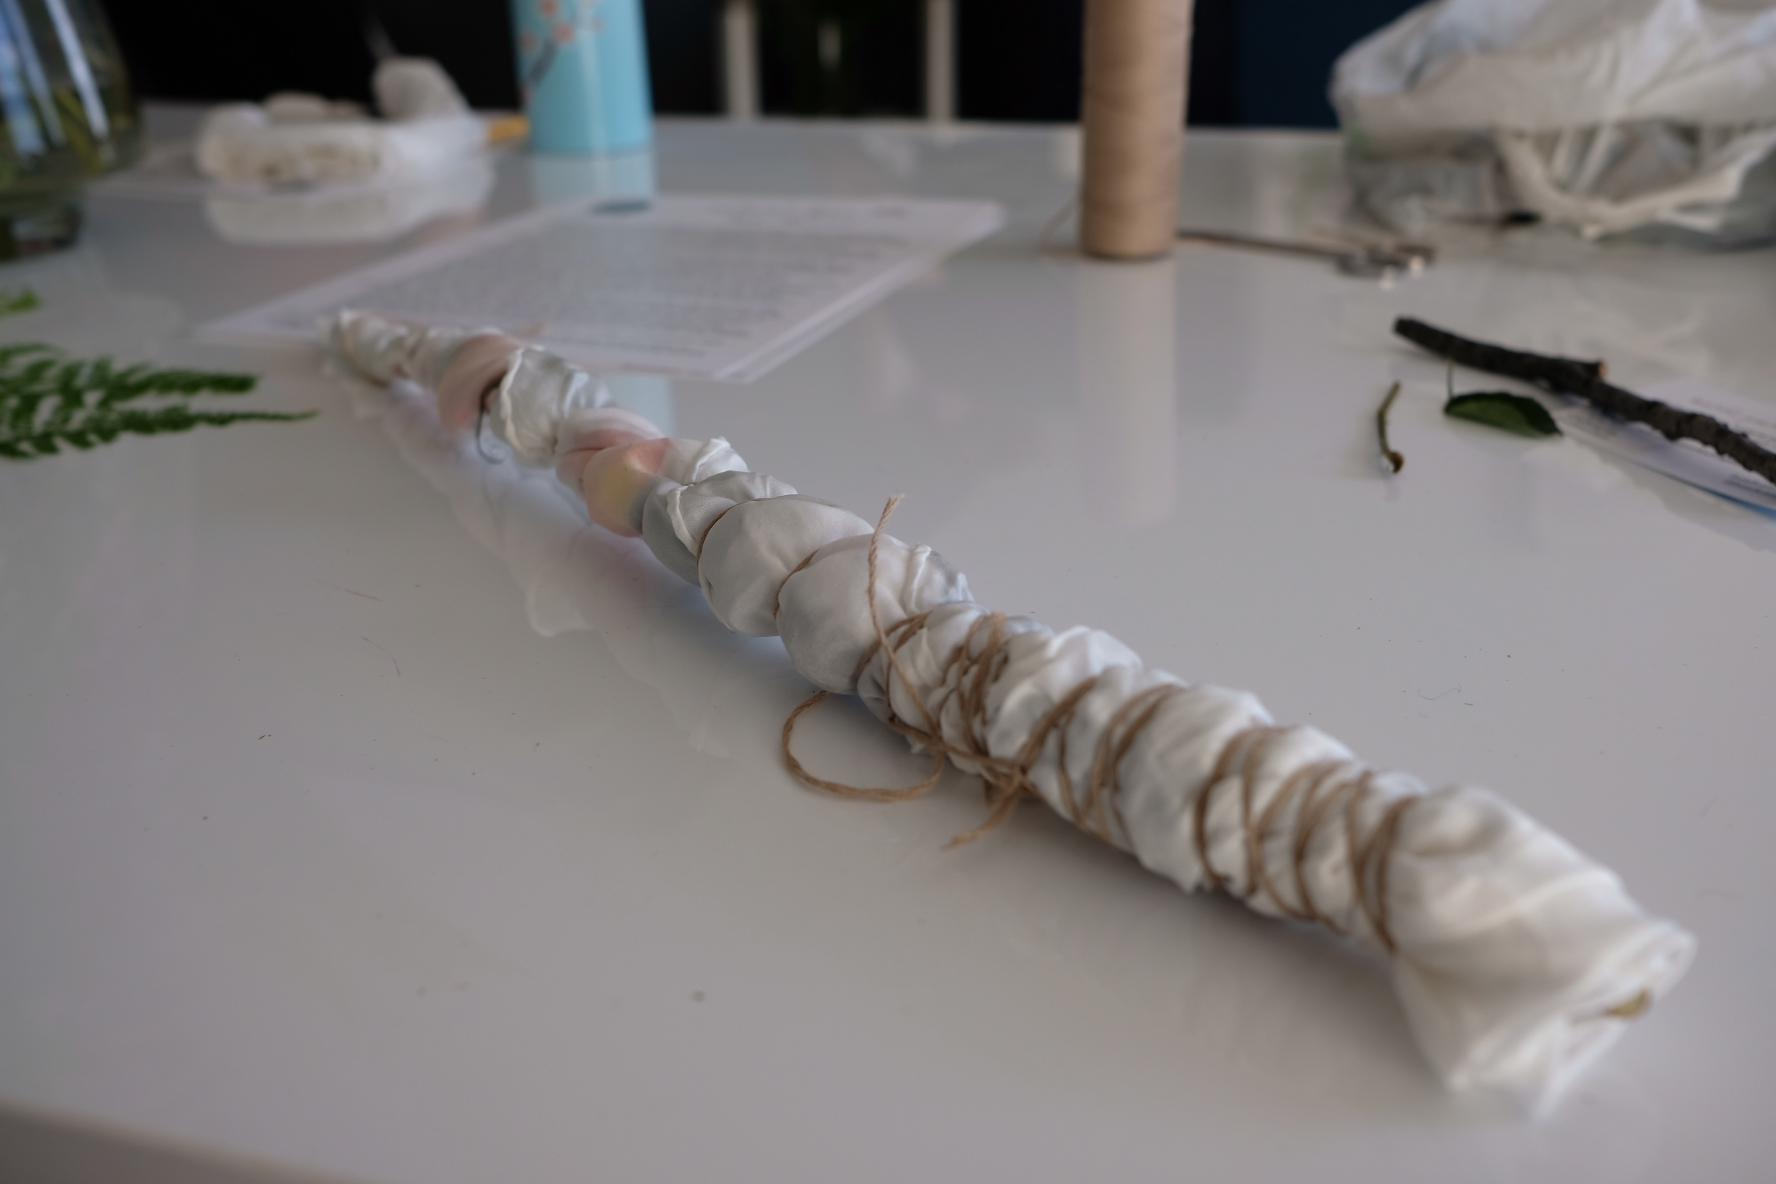
After the bundles are snug, it's time to give them a bath. Bundles need to be simmered at a medium heat below boiling for a few hours. To give my prints a little extra kick, I brought them home and put them in a slow cooker over-night.
Never use anything to store or cook food that you use for dying and printing. It's important to keep your food-prep and dye-related tools separated. Just because it came from a plant, doesn't mean that it's healthy to consume.
I was happy with how my scarf turned out after a little extra time cooking, but I felt that I could improve it a little bit more. by adding a little bit more pressure to my bundle, and by giving it a little bit more time. Because eco-printing is transfer, not a dye, you can keep re-printing on the fabric to experiment.
Online Suppliers: Maiwa: for natural dyes and fabric. Richter's Seeds: for seeds.
I went to another workshop at Fern's school of craft! Ash Alberg from the pembina fiber-shed taught to courses focused on using natural materials to dye and print on fabric.
The first course was on eco-printing. Unlike dying, eco-printing is creating a surface print of some source materials--typically plants--on a target material. It's like using a printing press, but involves a chemical transfer between plants and some protein or cellulose based material. For this course, we worked with cotton tea-towels and silk scarves, however, you can print on all sorts of materials, including wood, wool, and leather.
This post is a collection of my notes from the class.
Before you can begin dying or printing, the material must be prepared. Oils and debris accumulate on fabrics. These oils can be on both new fabric as result of initial processing of the materials, or on second-hand materials from use. It's important to remove the oils, as they create a resist--- a section in the fabric where dyes and prints cannot transfer. We remove the oils by scouring the material.
Ash mentioned two detergents for scouring:
For textiles, it's best to throw the material in the wash on the cycle you expect to use to clean the end-product.
Once the materials have been scoured, we pre-mordant them. A mordant is a substance used to cure and fix dye or stain to a textile. For cellulose-based materials we use sources of tannins as our pre-mordant; for protein-based materials we use metal-ion based mordants.
Tannins can be found in rhubarb leaves; however, rhubarb leaves are toxic. If you're extracting tannins from rhubarb, make sure your workspace is well ventilated!
To pre-mordant, we weigh an appropriate amount of mordant based on the weight of the material we are treating, place it in a pot with our material on low heat, and leave it for an hour or two.
Alum is one of the most common pre-mordant to use with protein-based materials, and it's safe to use. You should use 15-20% of the fibre weight in alum for mordant.
After your materials as scoured and mordanted, it's time to print!
At the workshop there were a few bouquets for us to dismember and scatter onto our projects. One thing to remember when eco-printing: just because a plant has a particular colour, doesn't mean that it's going to imprint in that particular colour.
Although eucalyptus is a pretty teal-green, it leaves behind a purple impression. Similarly, the rose petals and leaves left behind colours ranging from black-brown to green.
Once the pieces are in place, there's a number of different ways to leave an impression.
You have to wrap your bundles really tight. No, seriously. If you want your impression to come out, you need to apply substantial pressure. The way you do that is by tightening your bundle and tying it down. It's easy to think that you're bundle is tight enough. You can be oh-so wrong. One of the issues during the workshop was that few people got substantial impressions onto their work. A few people had barely any impression on their work.
This could have been for two reasons: 1) the bundles weren't left in the pots long enough due to time-constraints, or 2) the people's bundles weren't tight enough. Given everyone's bundles were on the stove for roughly the same amount of time, and some of us got striking impressions, my money is on 2).
After the bundles are snug, it's time to give them a bath. Bundles need to be simmered at a medium heat below boiling for a few hours. To give my prints a little extra kick, I brought them home and put them in a slow cooker over-night.
Never use anything to store or cook food that you use for dying and printing. It's important to keep your food-prep and dye-related tools separated. Just because it came from a plant, doesn't mean that it's healthy to consume.
I was happy with how my scarf turned out after a little extra time cooking, but I felt that I could improve it a little bit more. by adding a little bit more pressure to my bundle, and by giving it a little bit more time. Because eco-printing is transfer, not a dye, you can keep re-printing on the fabric to experiment.
Online Suppliers: Maiwa: for natural dyes and fabric. Richter's Seeds: for seeds.
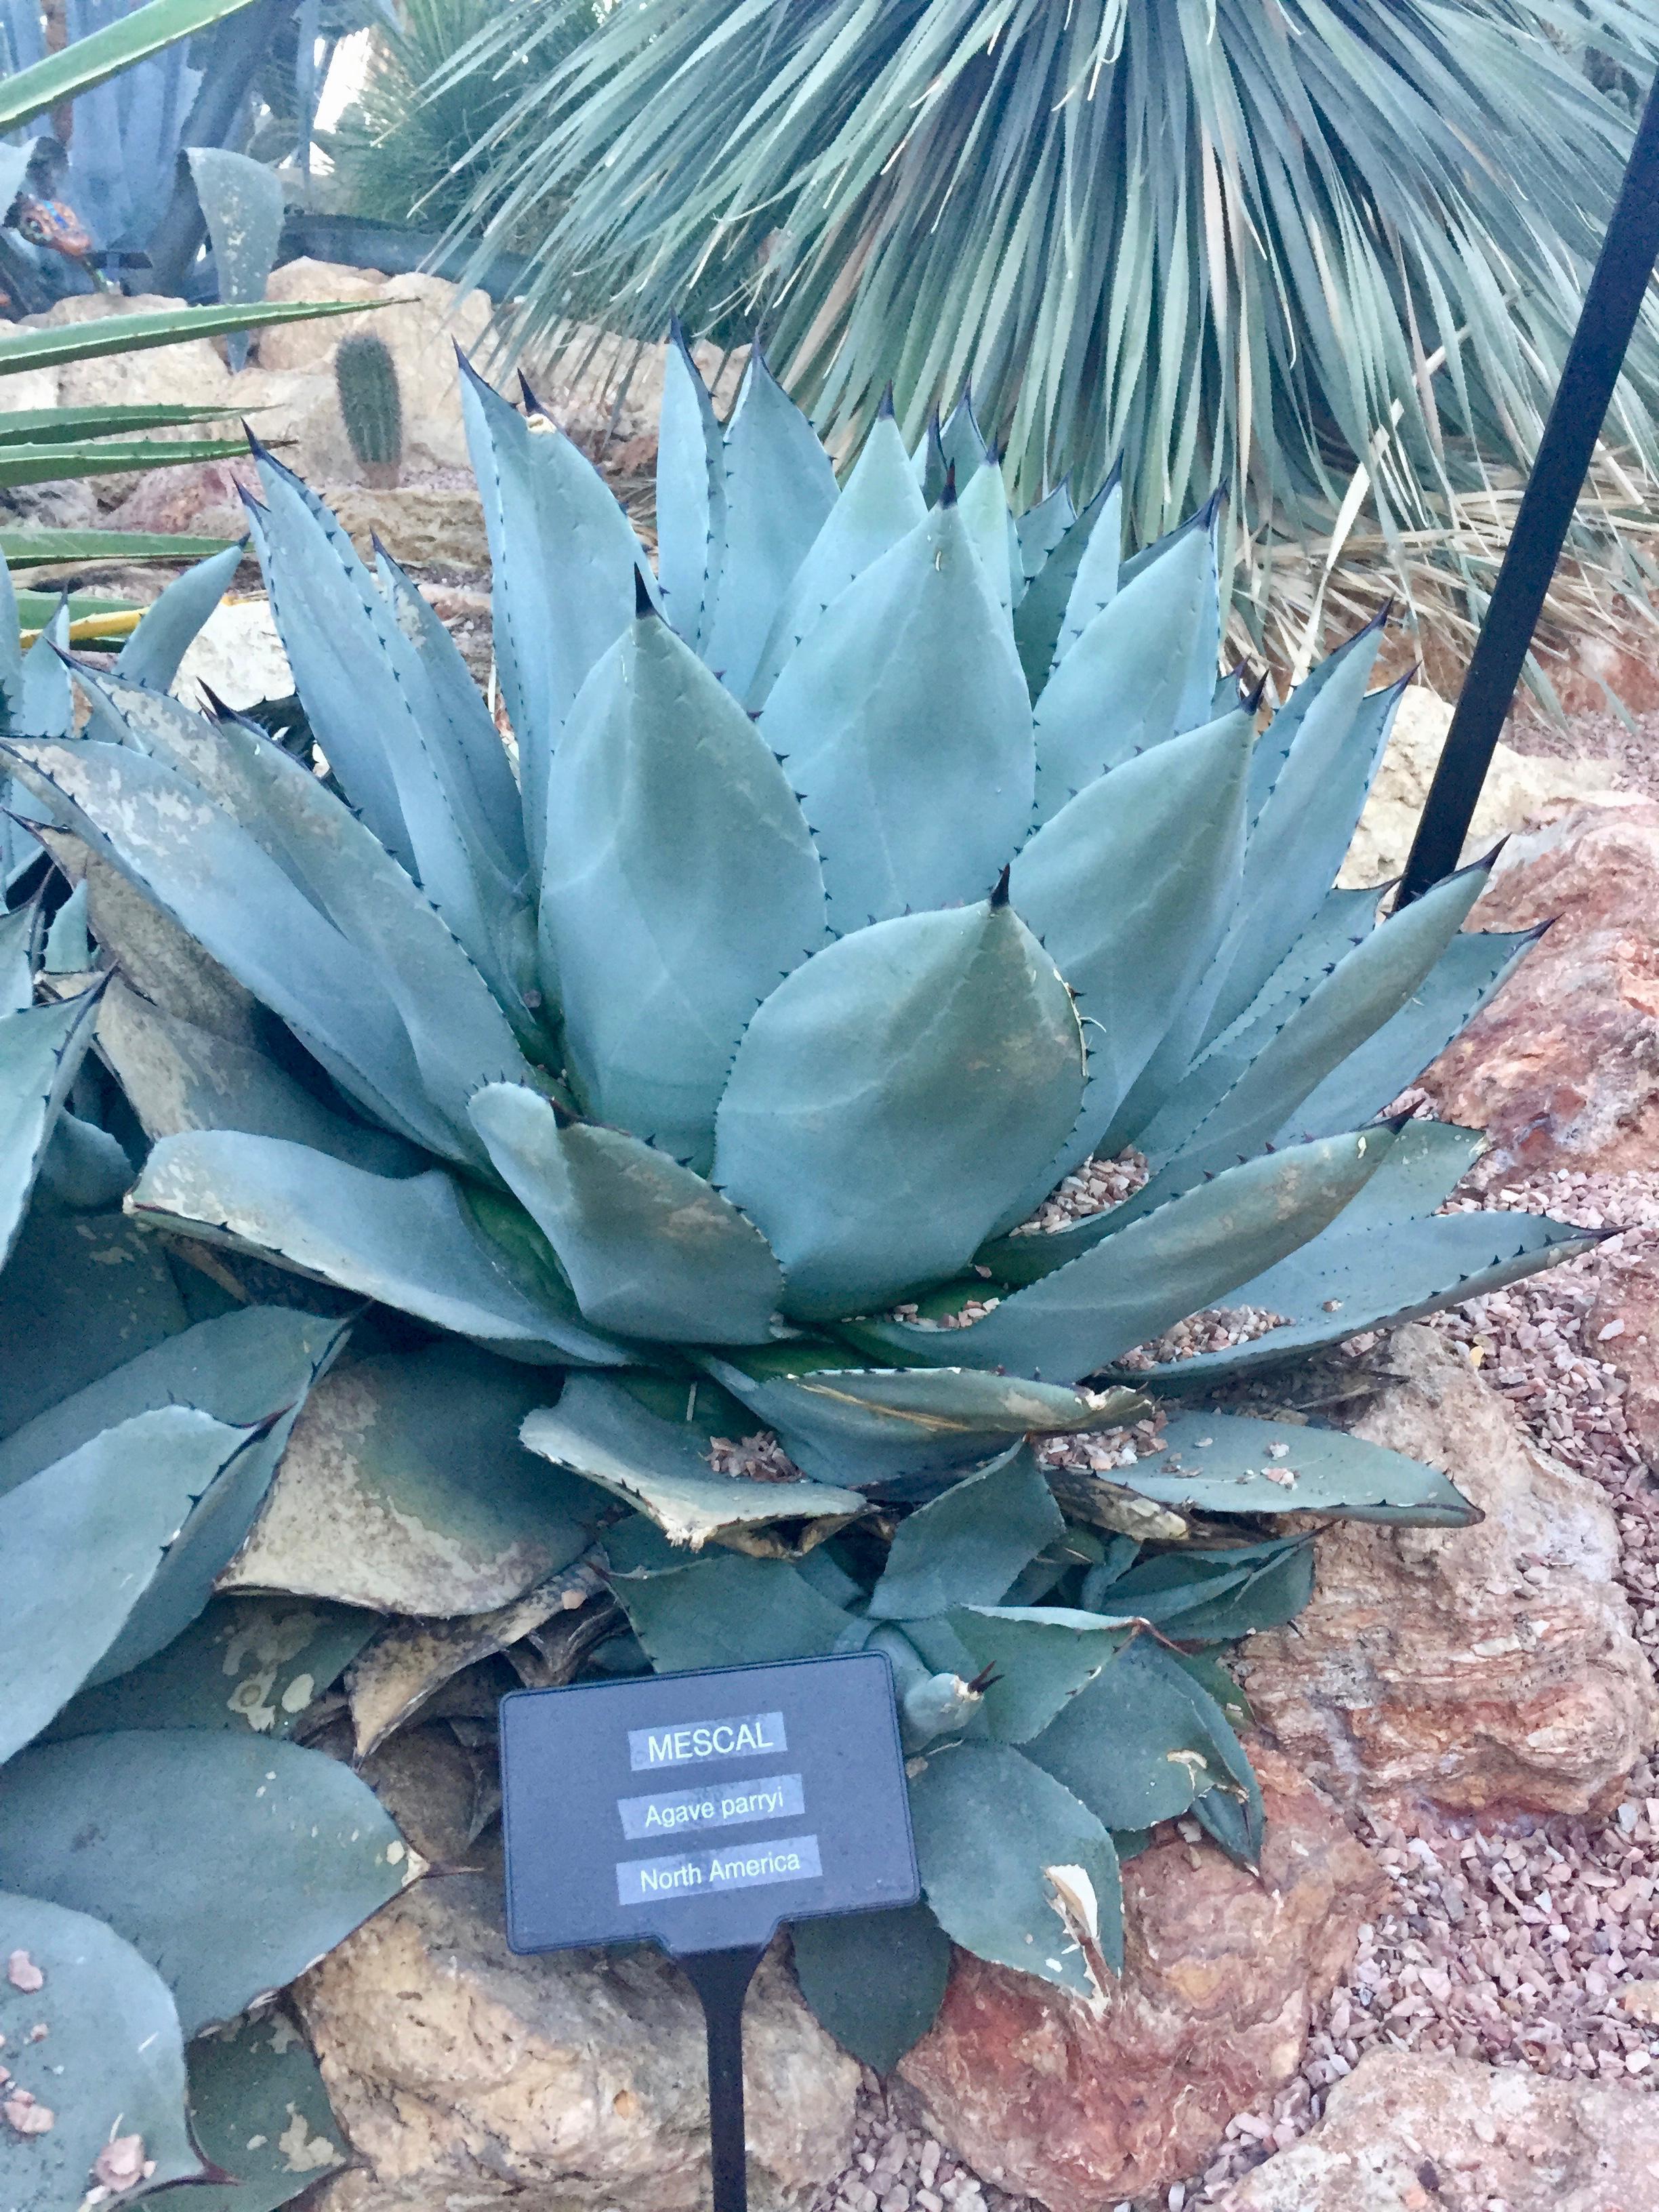
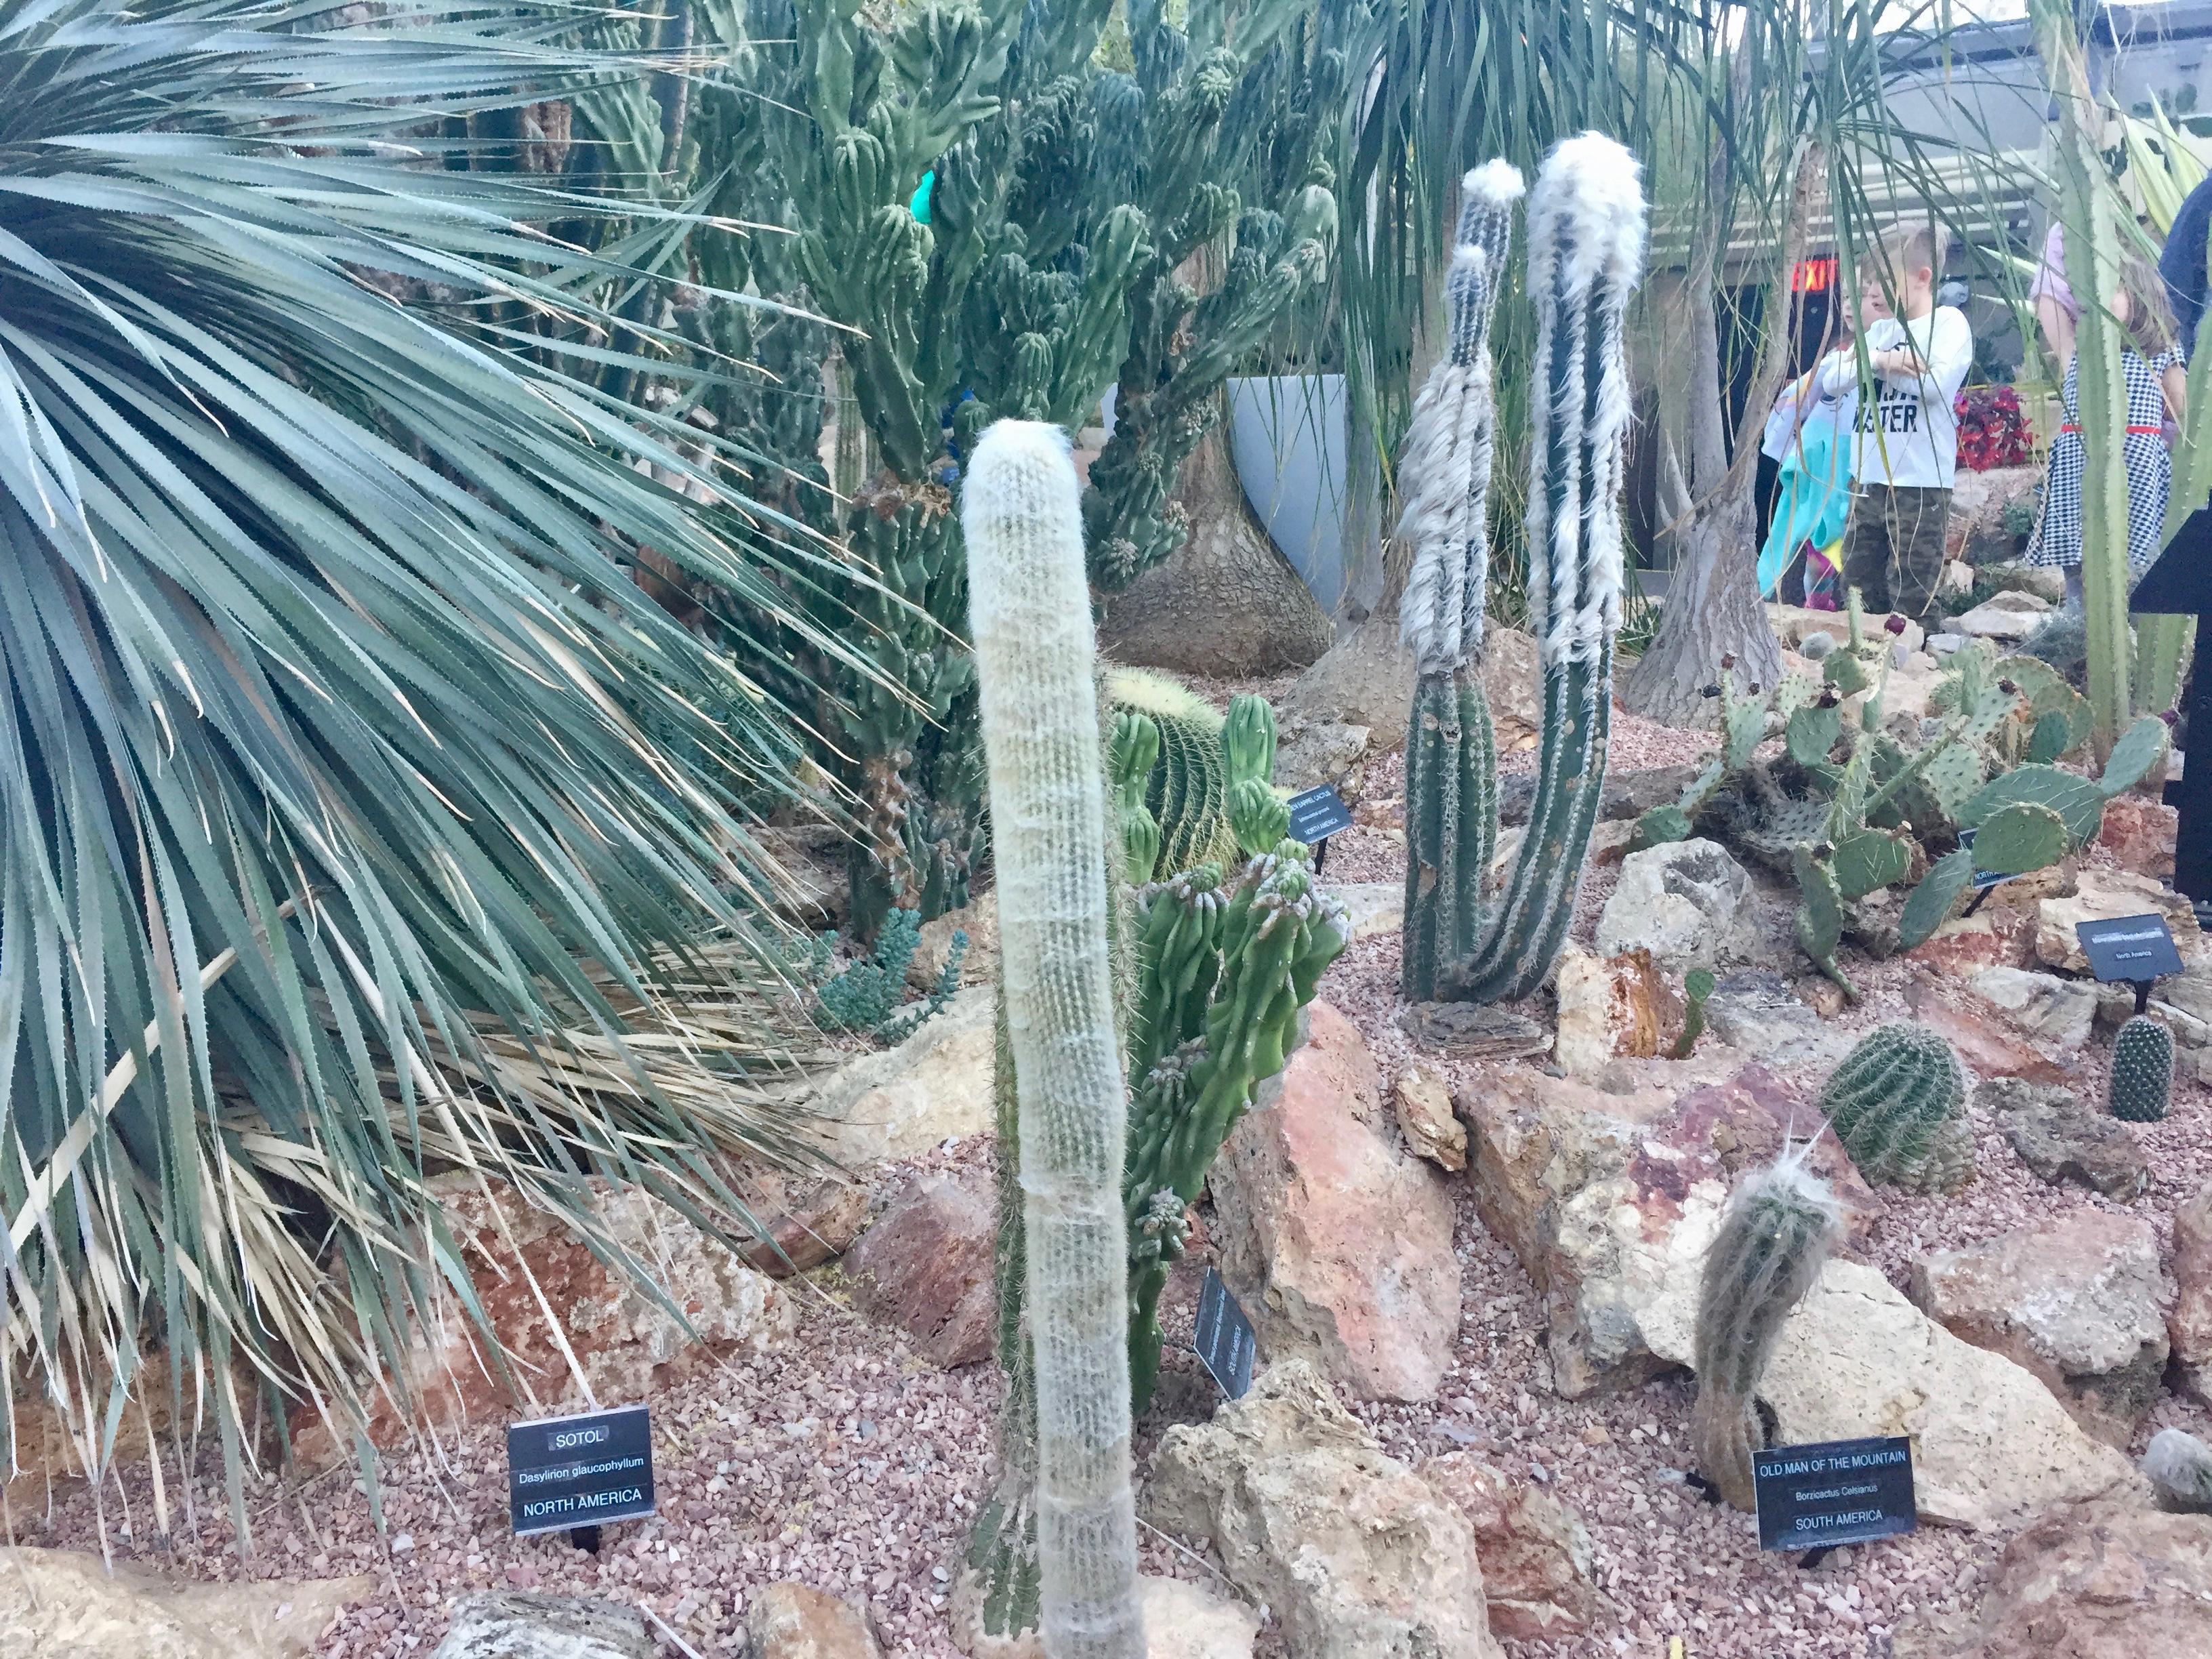
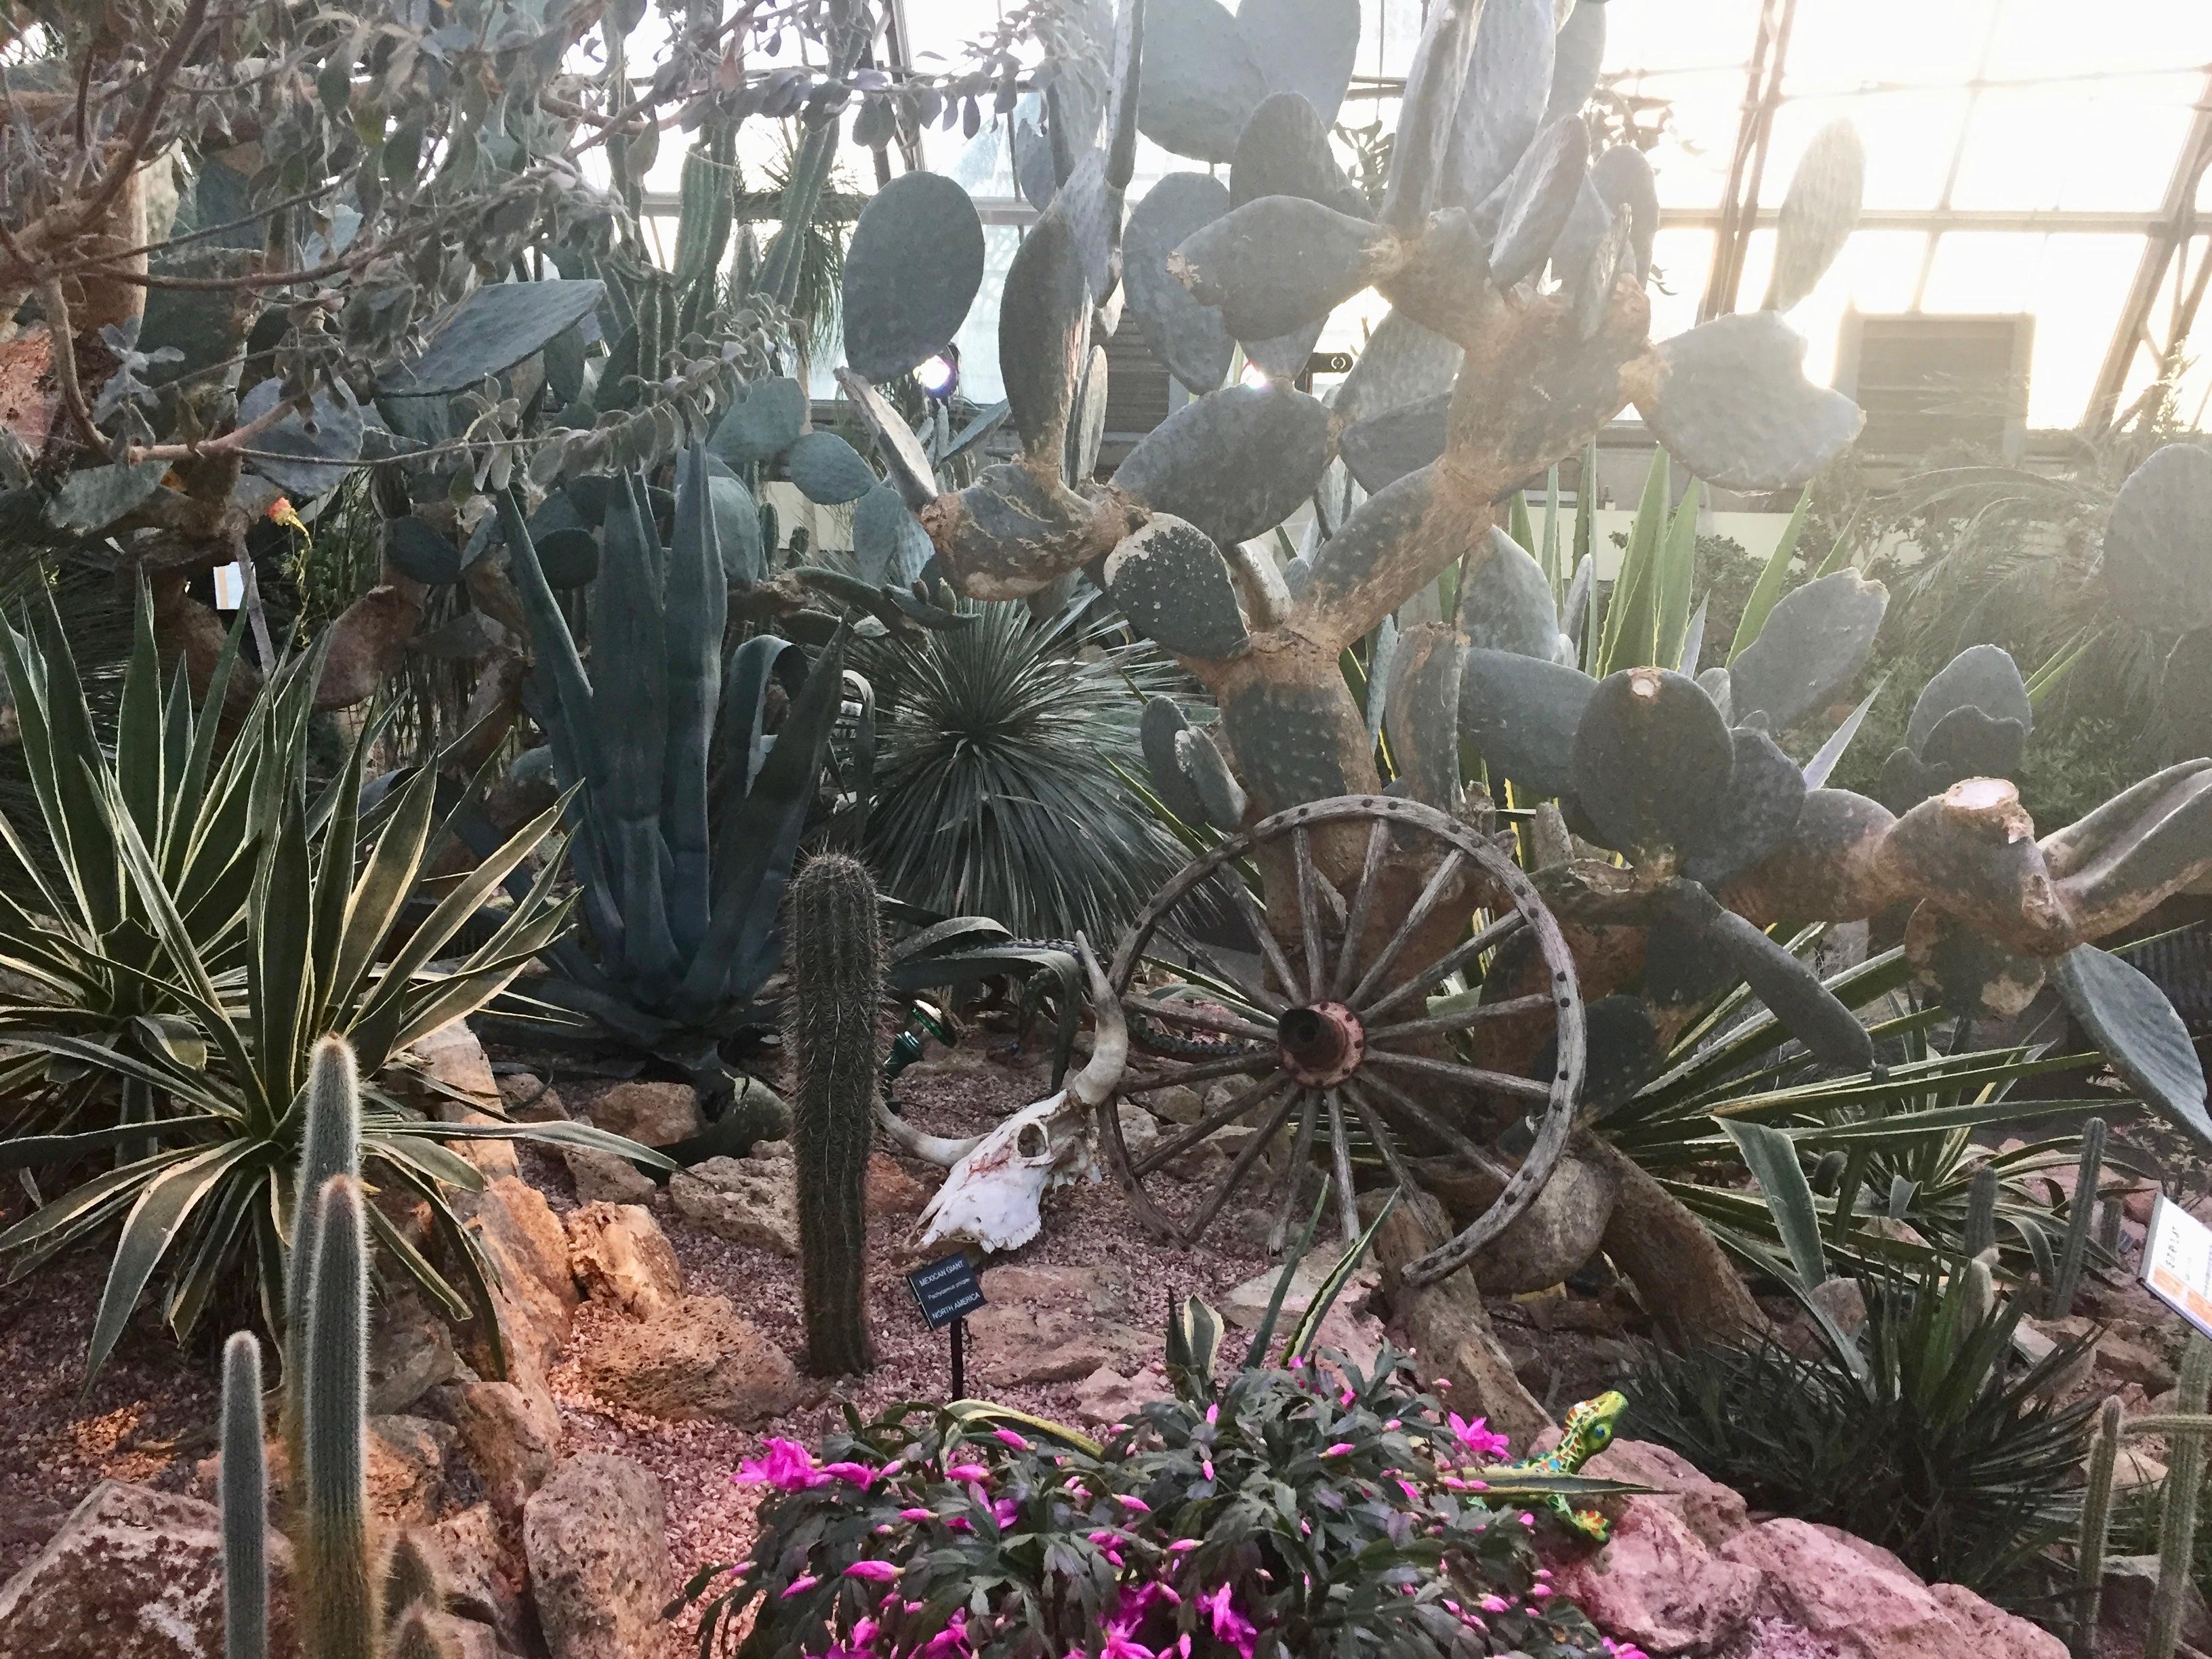
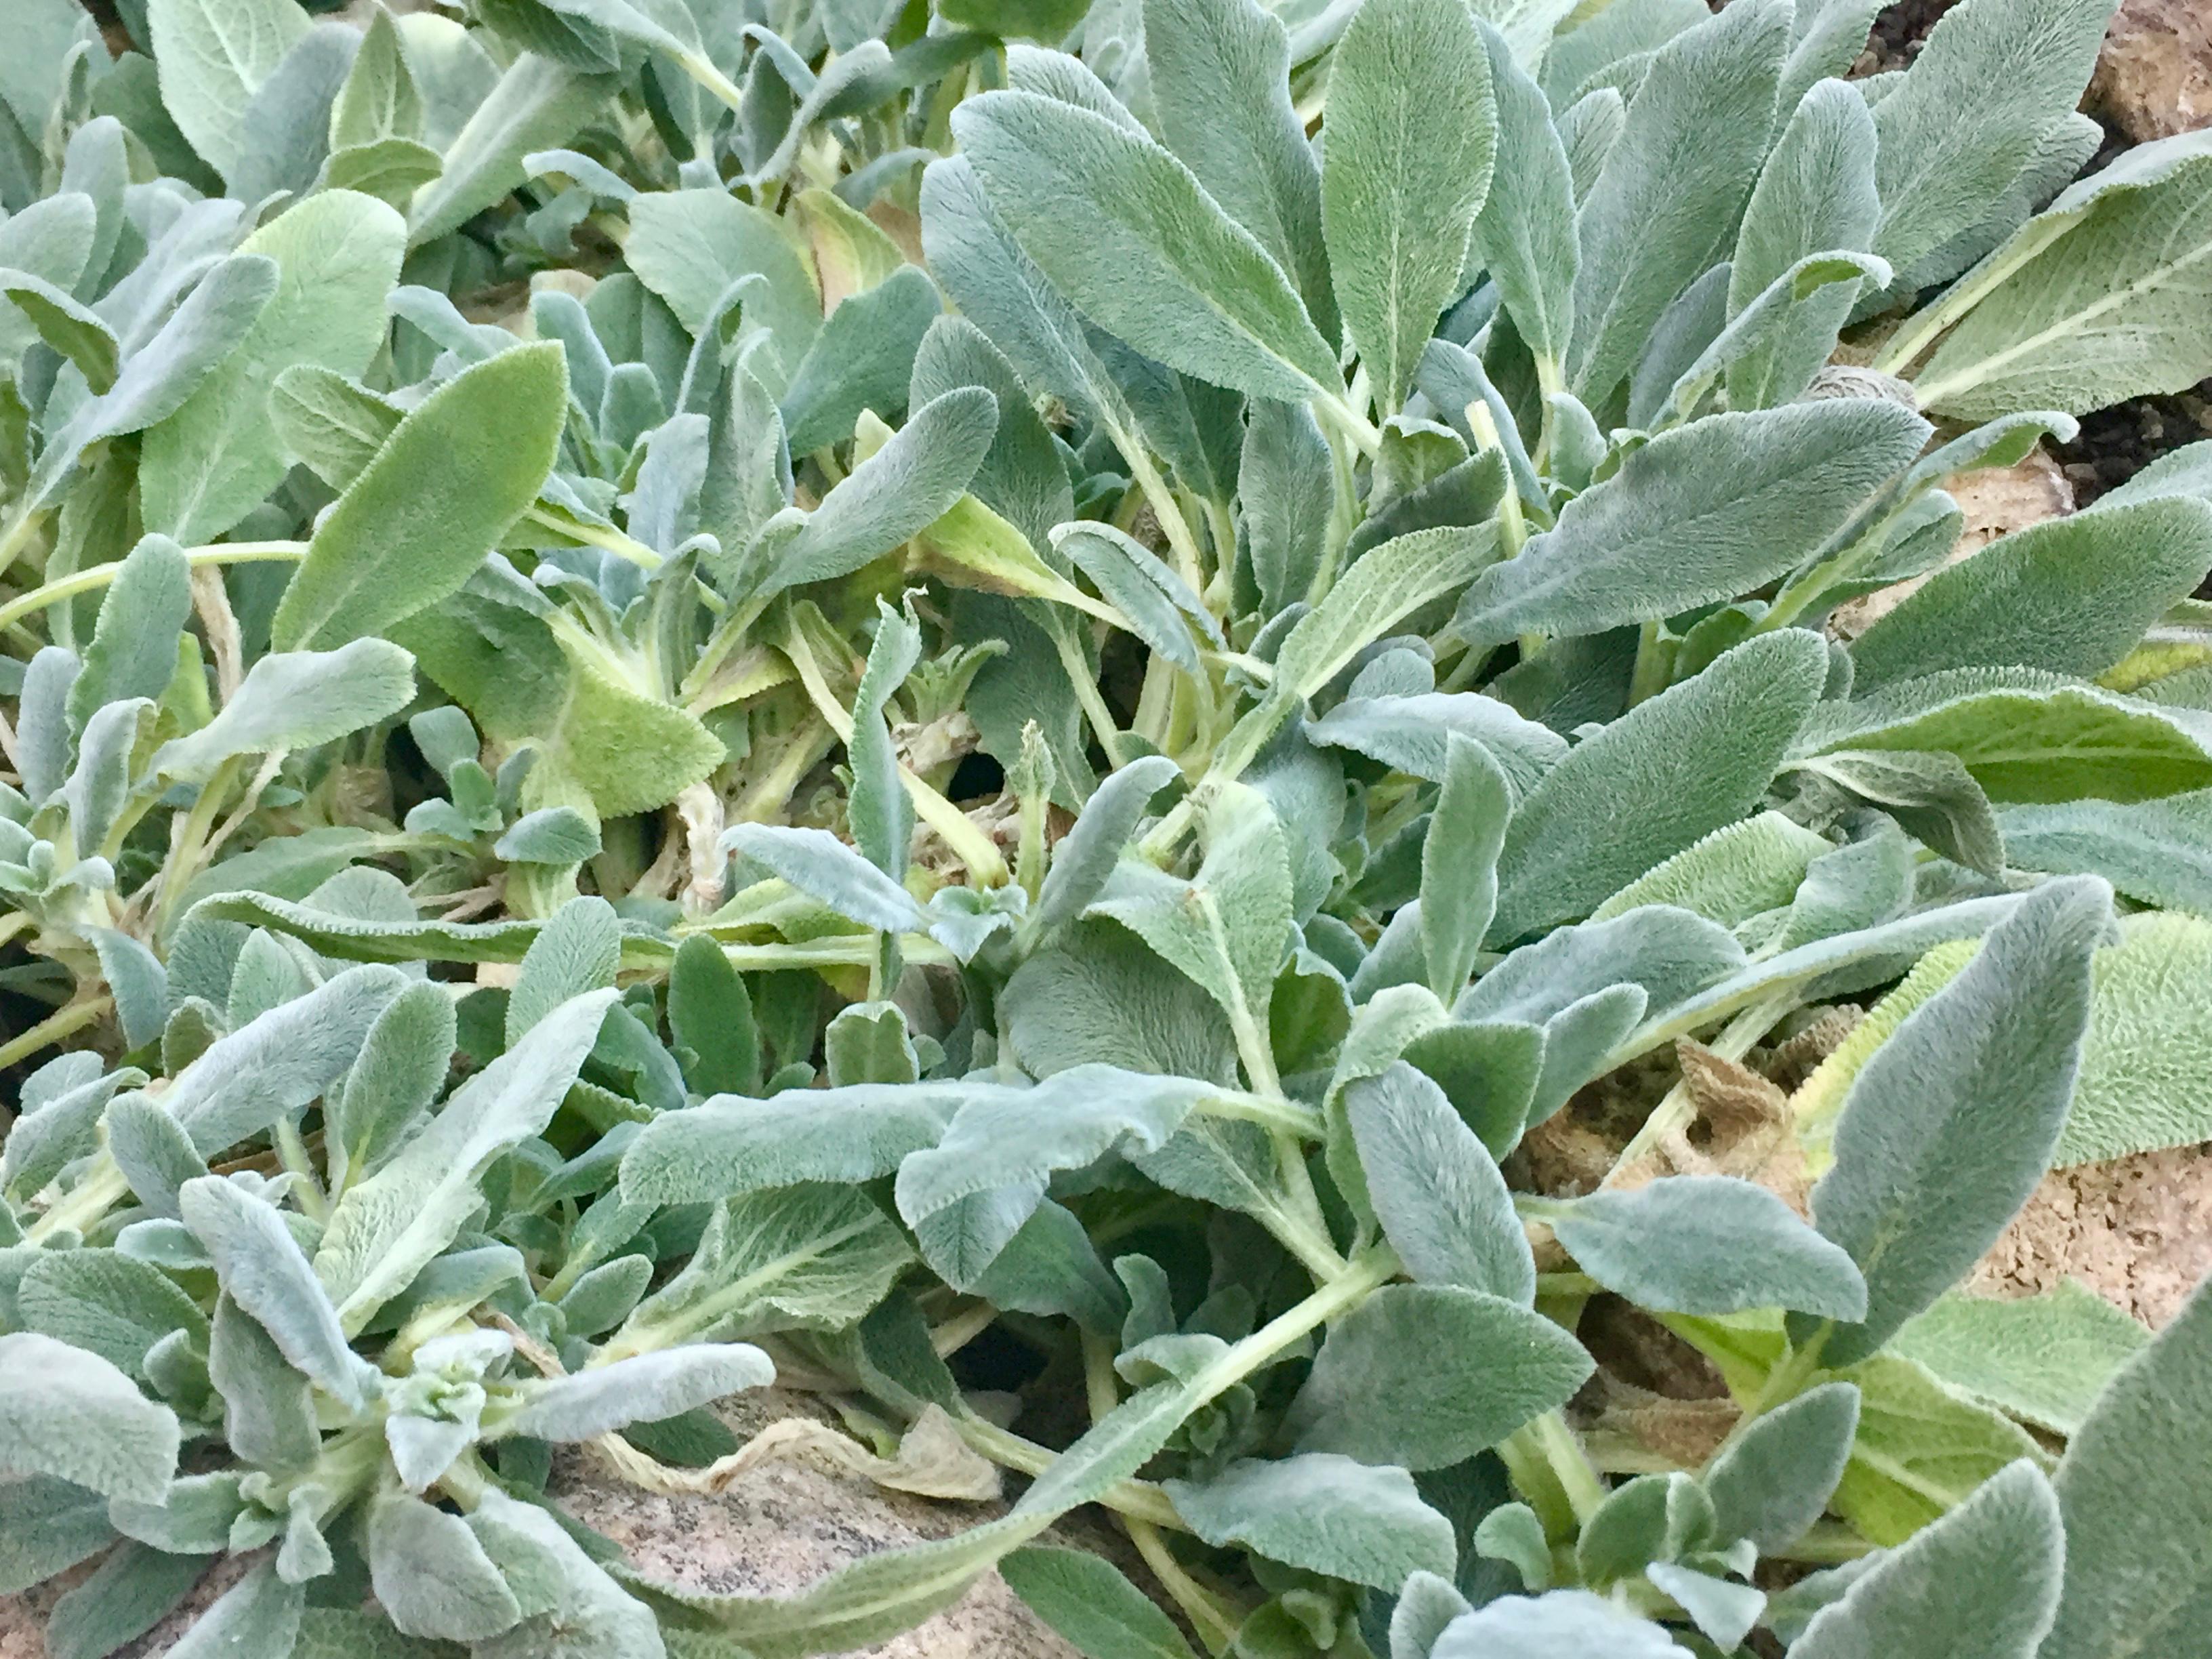
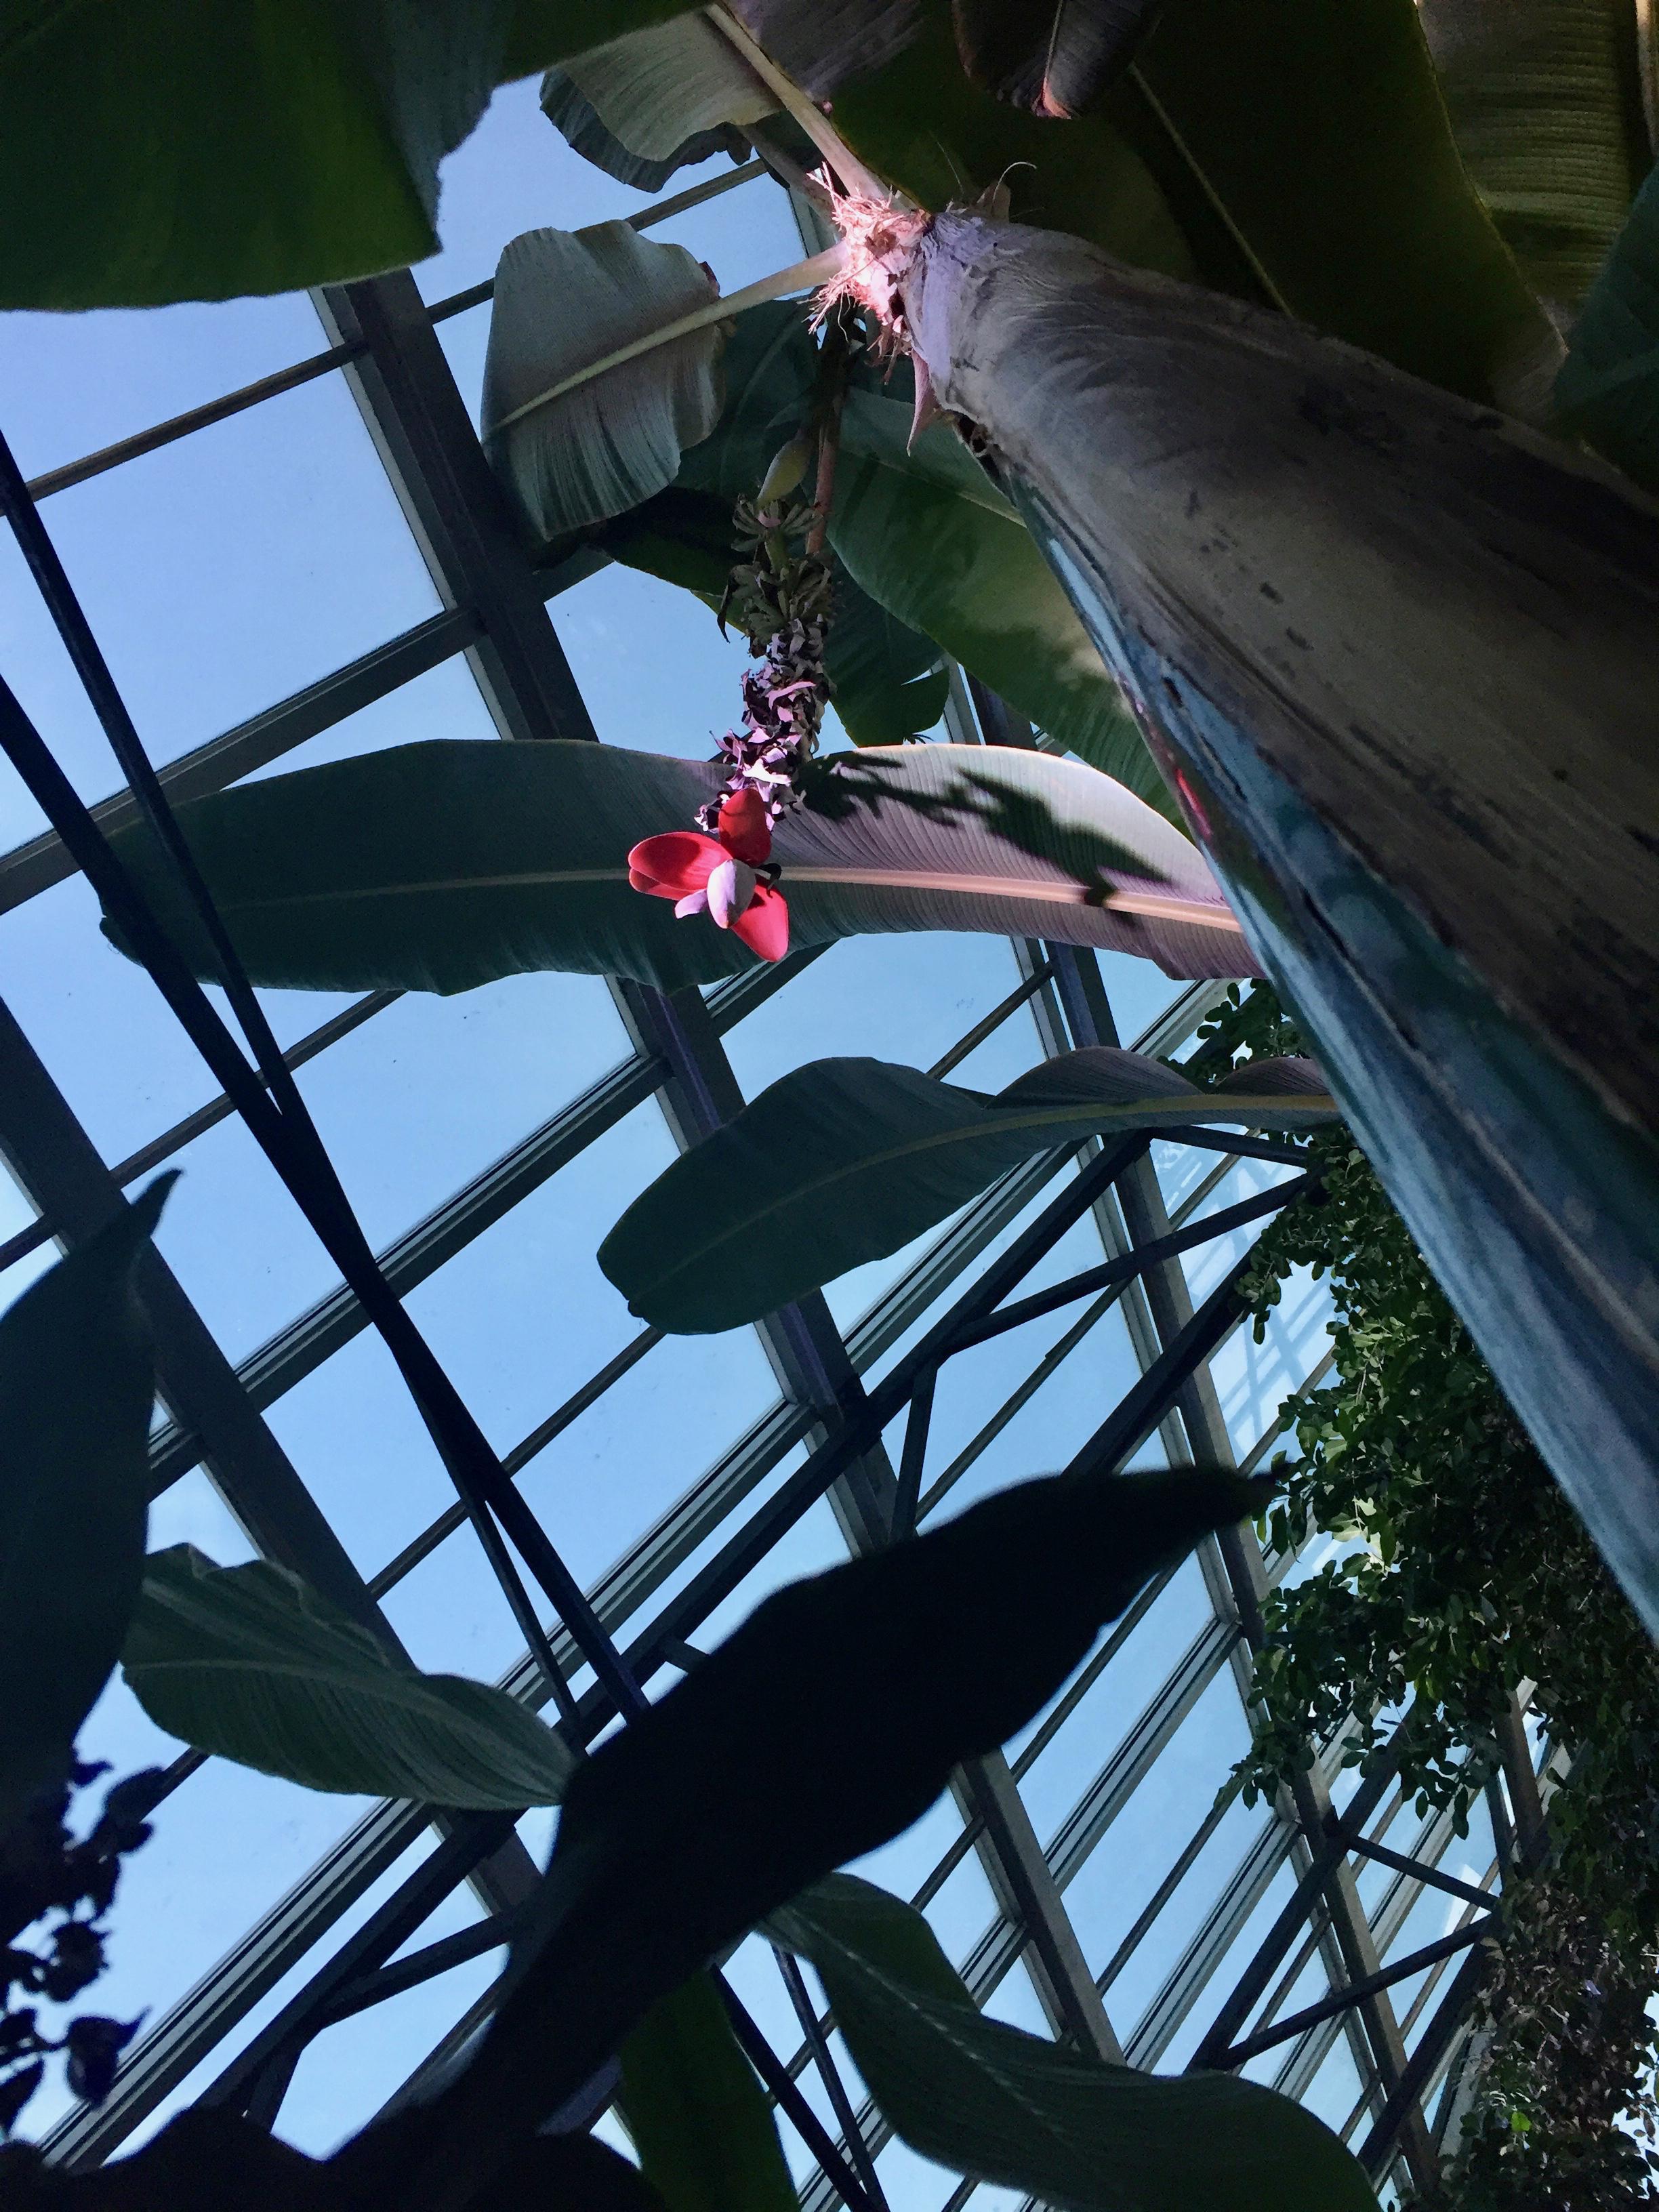
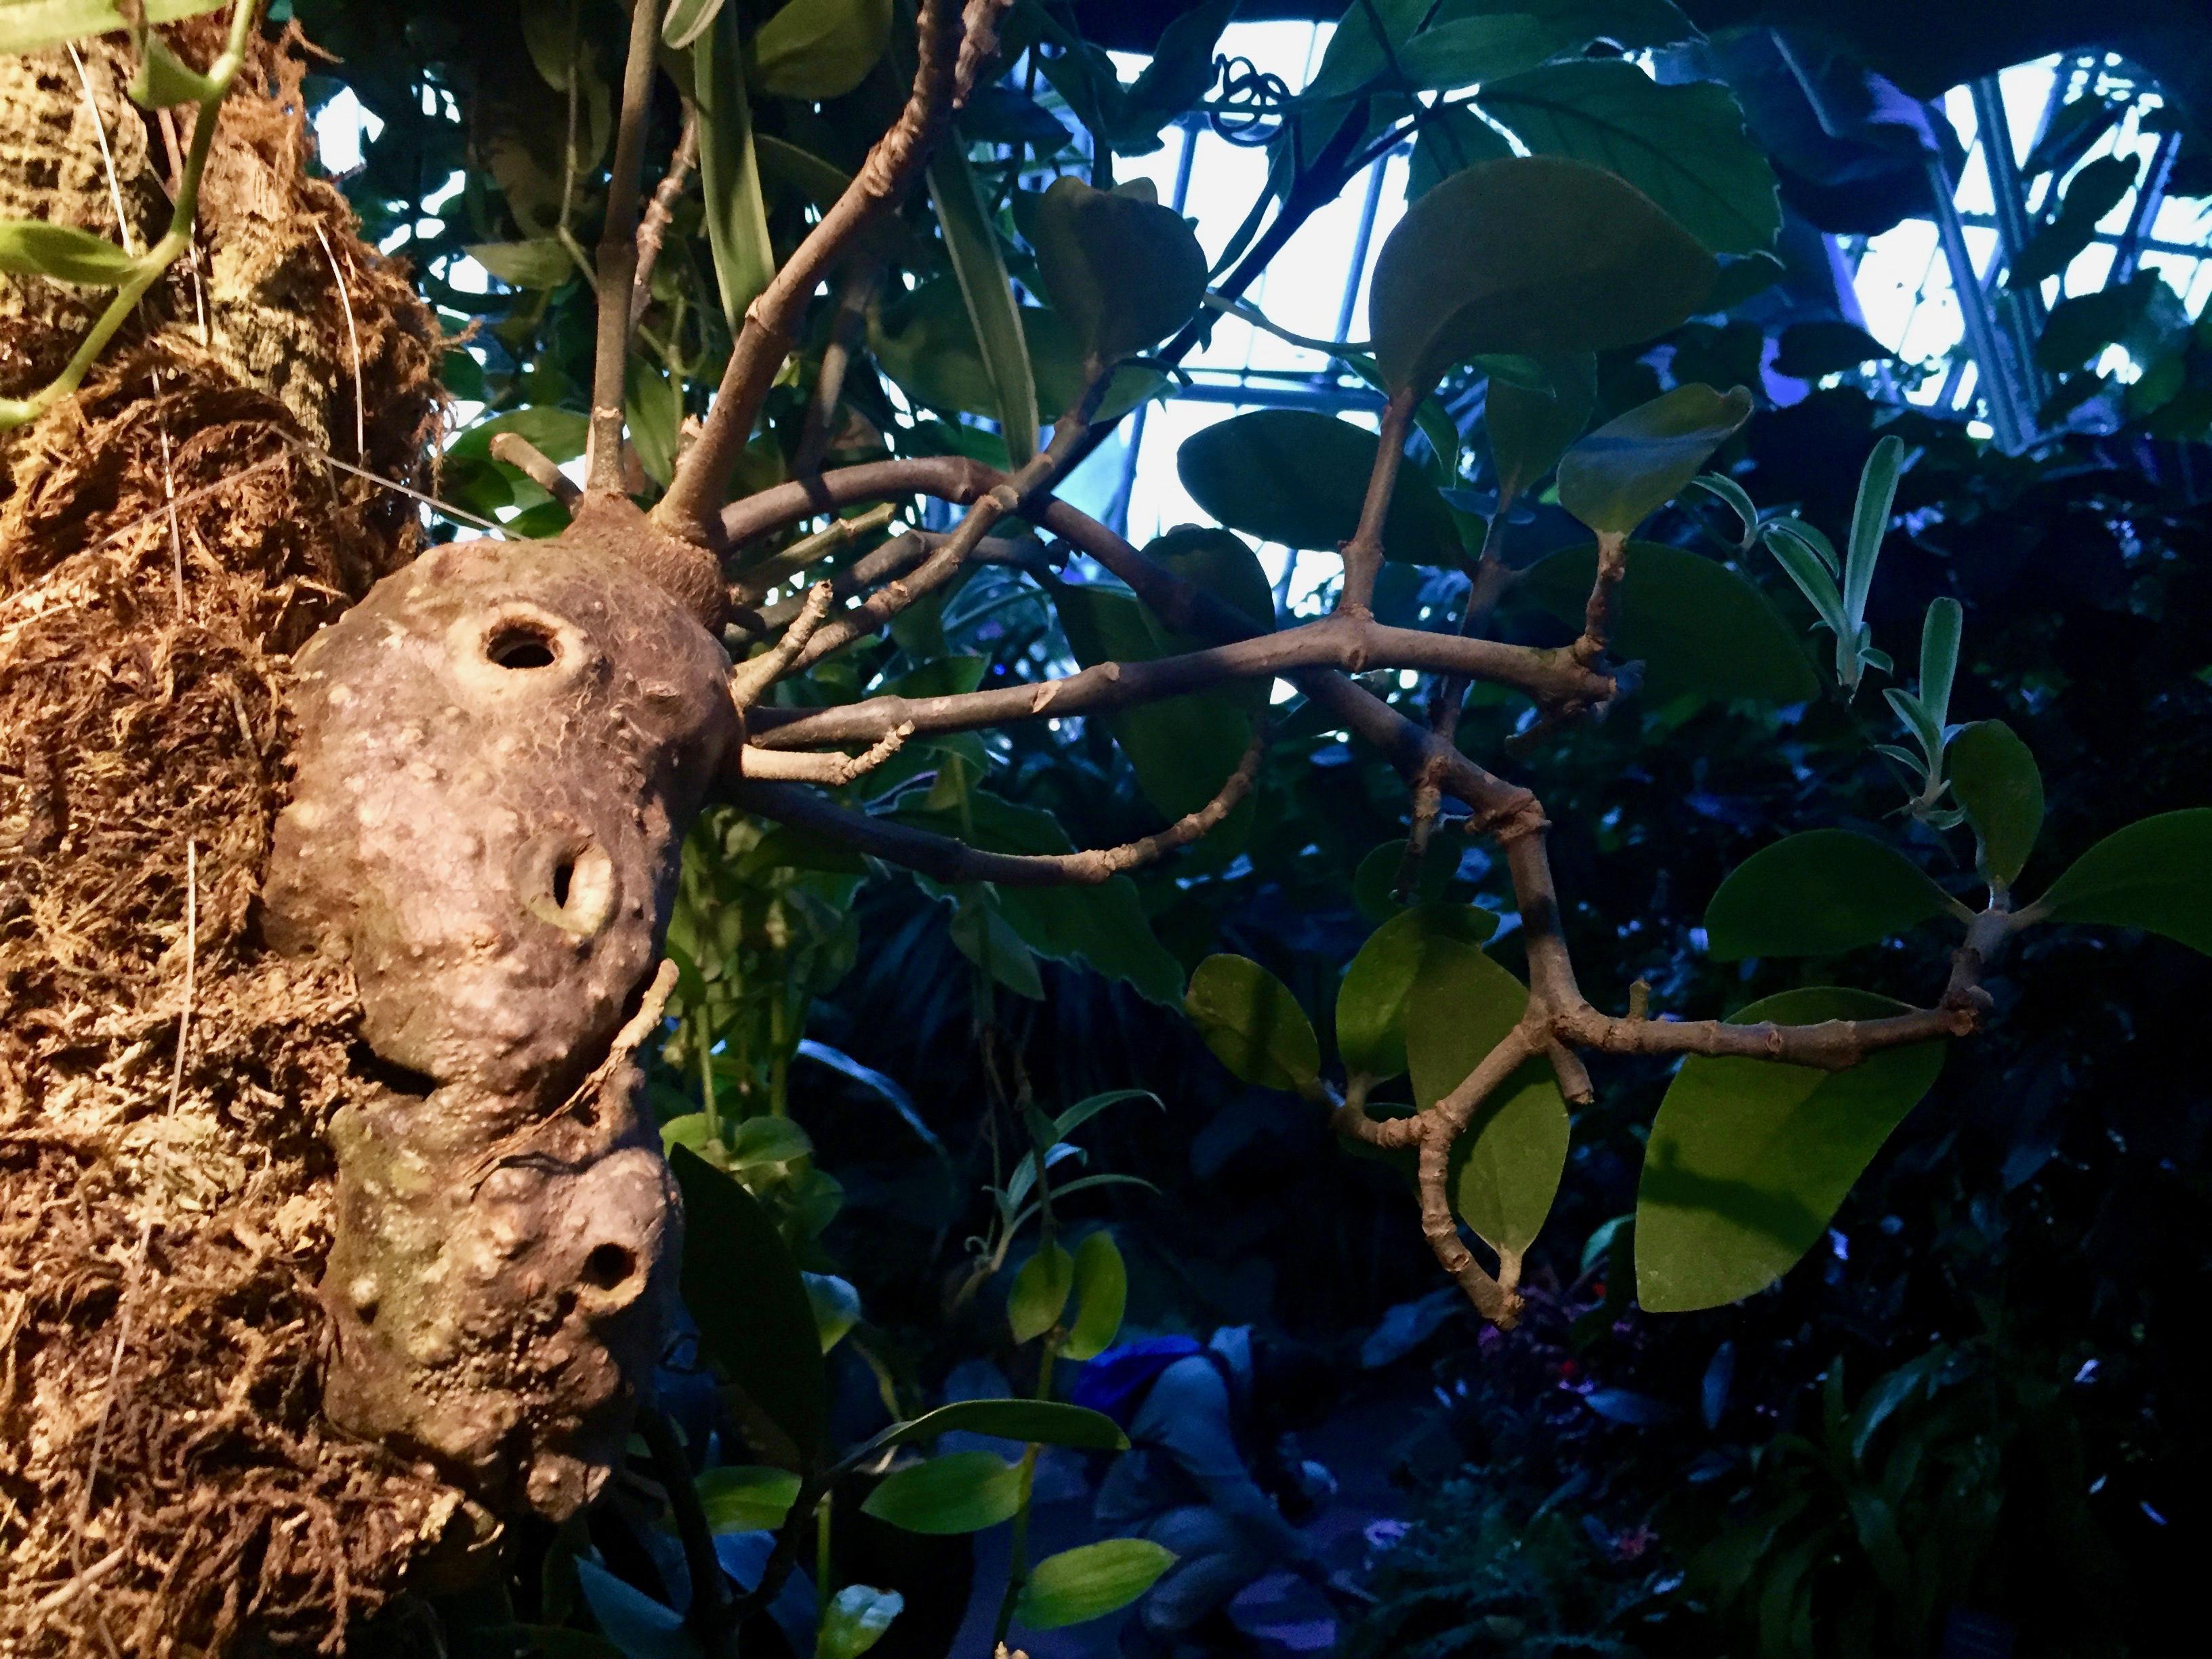
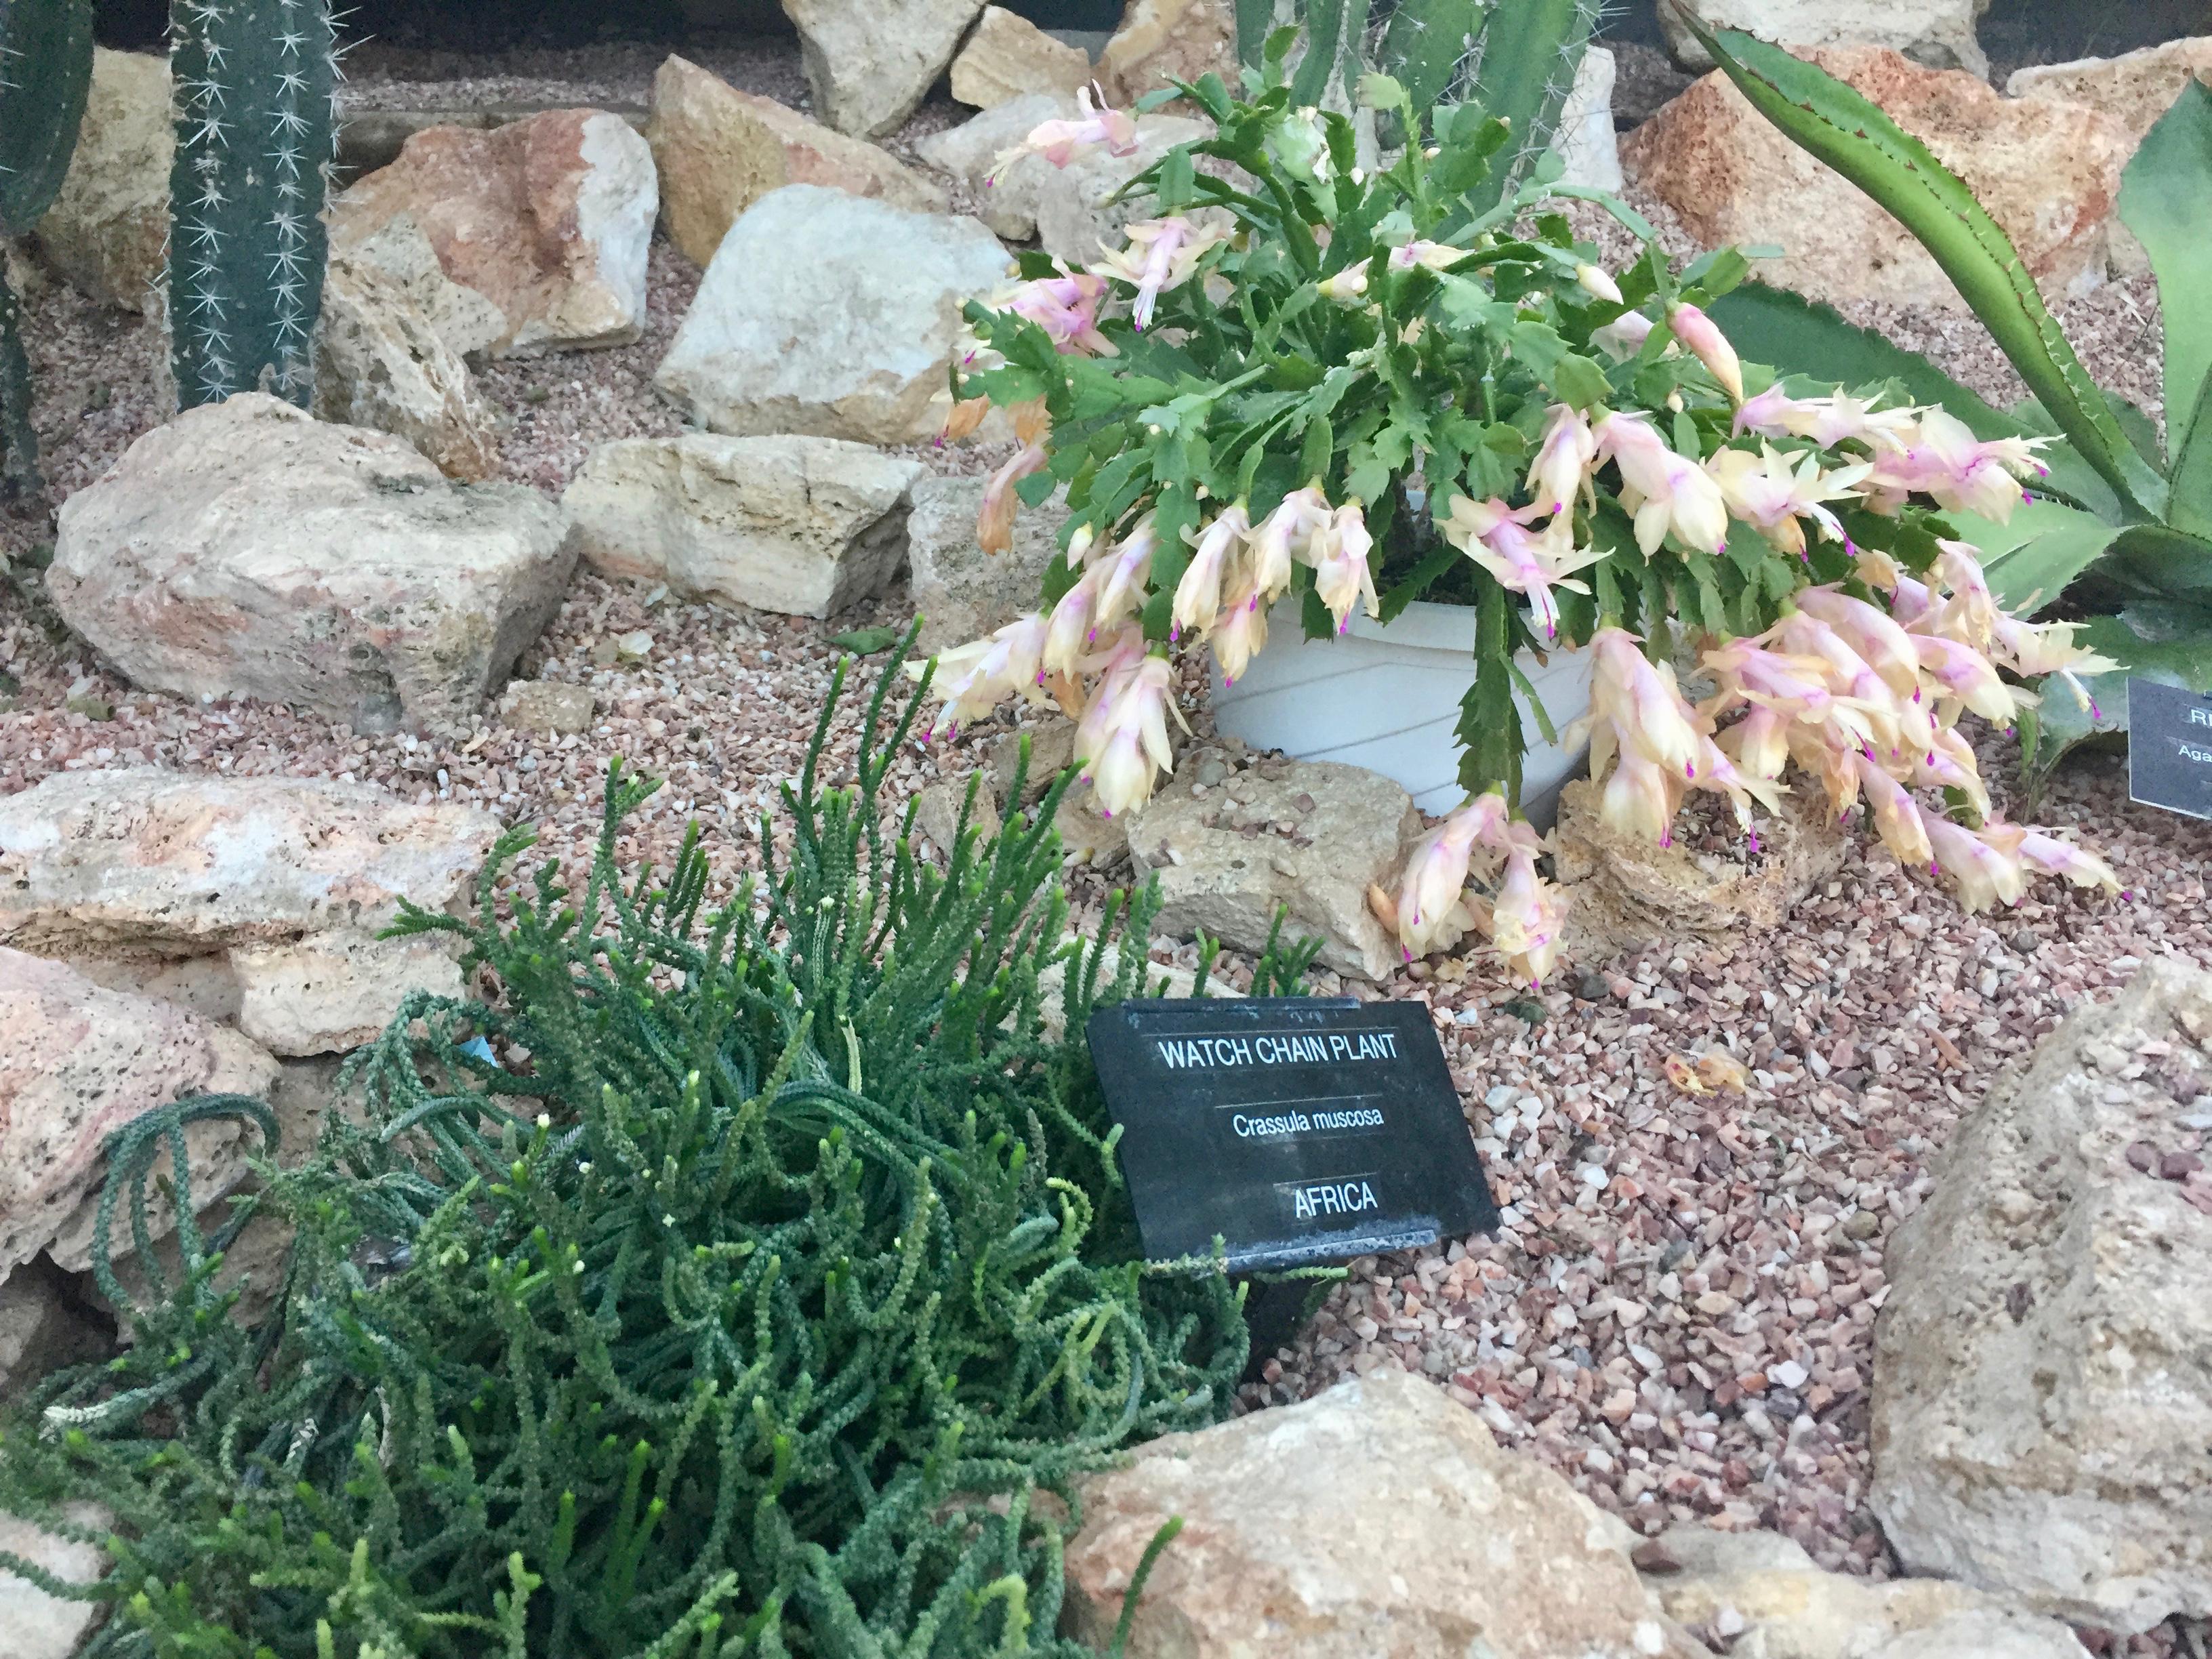
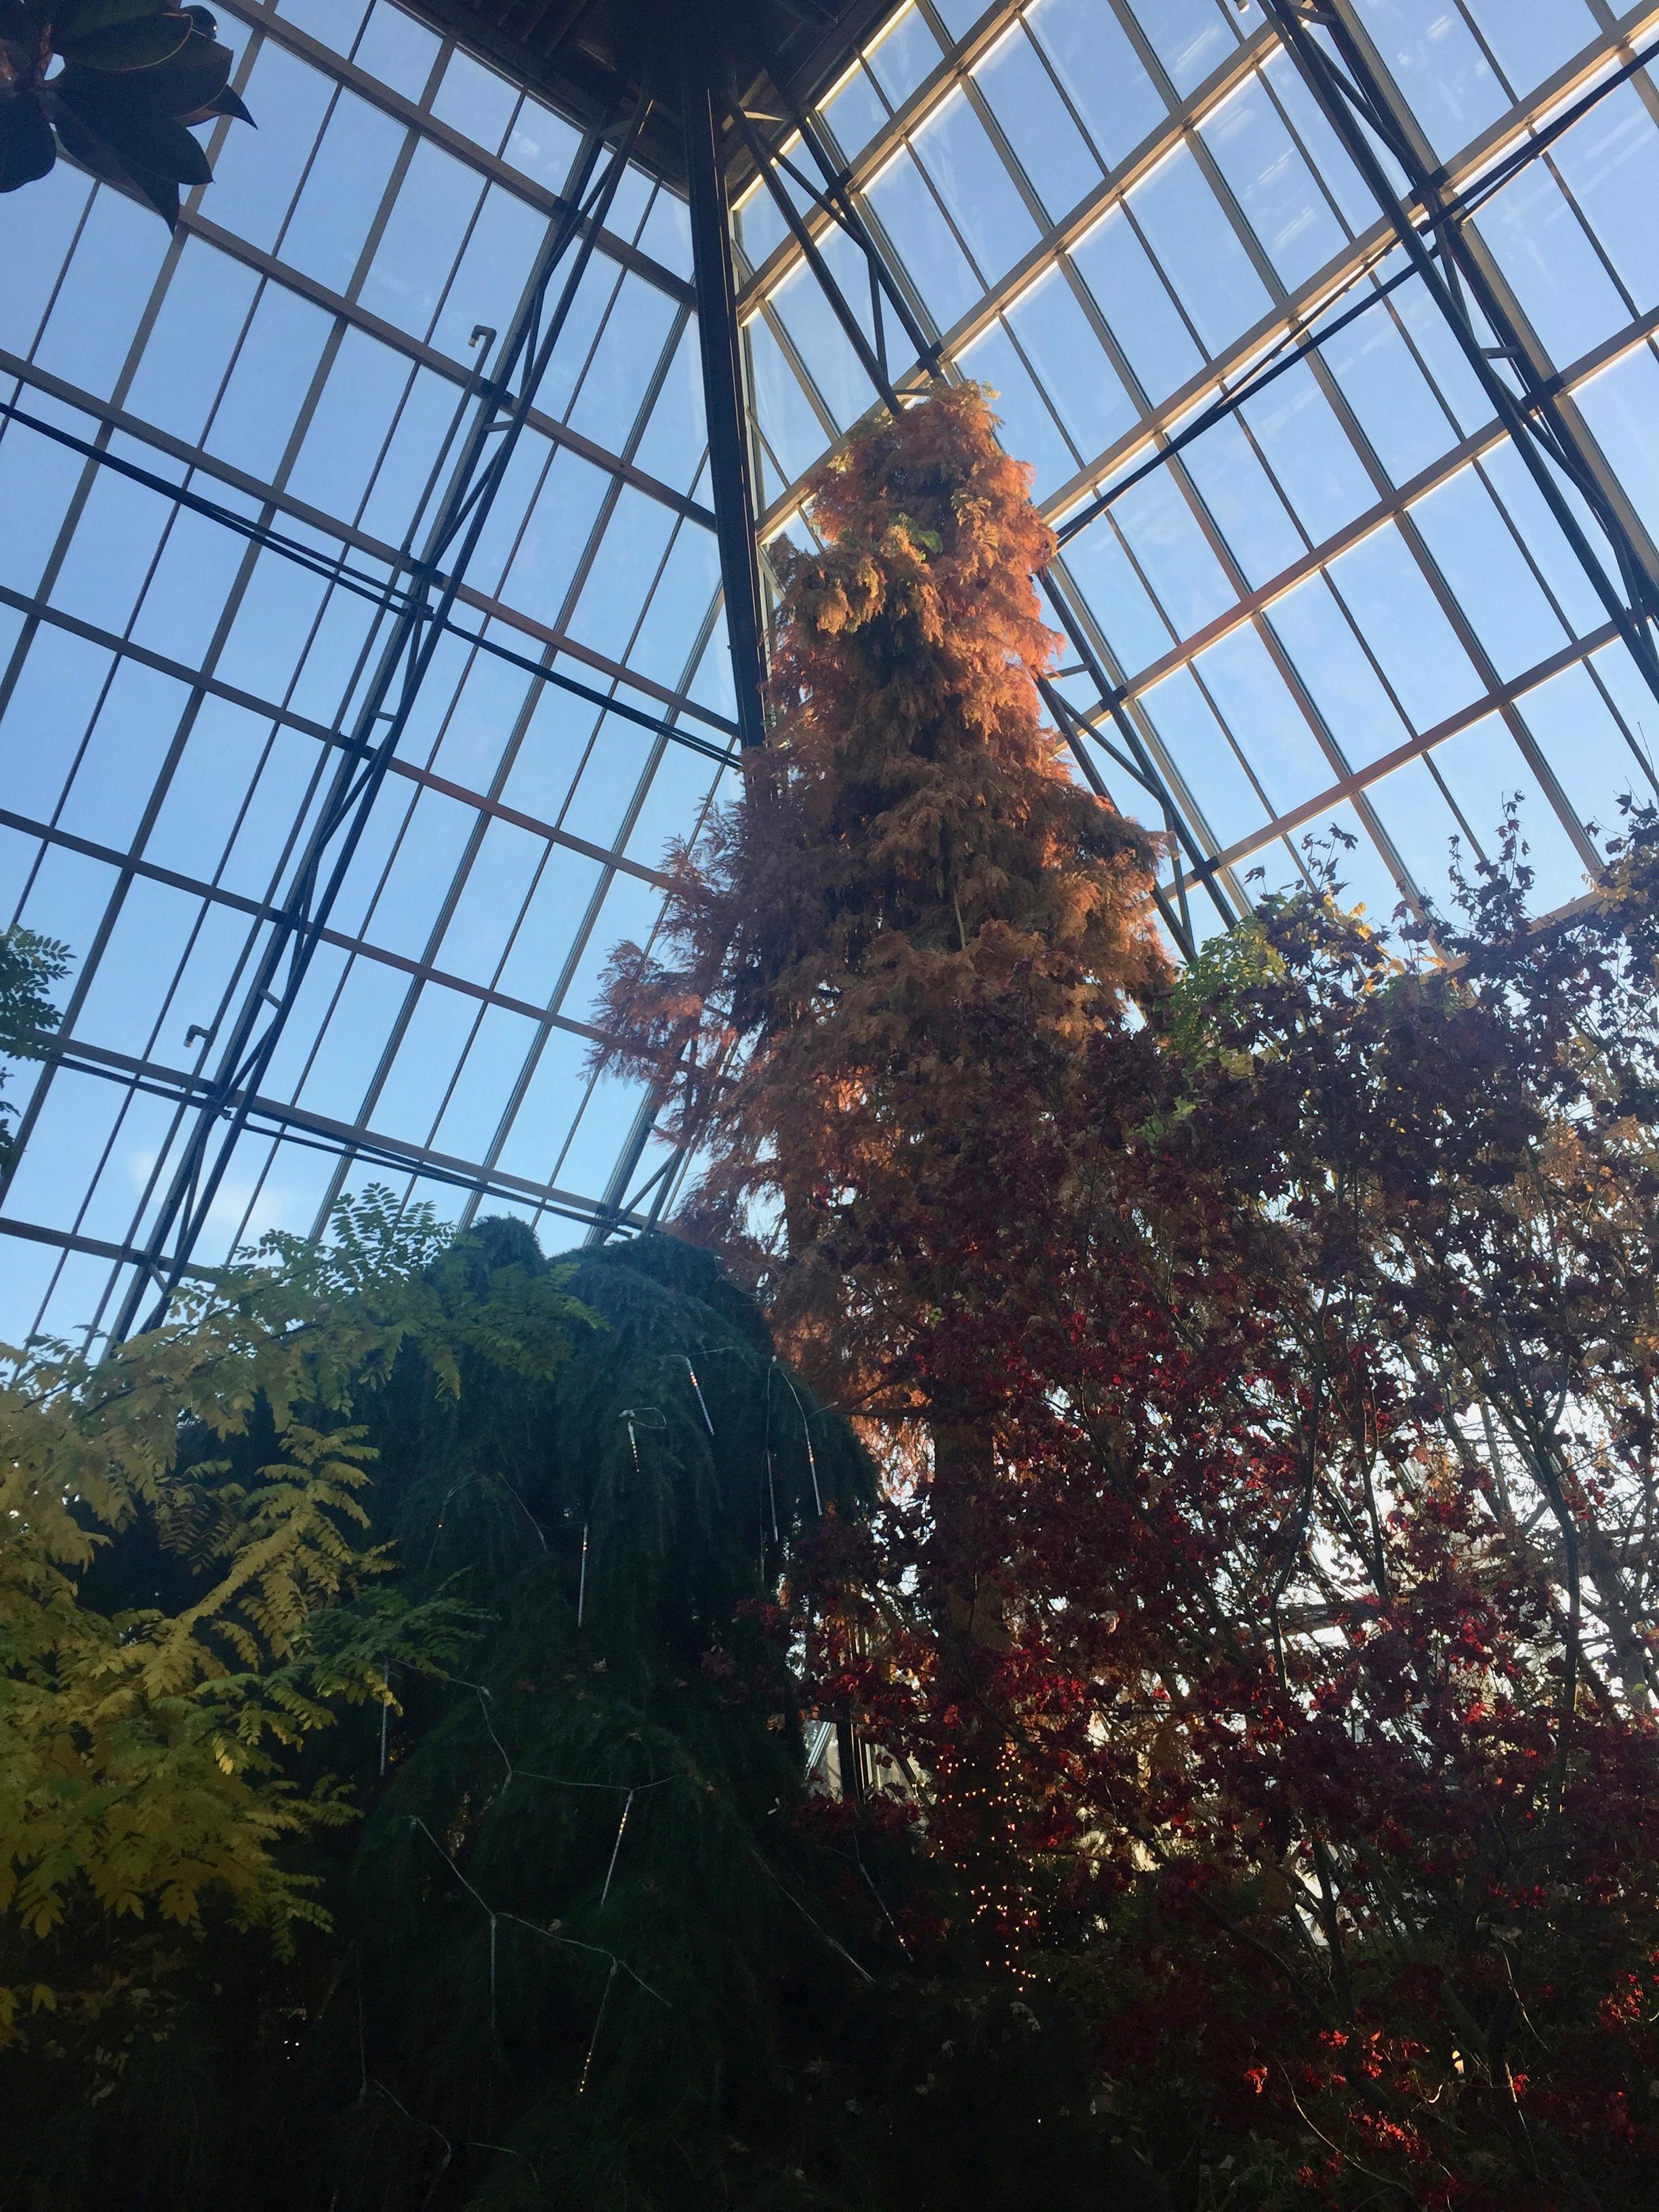
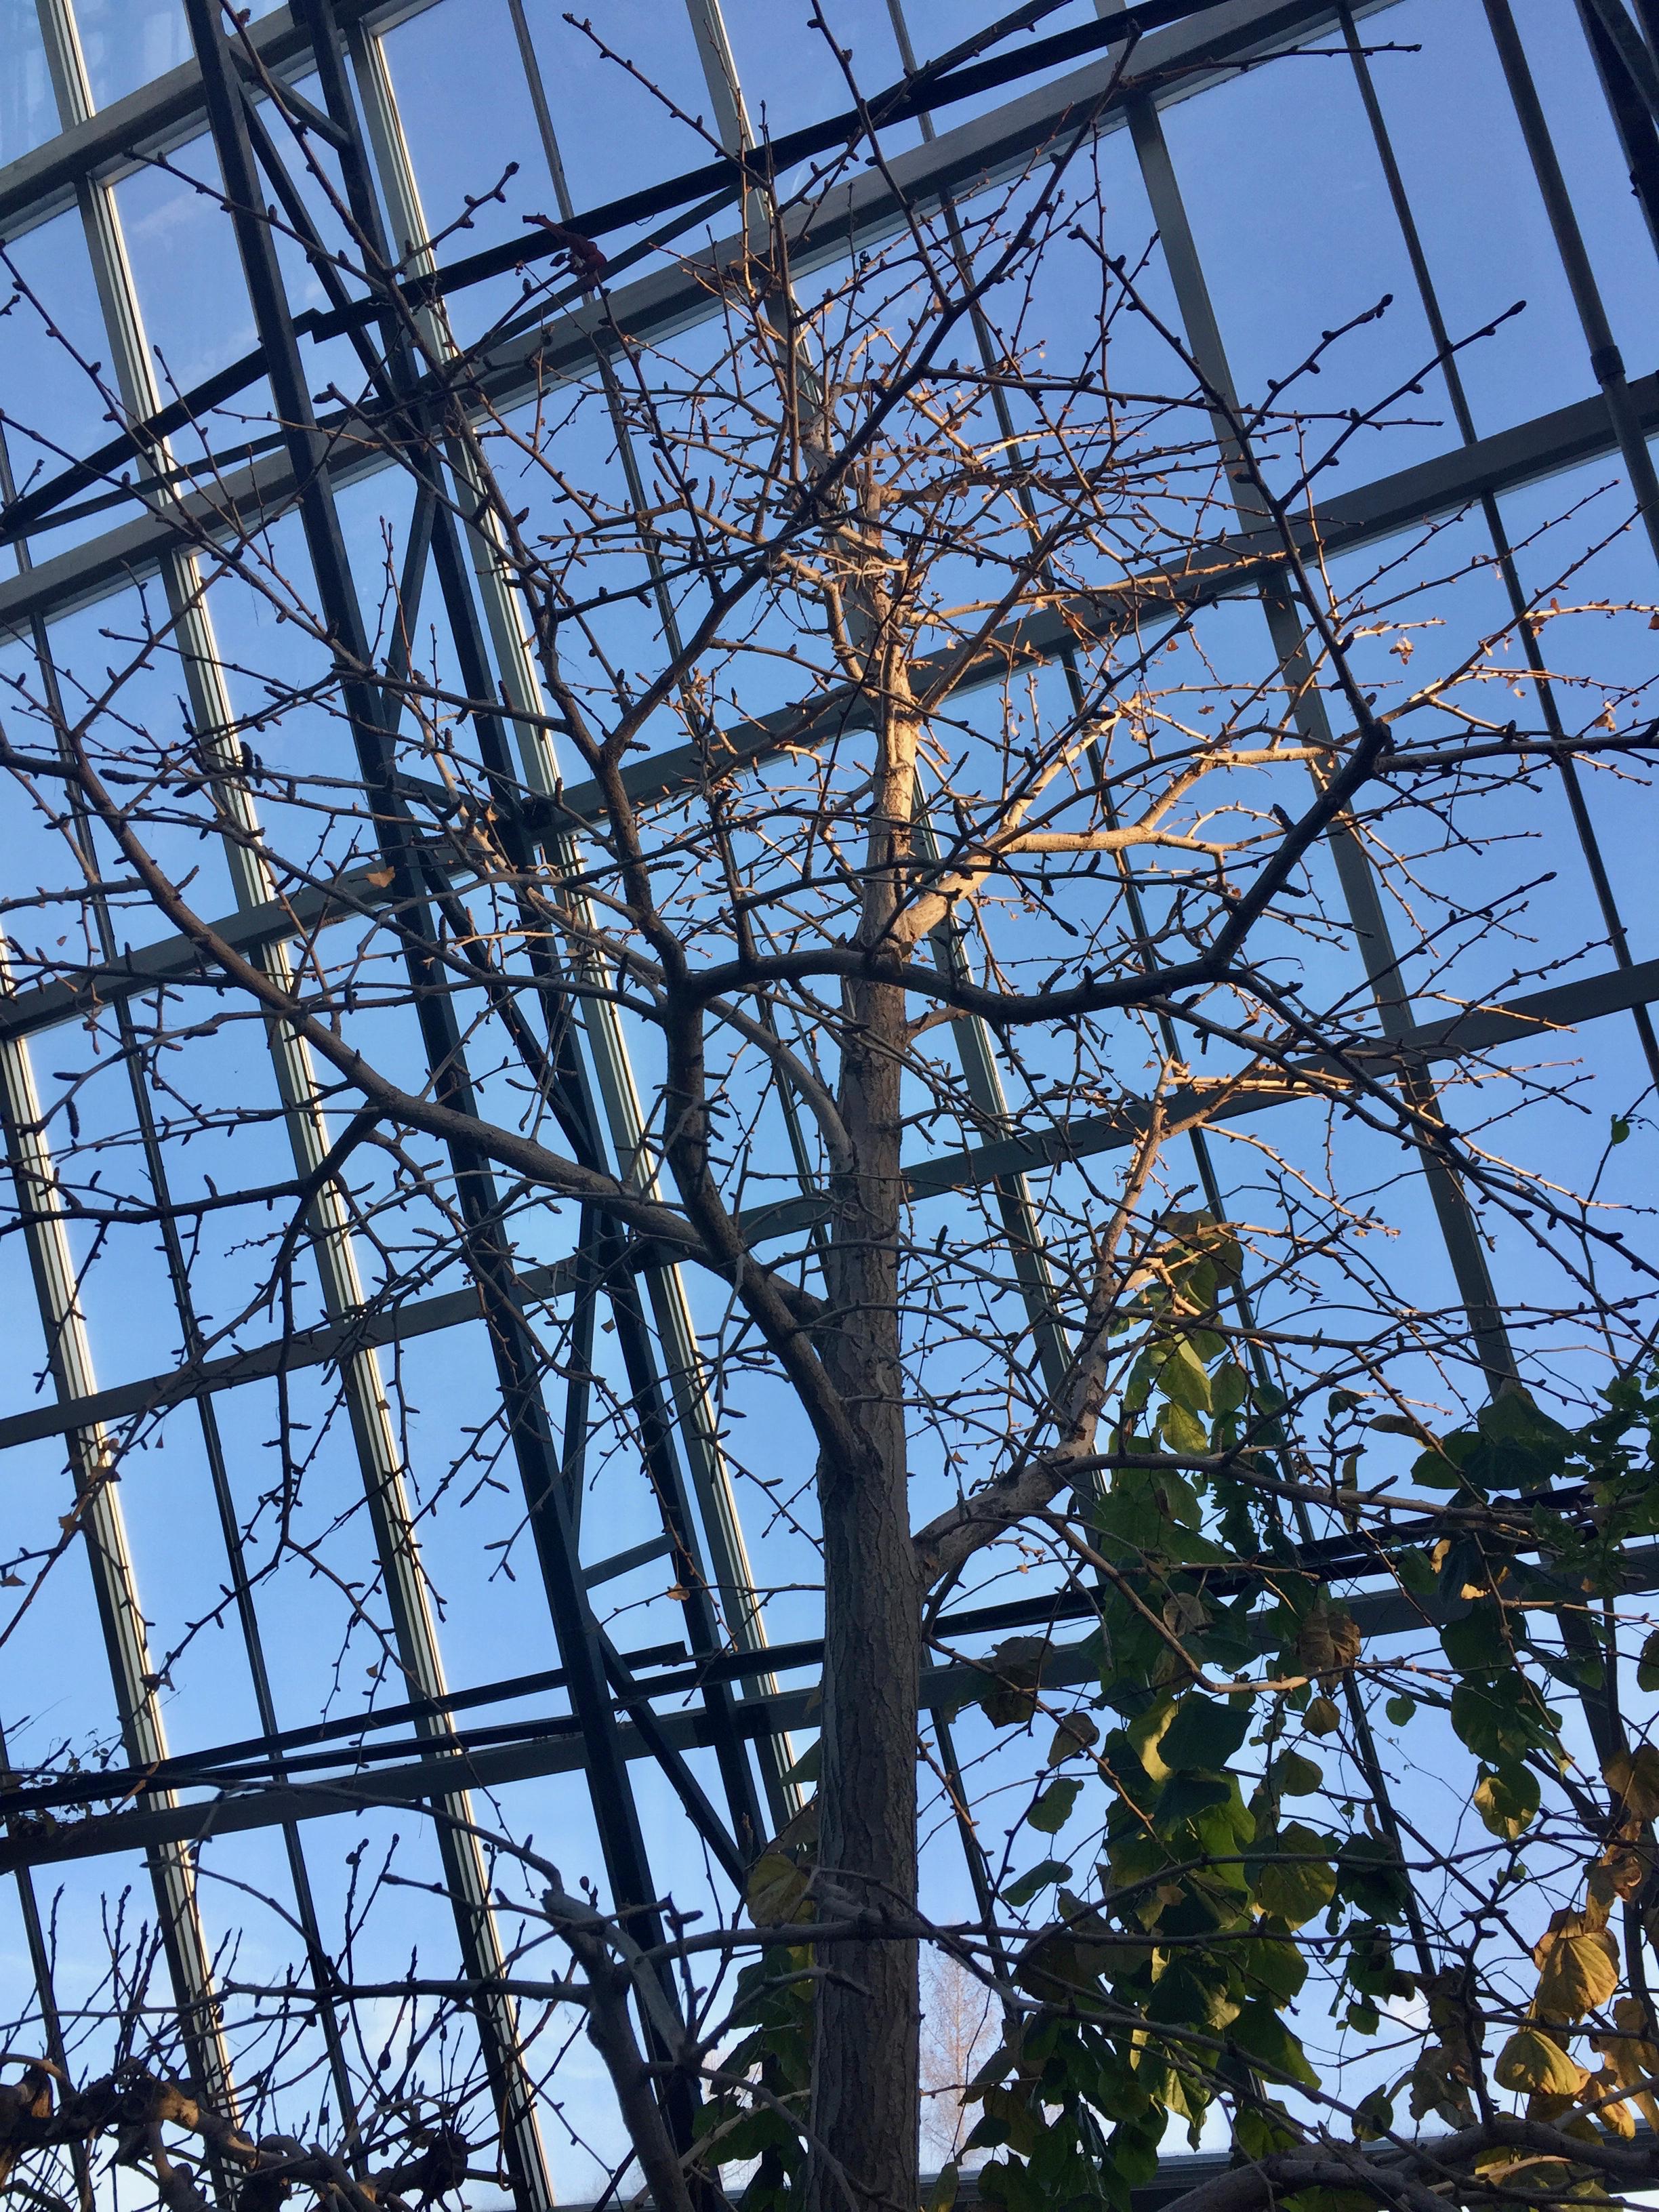
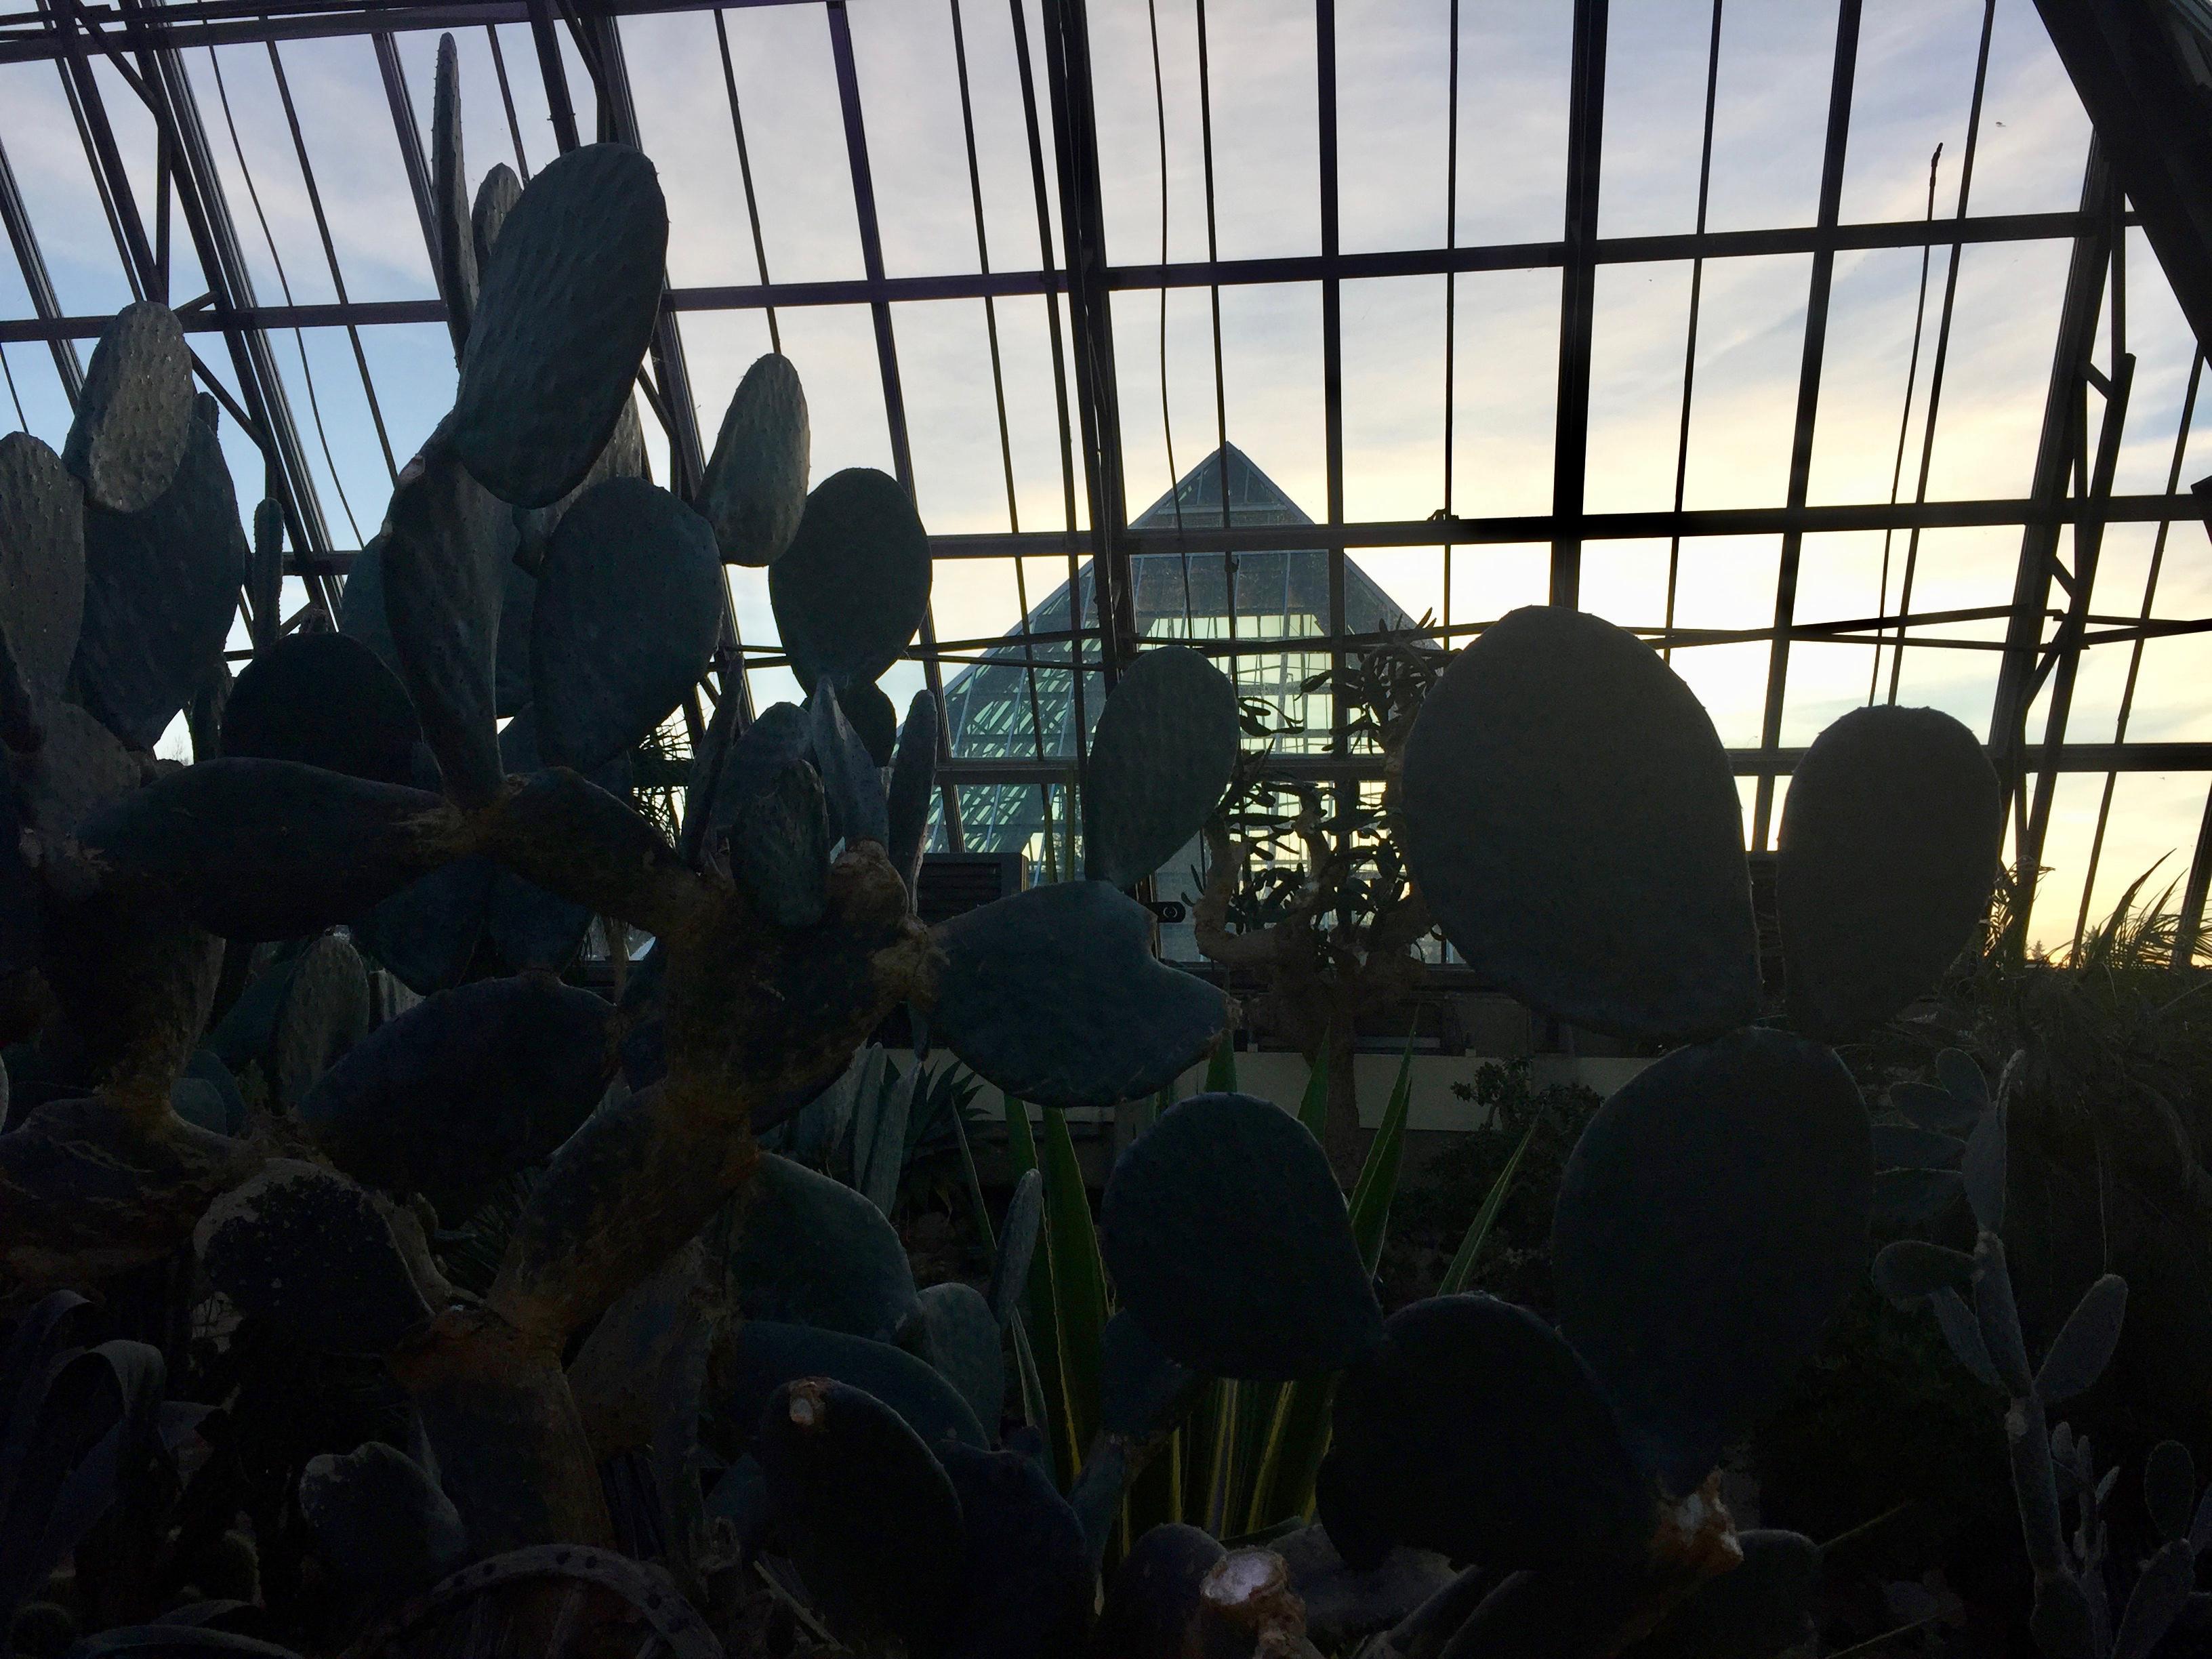
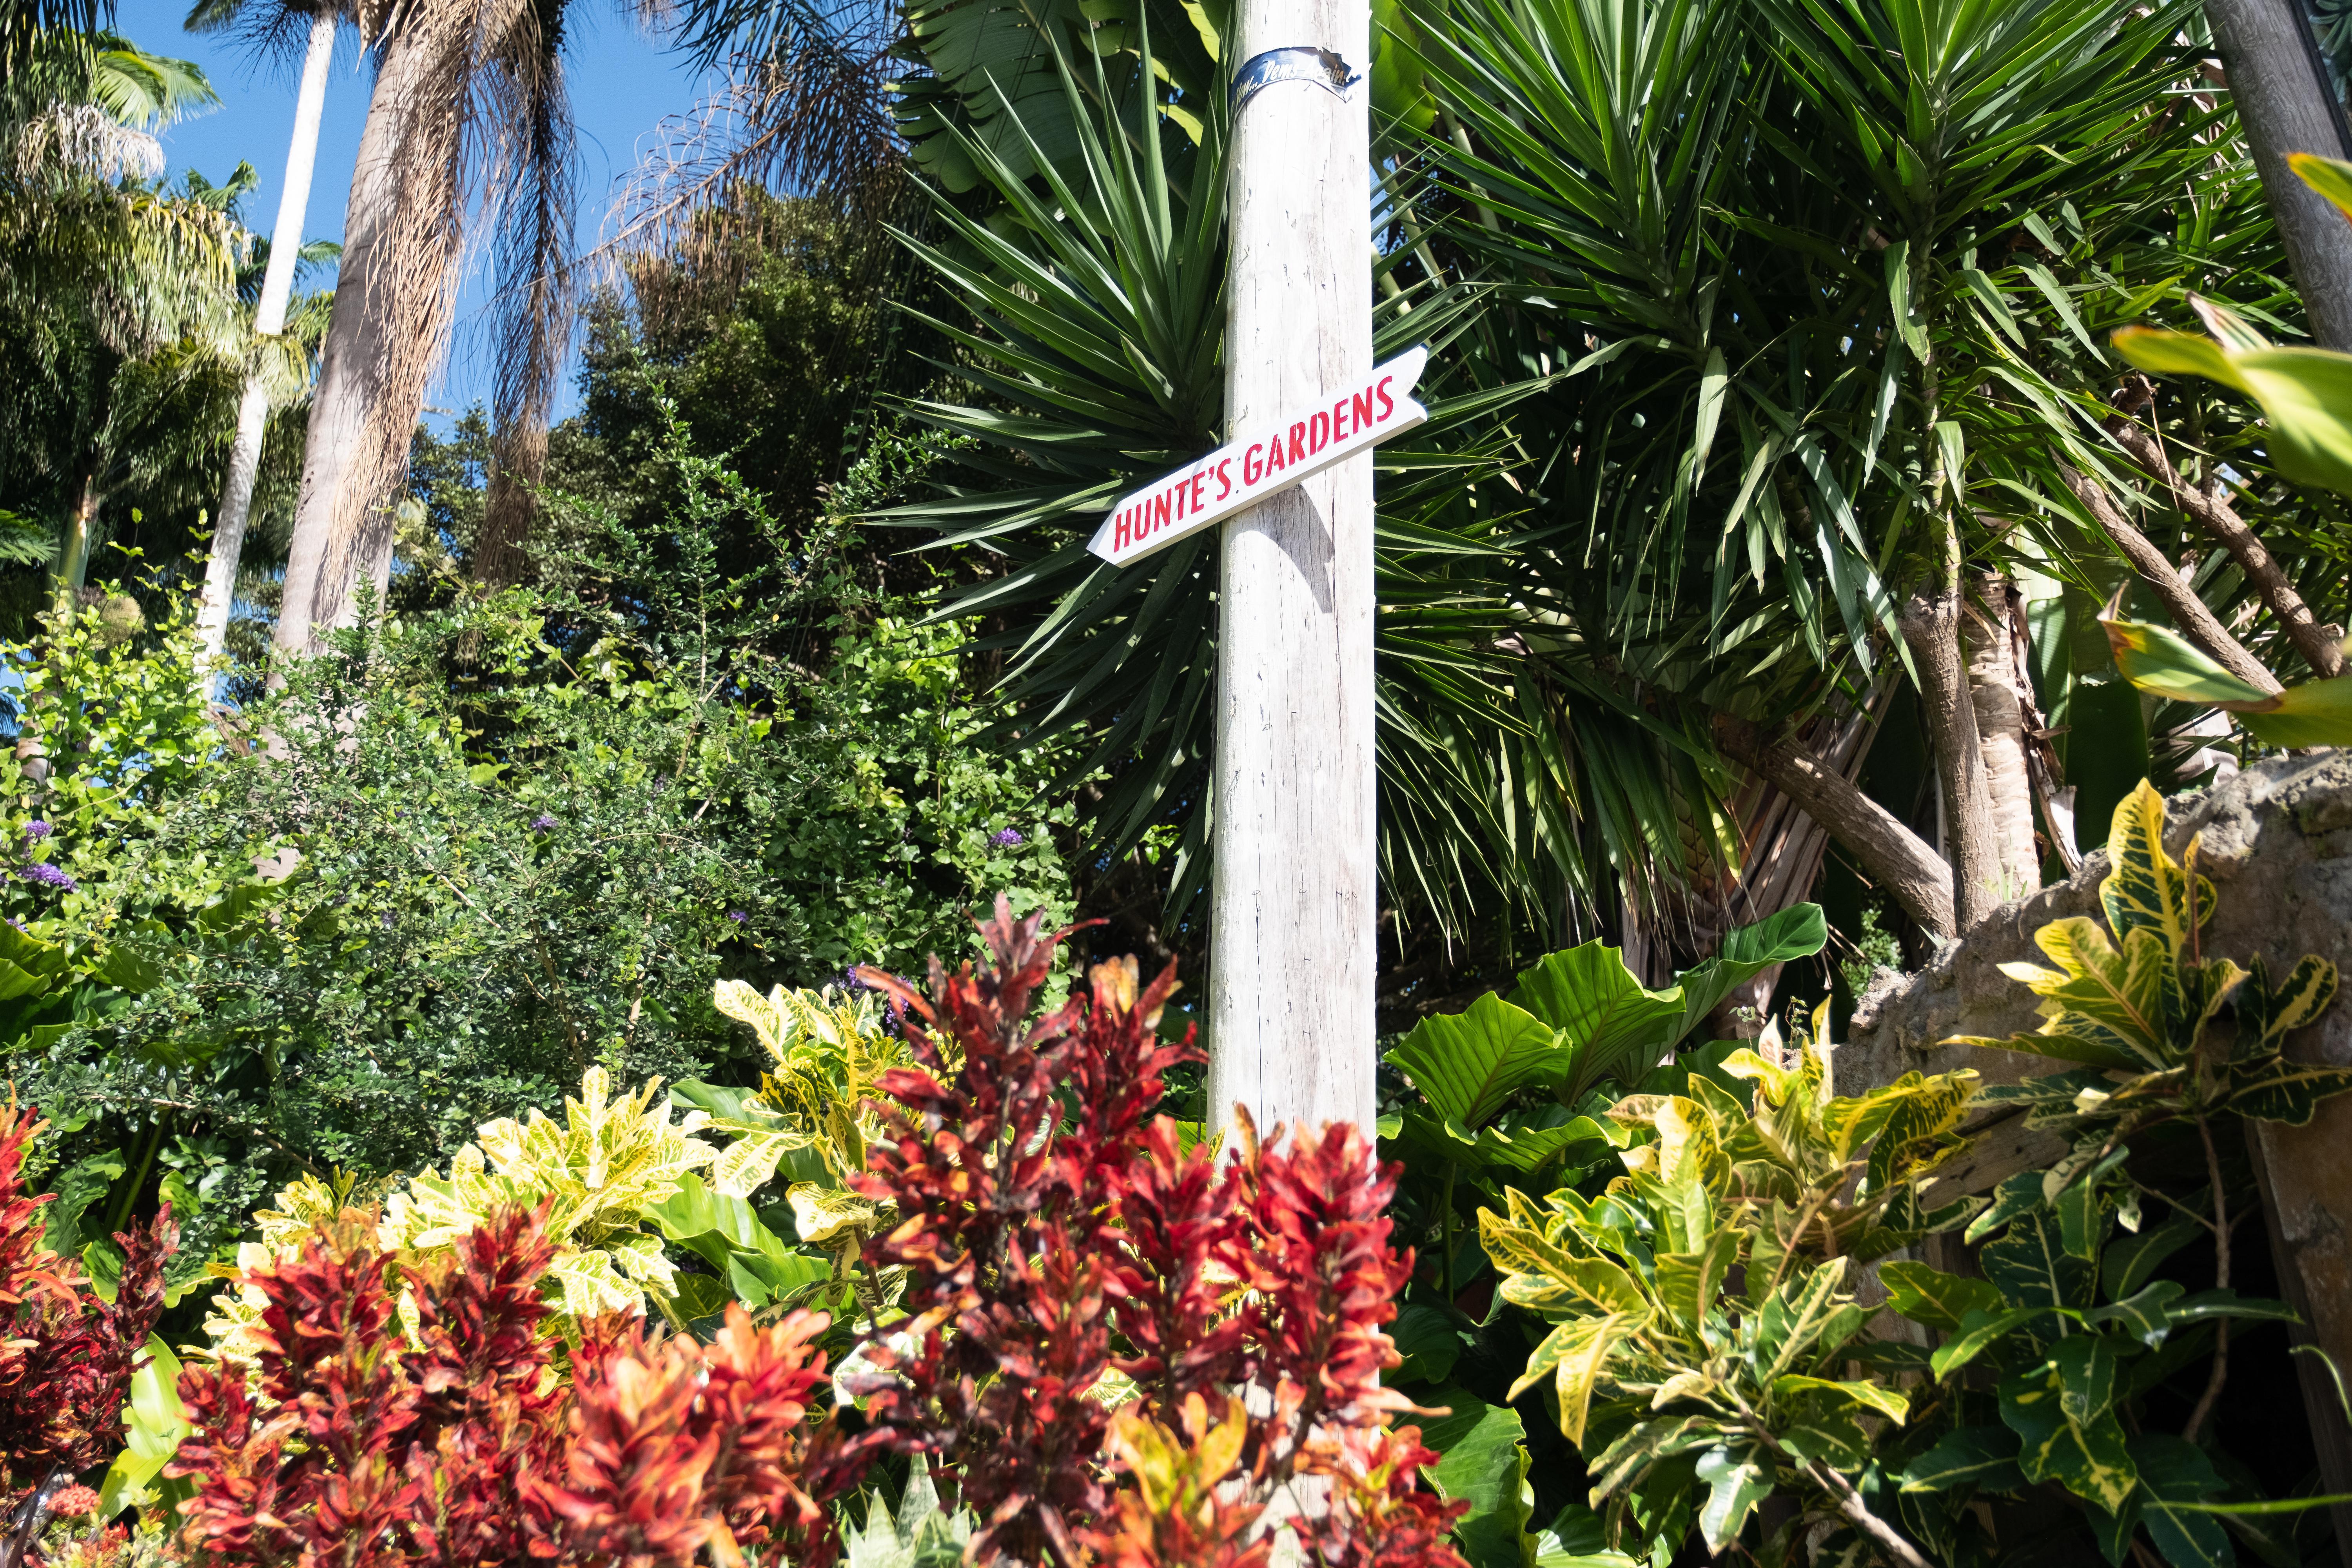
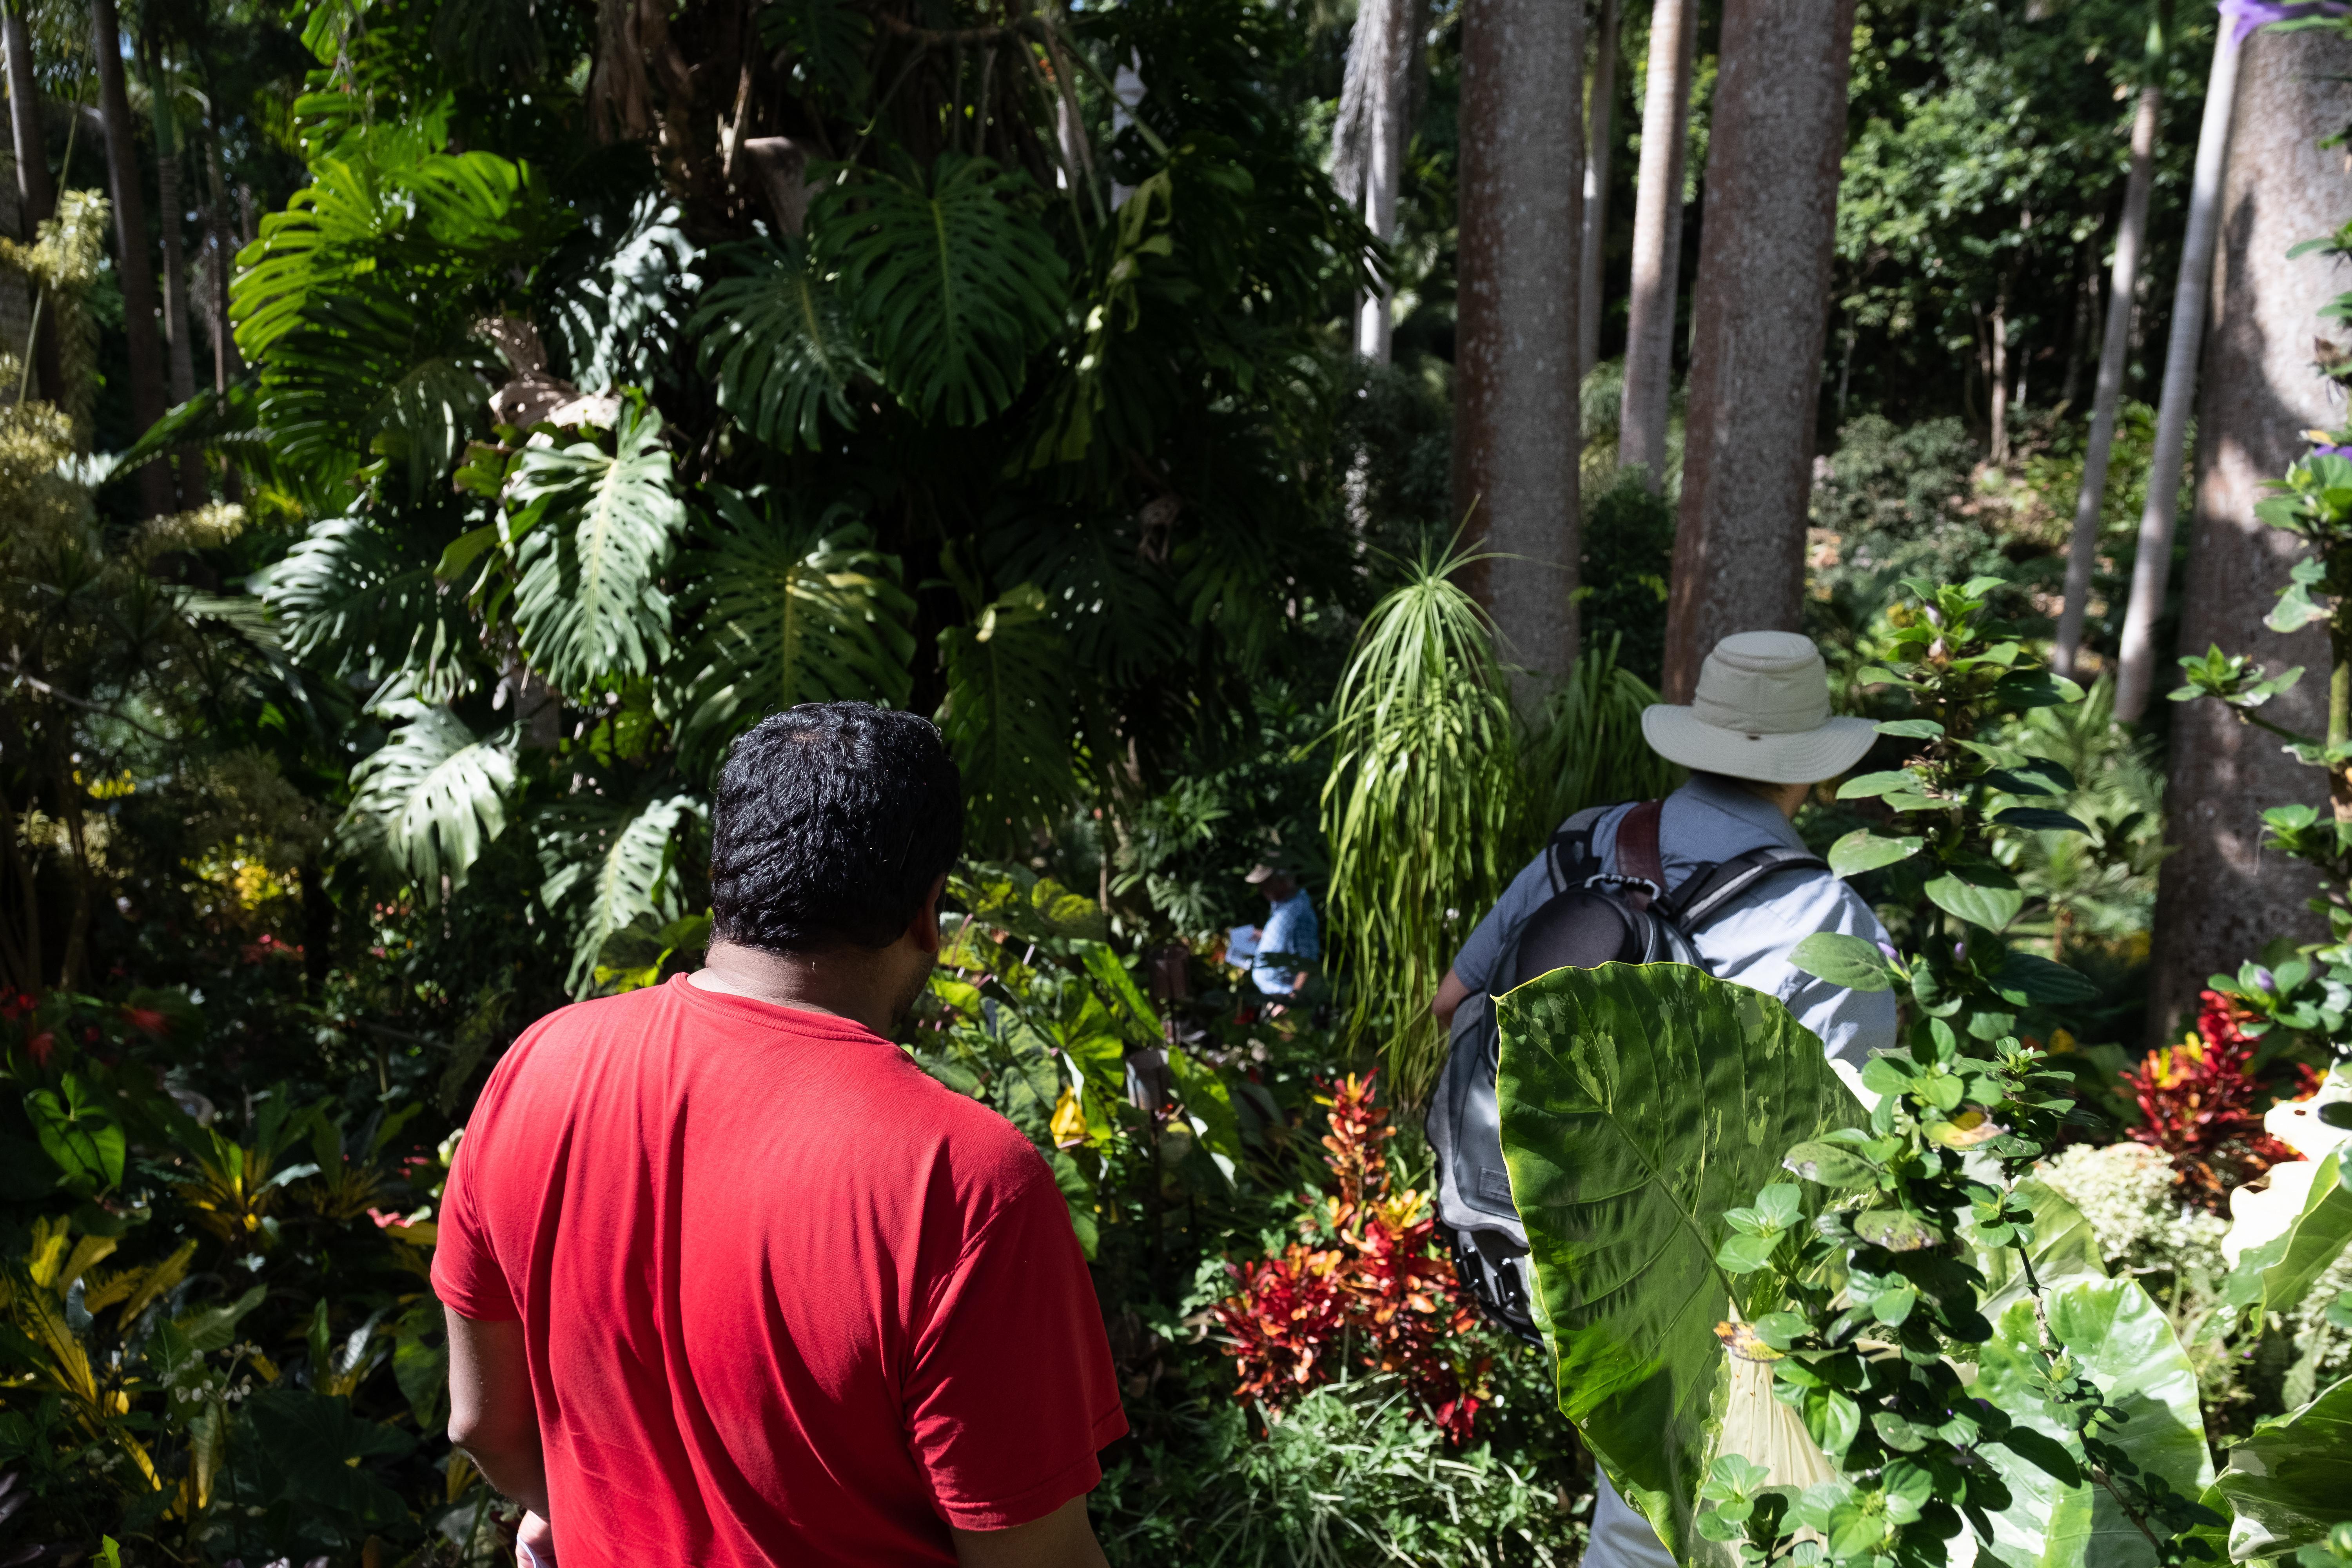
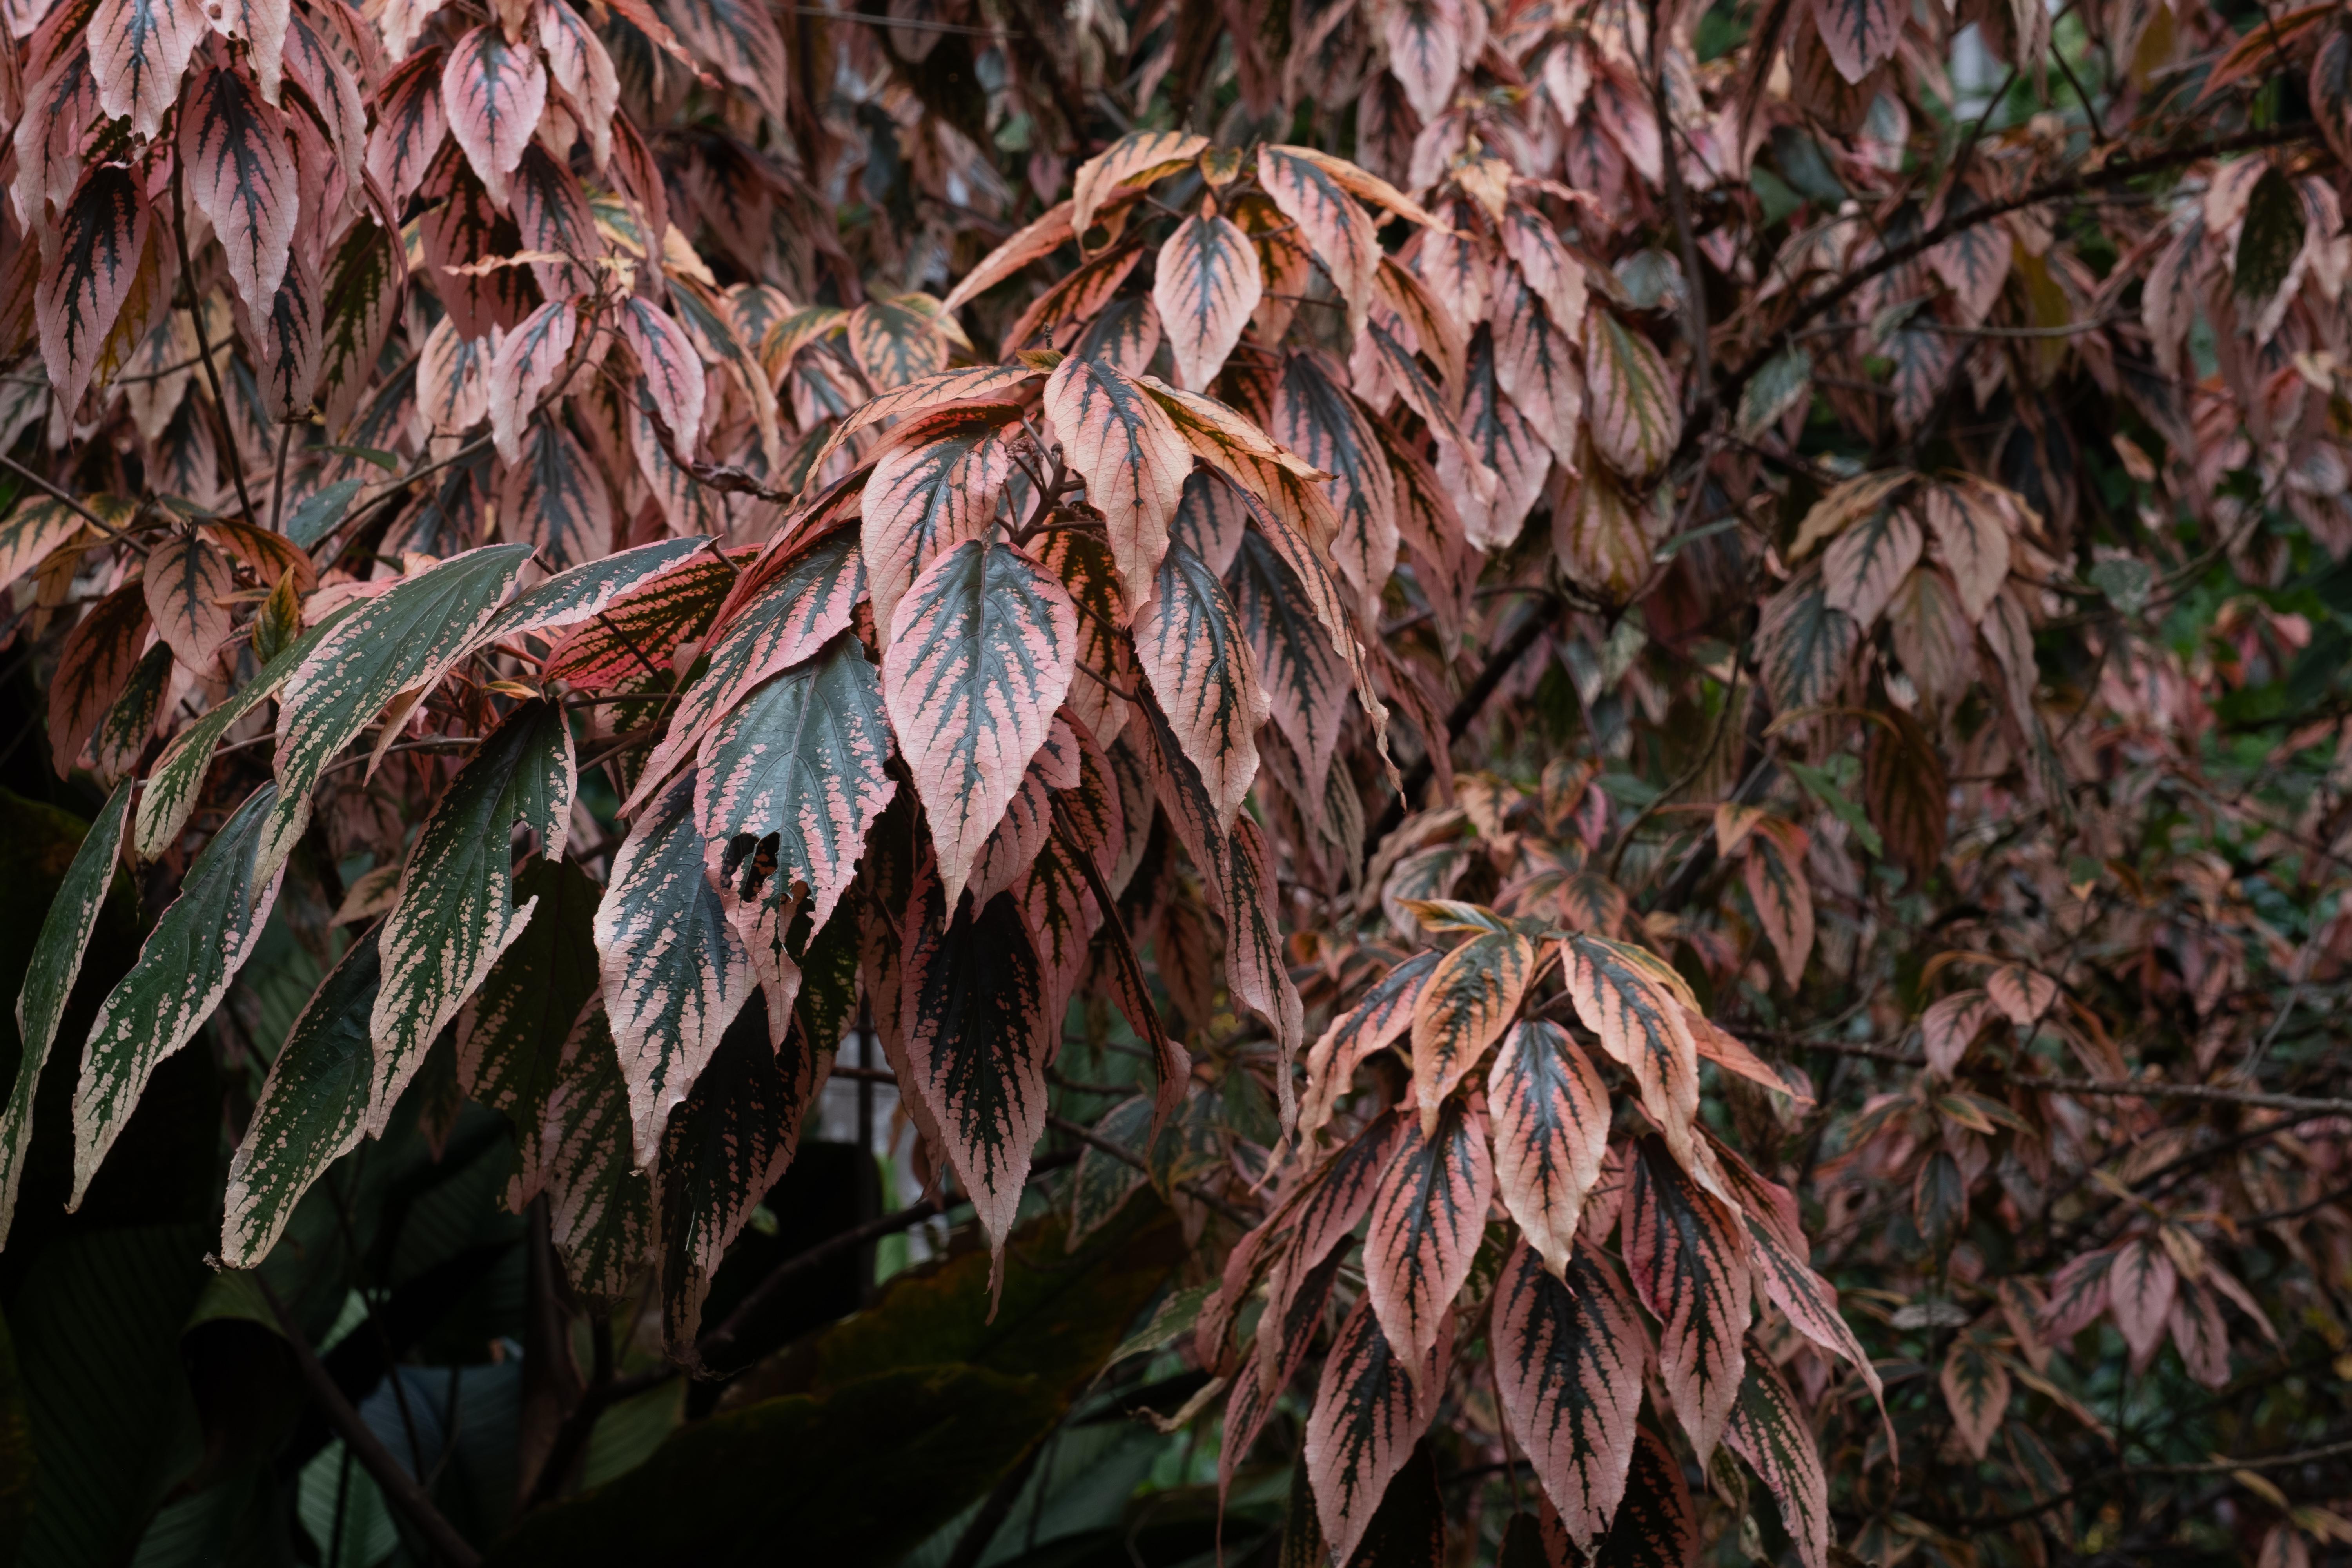
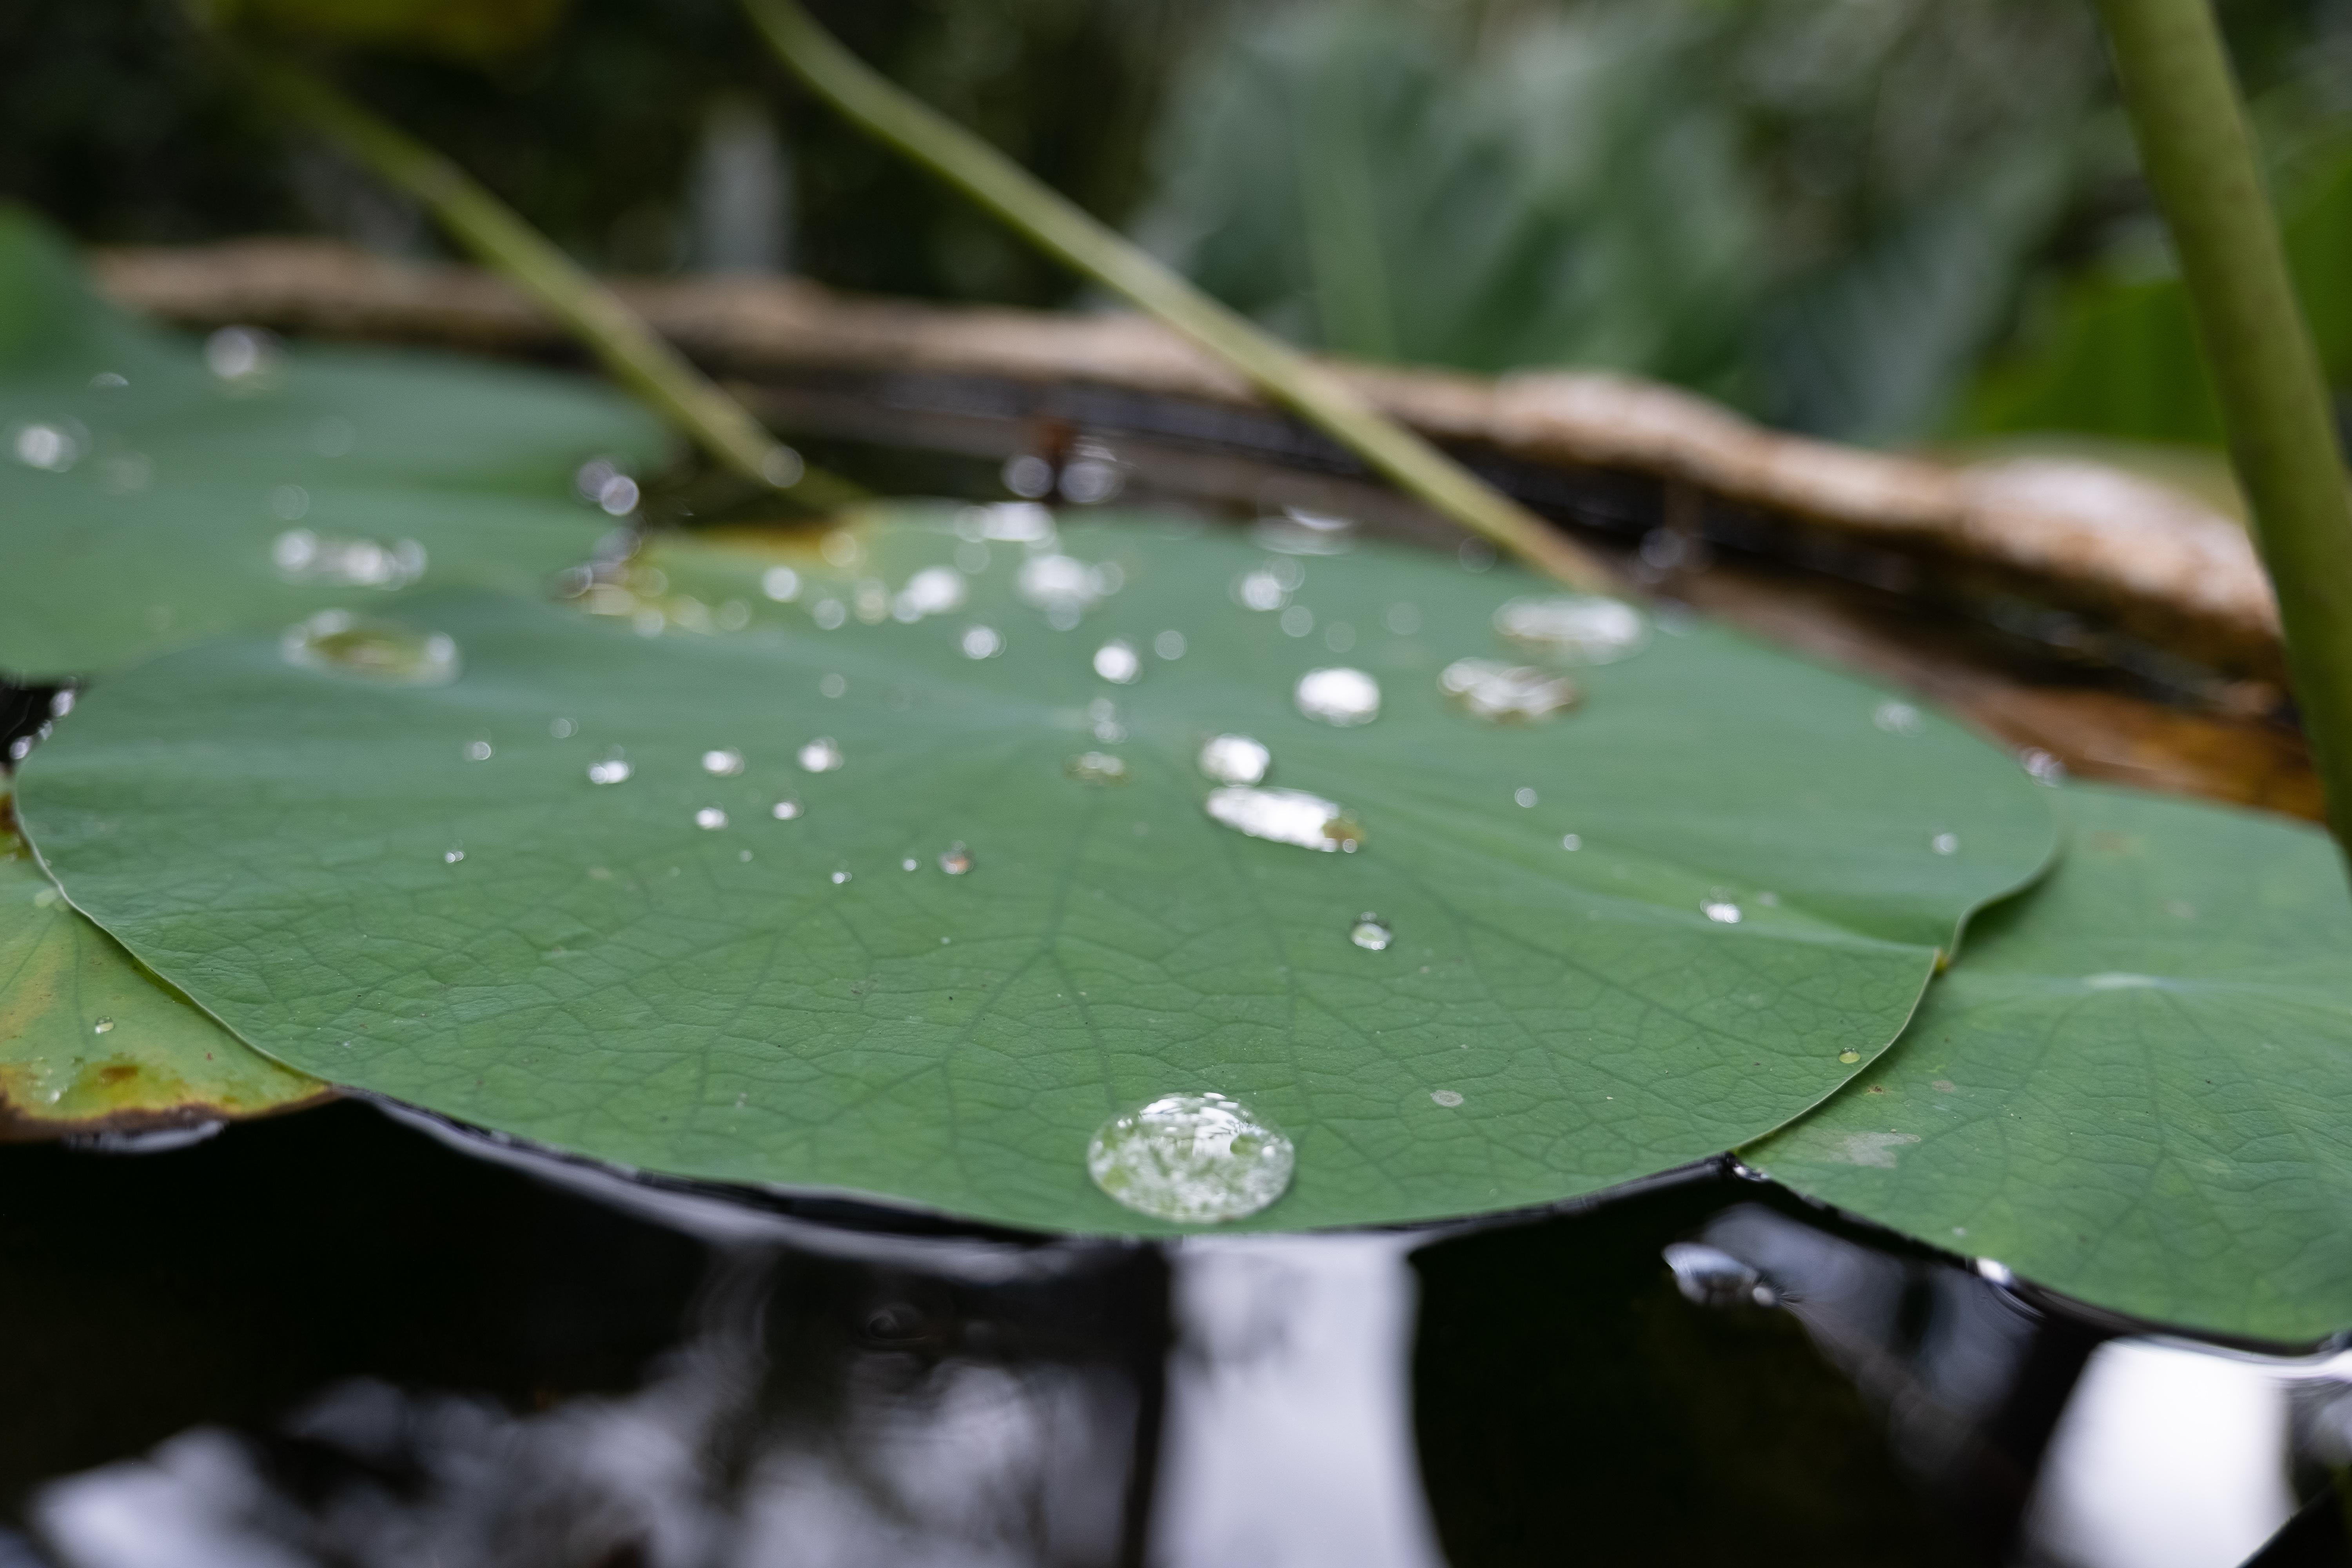
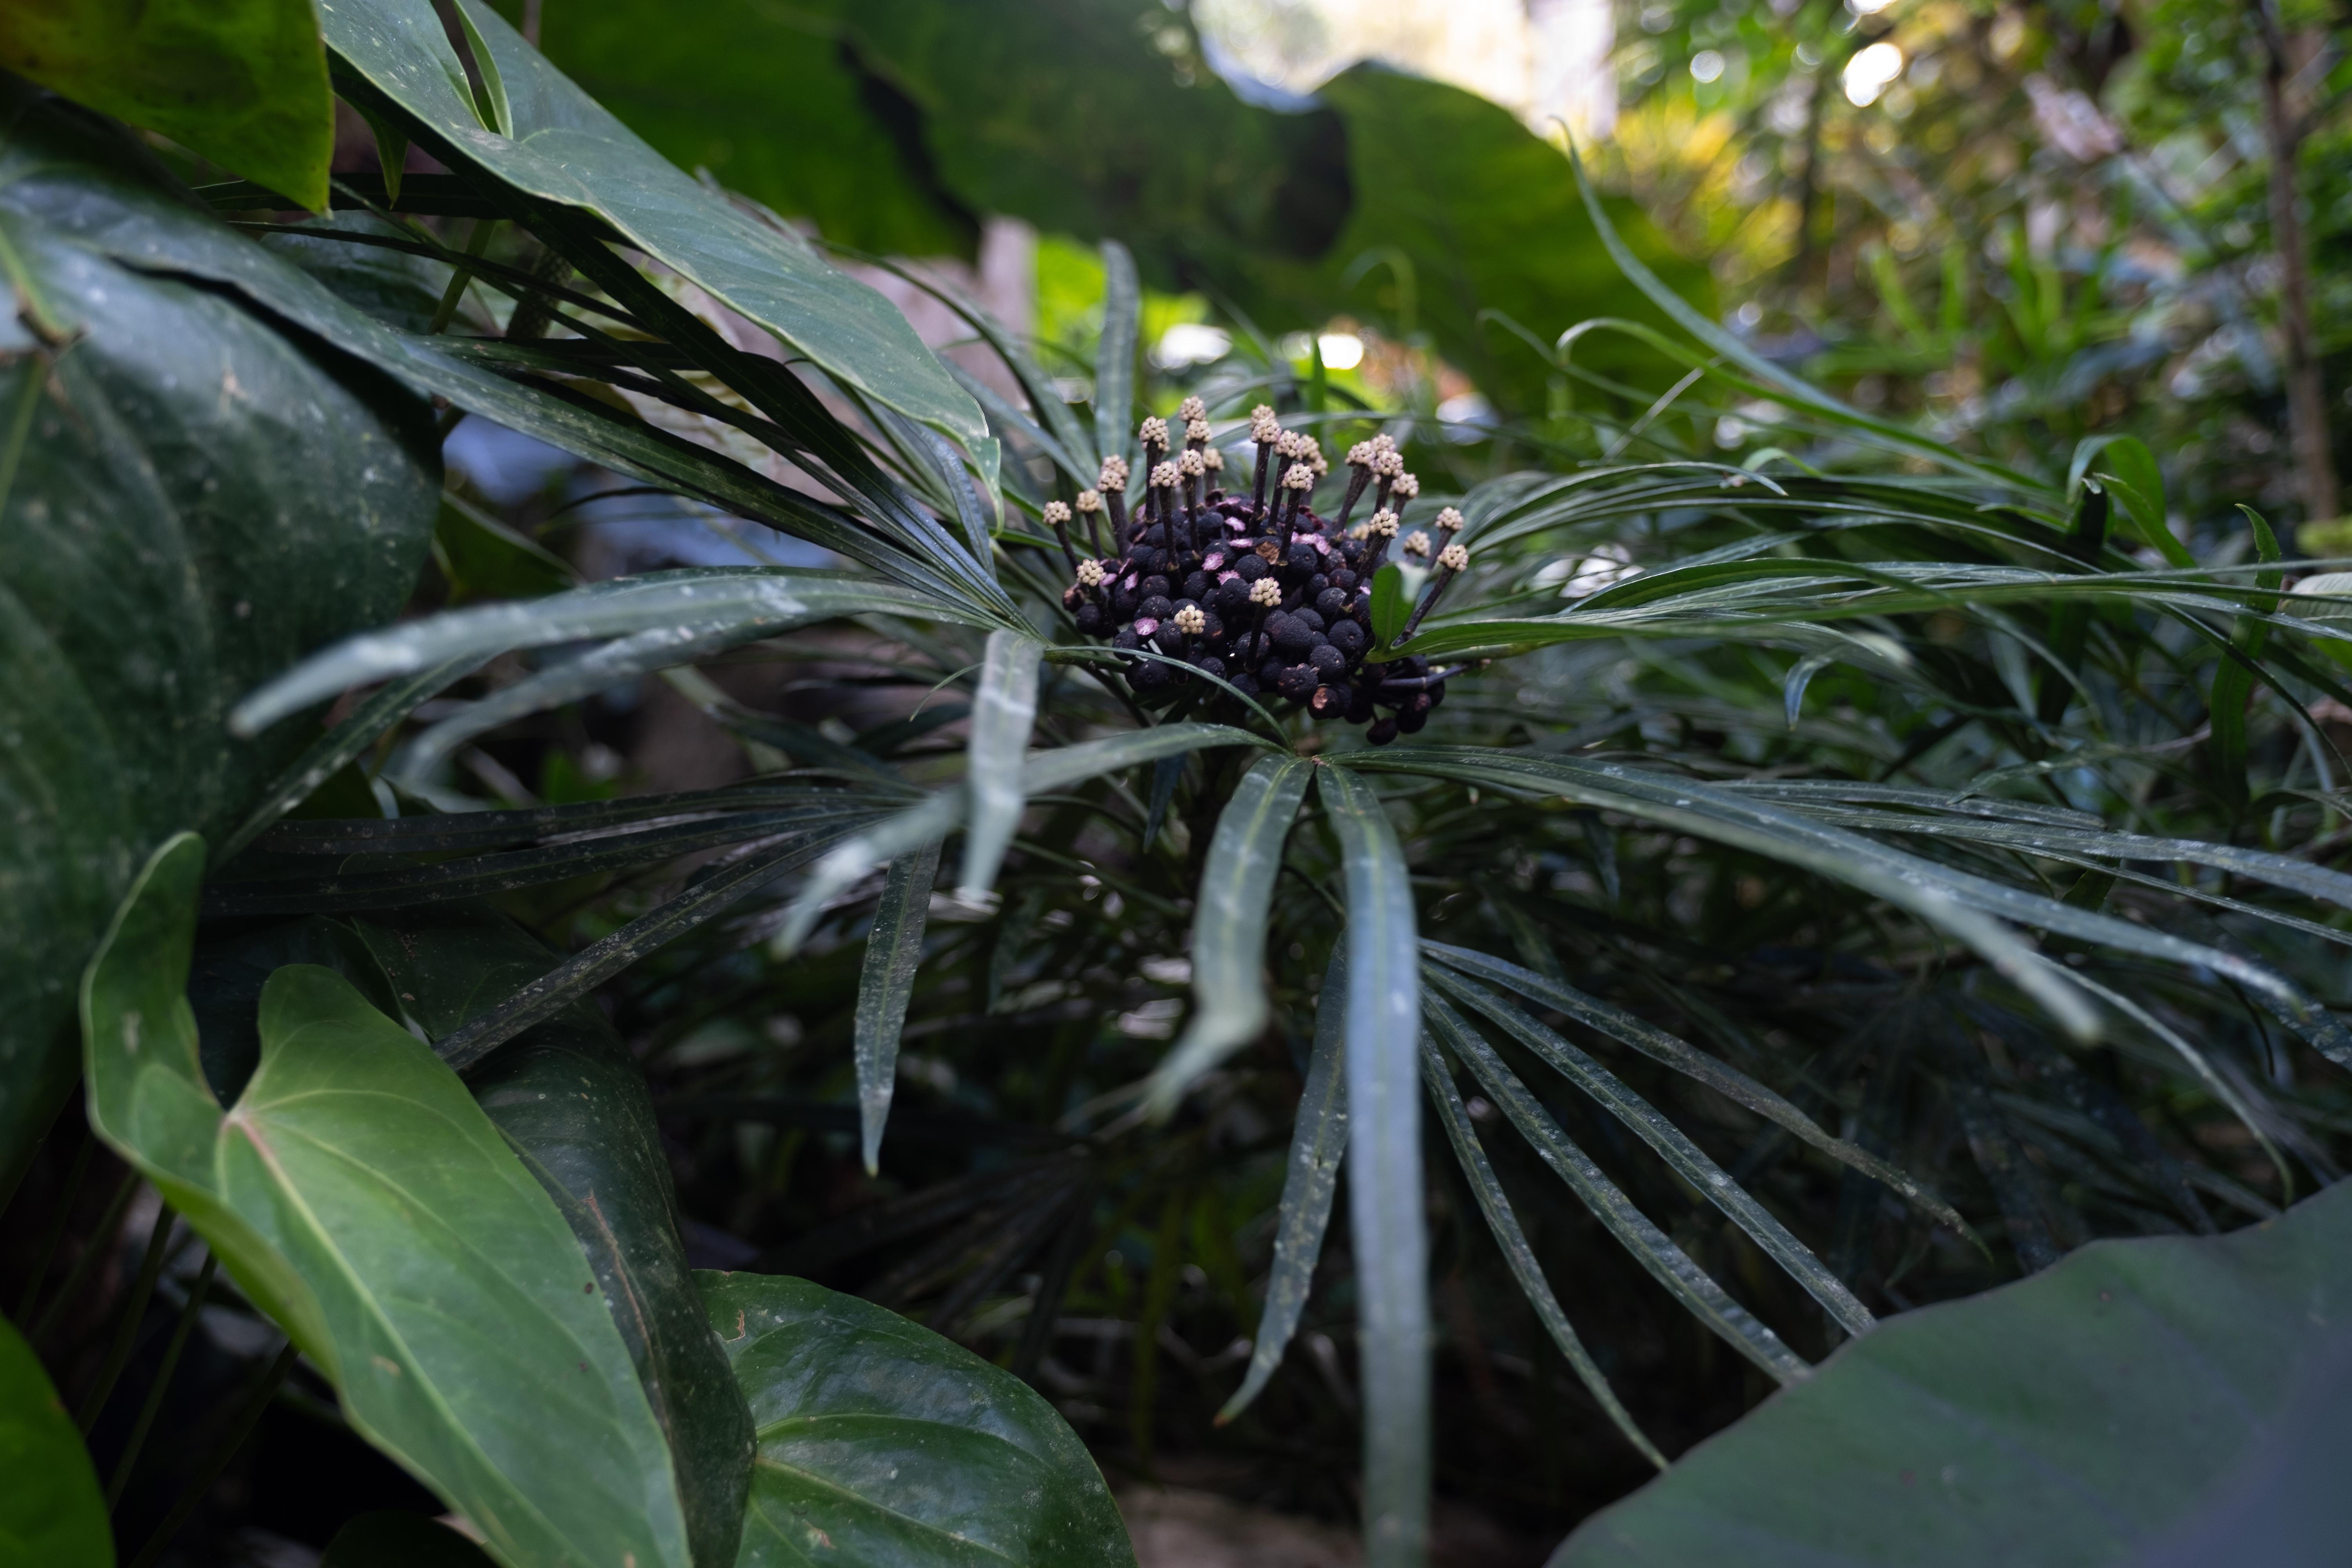
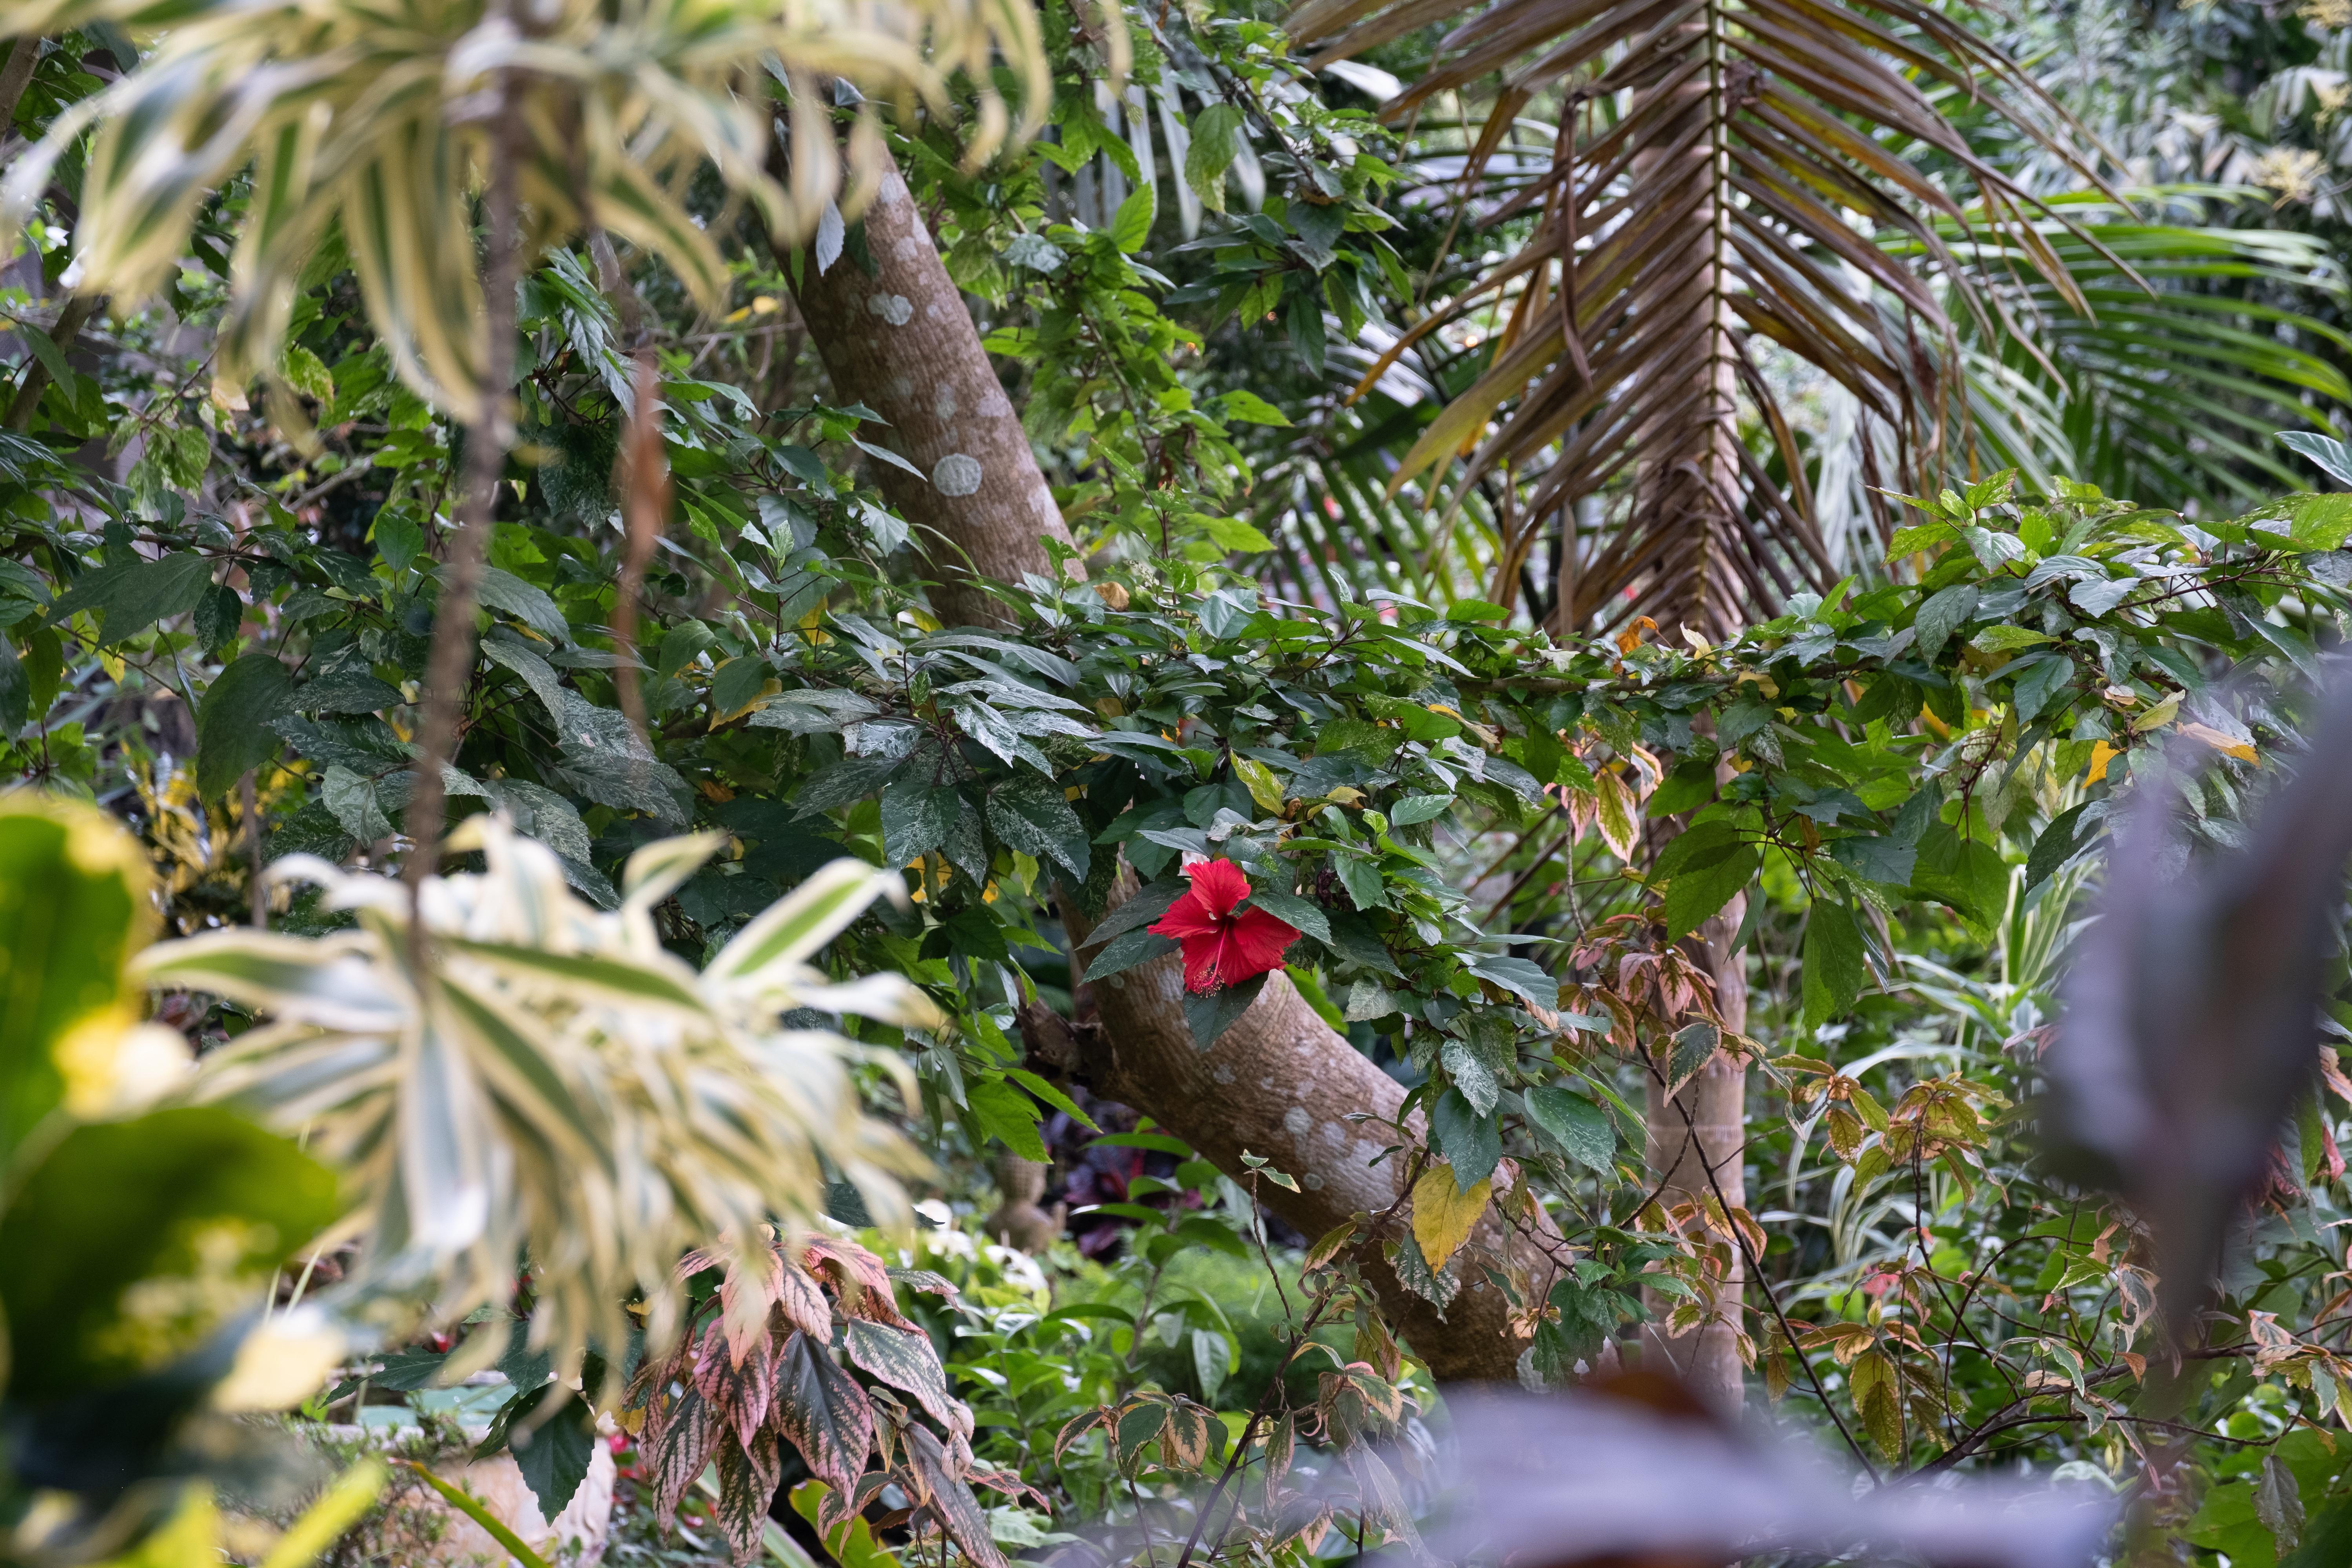
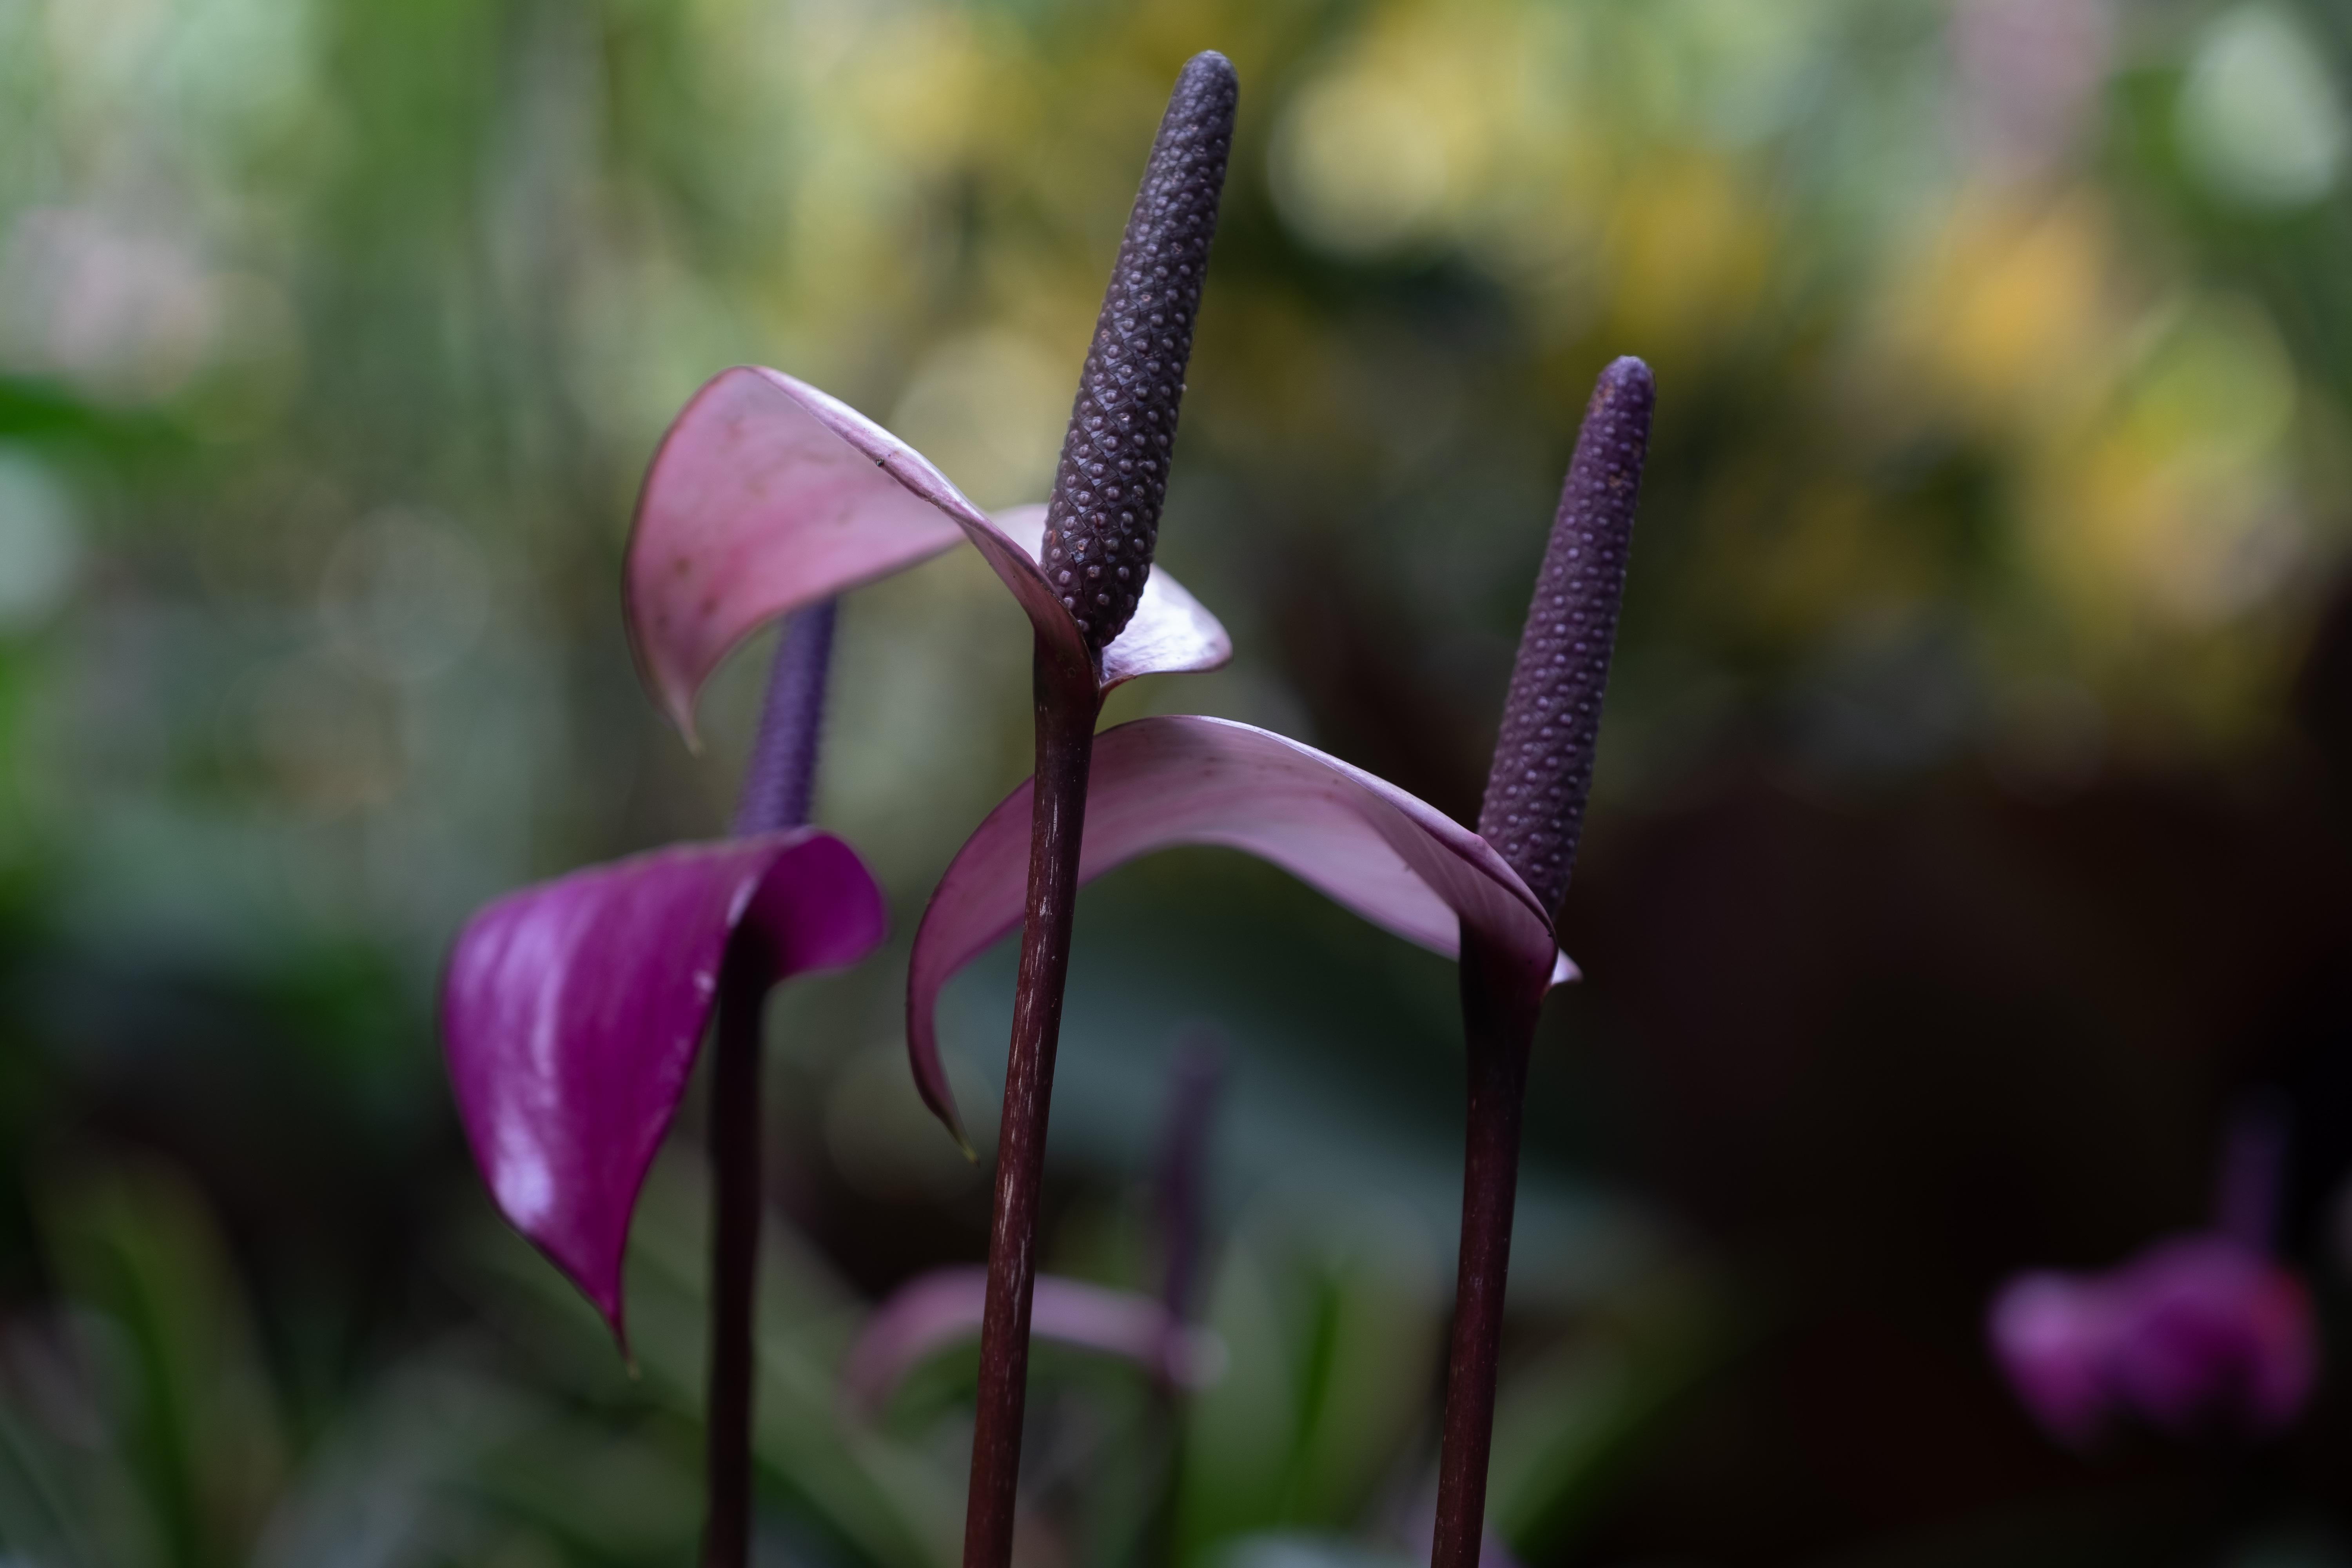
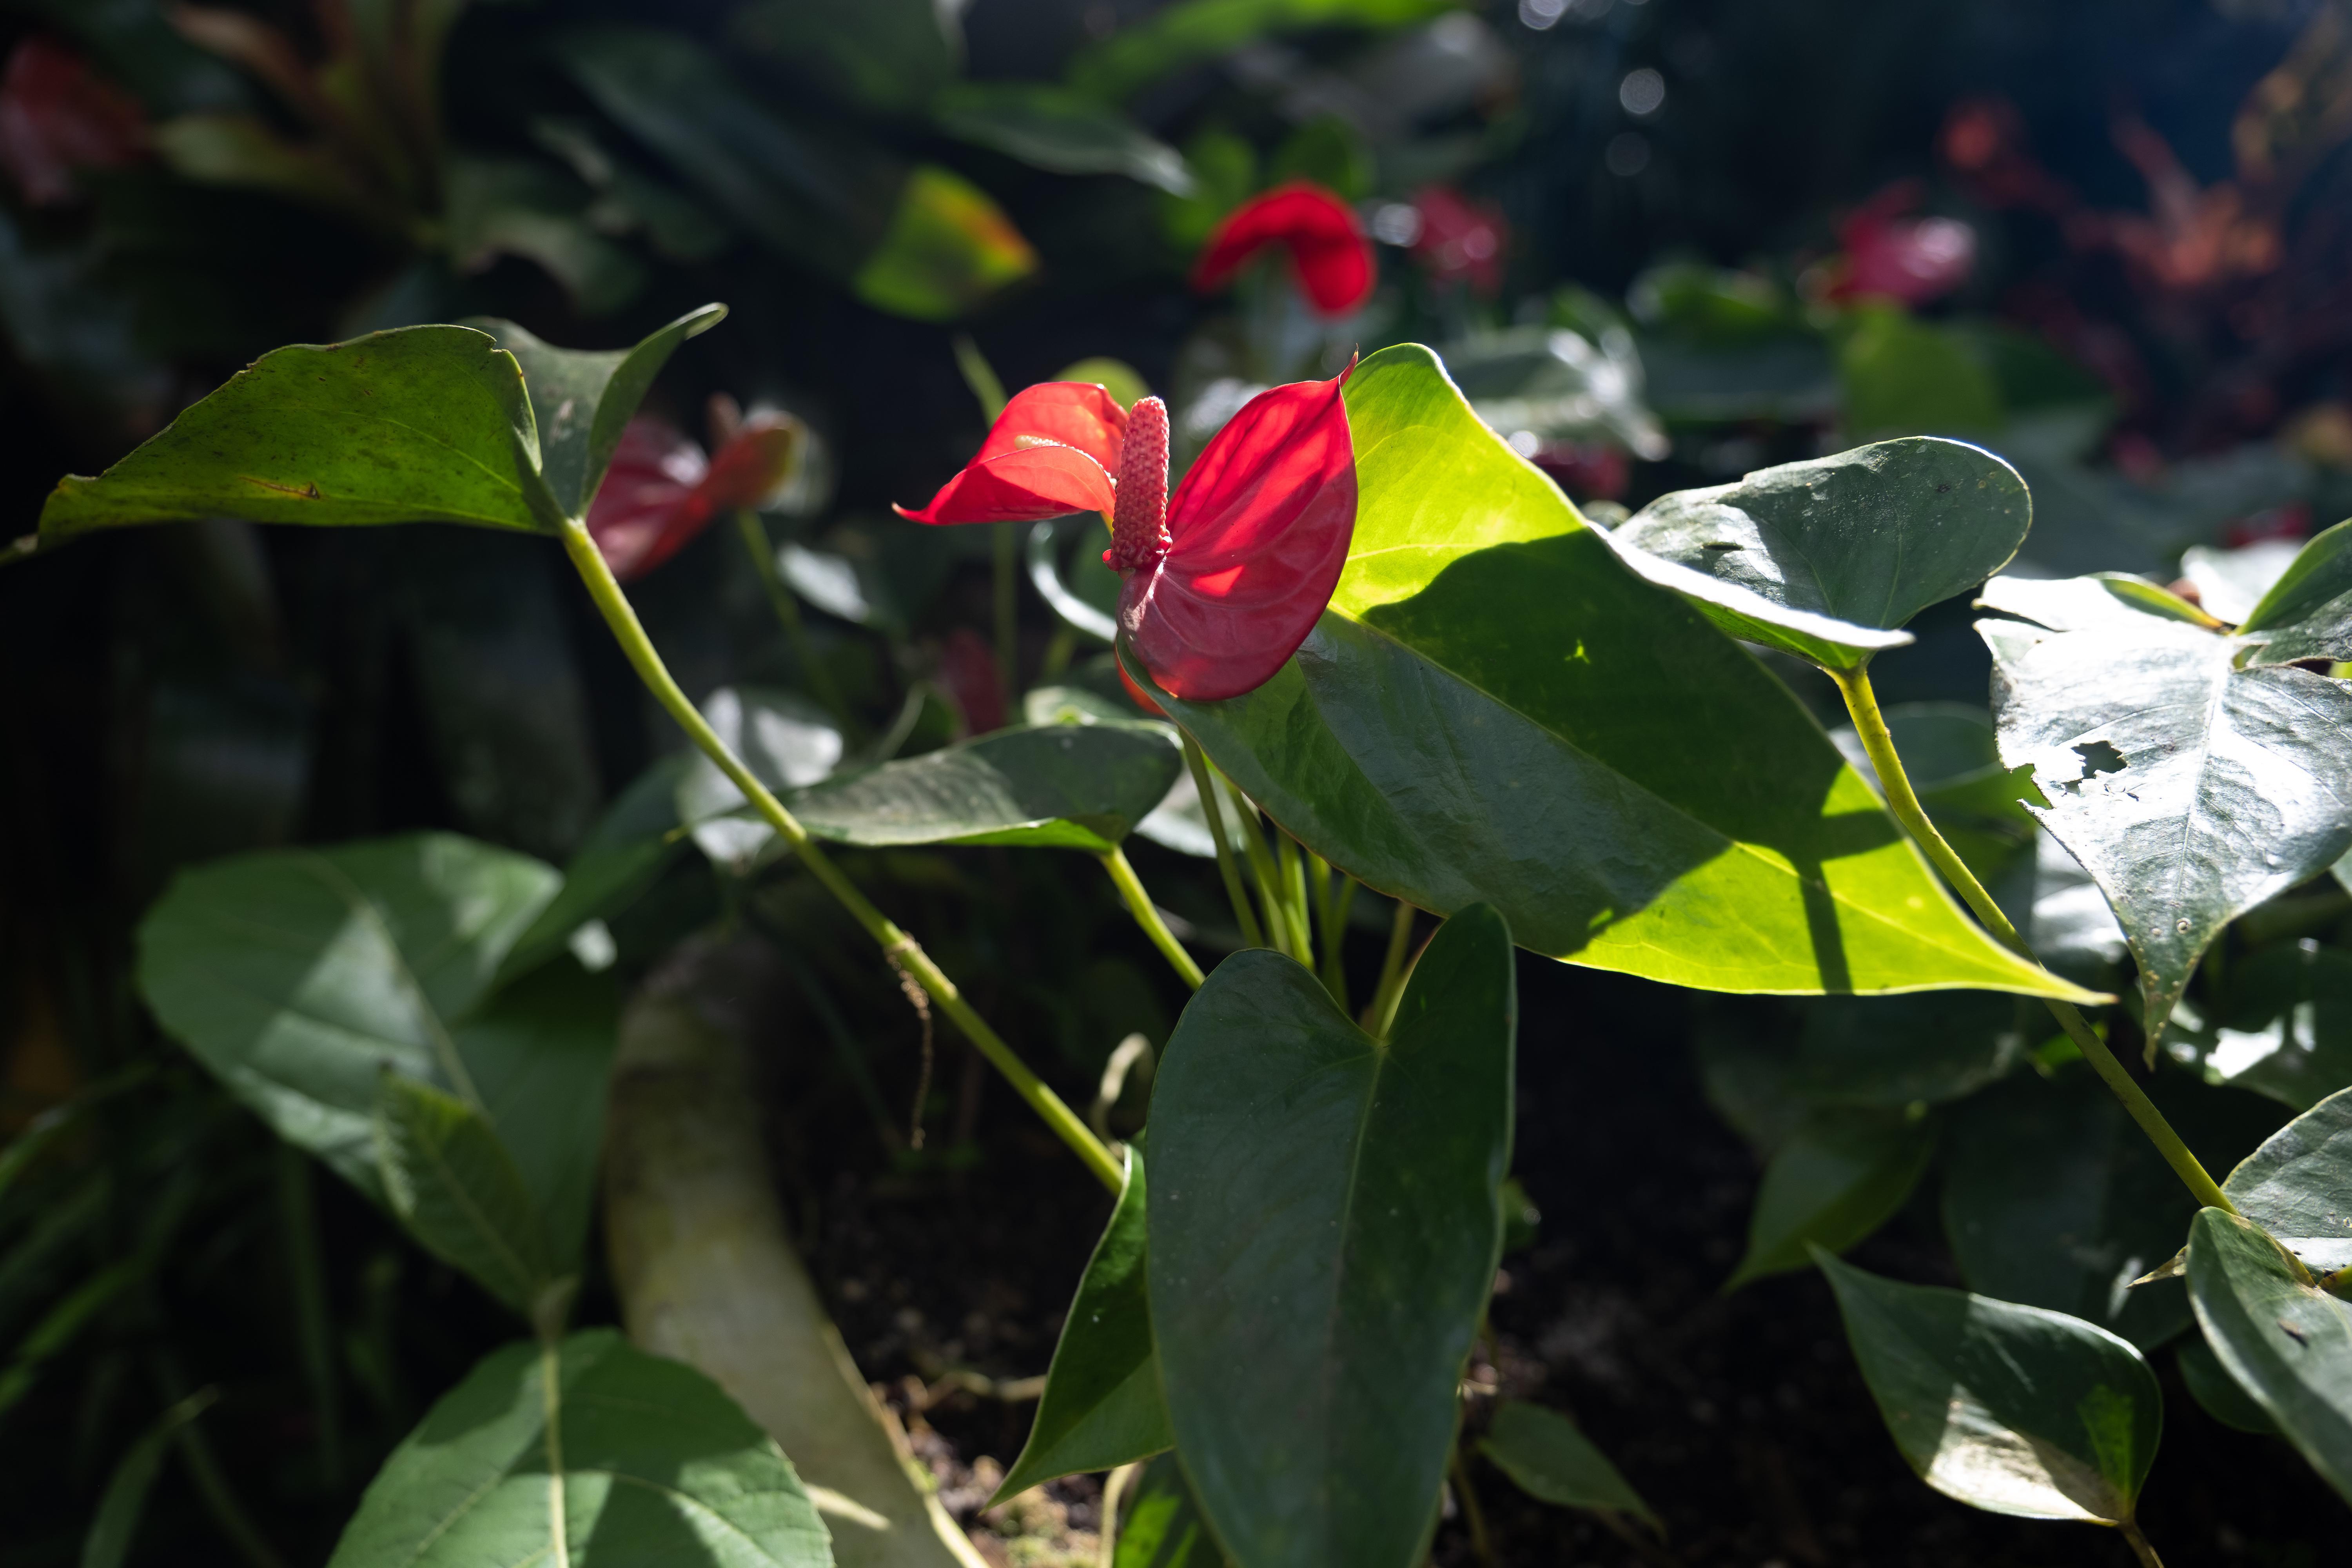
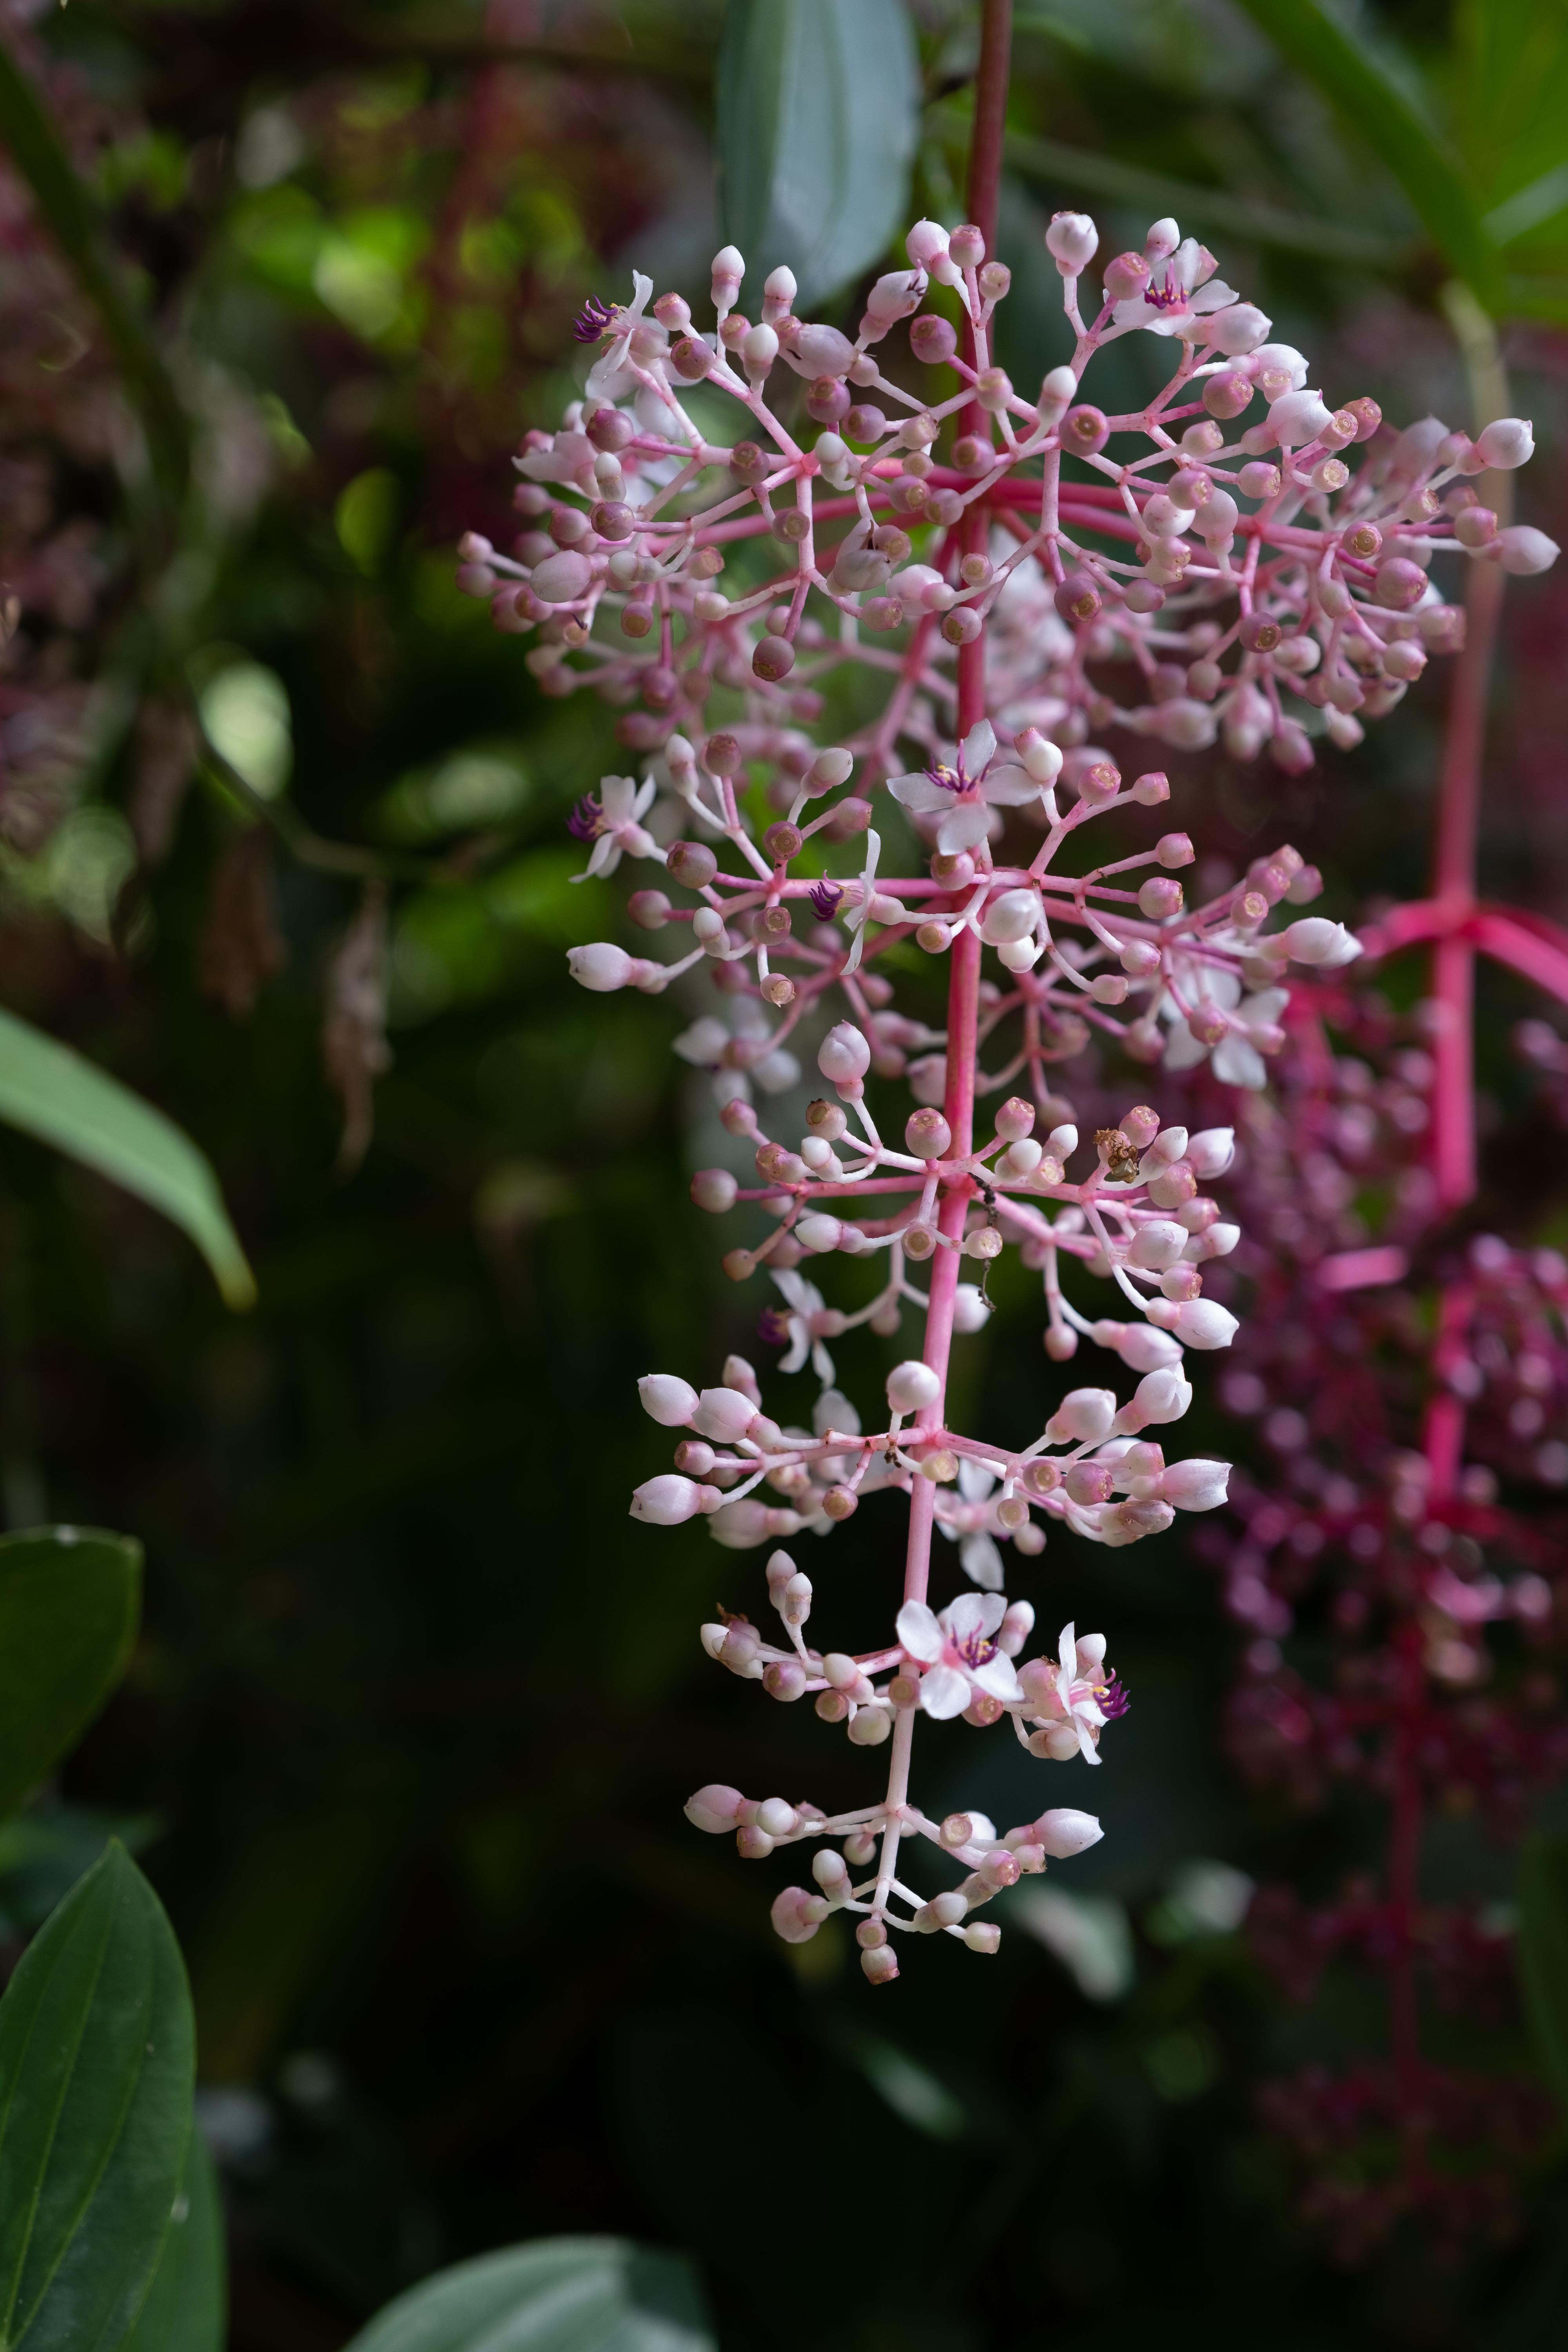
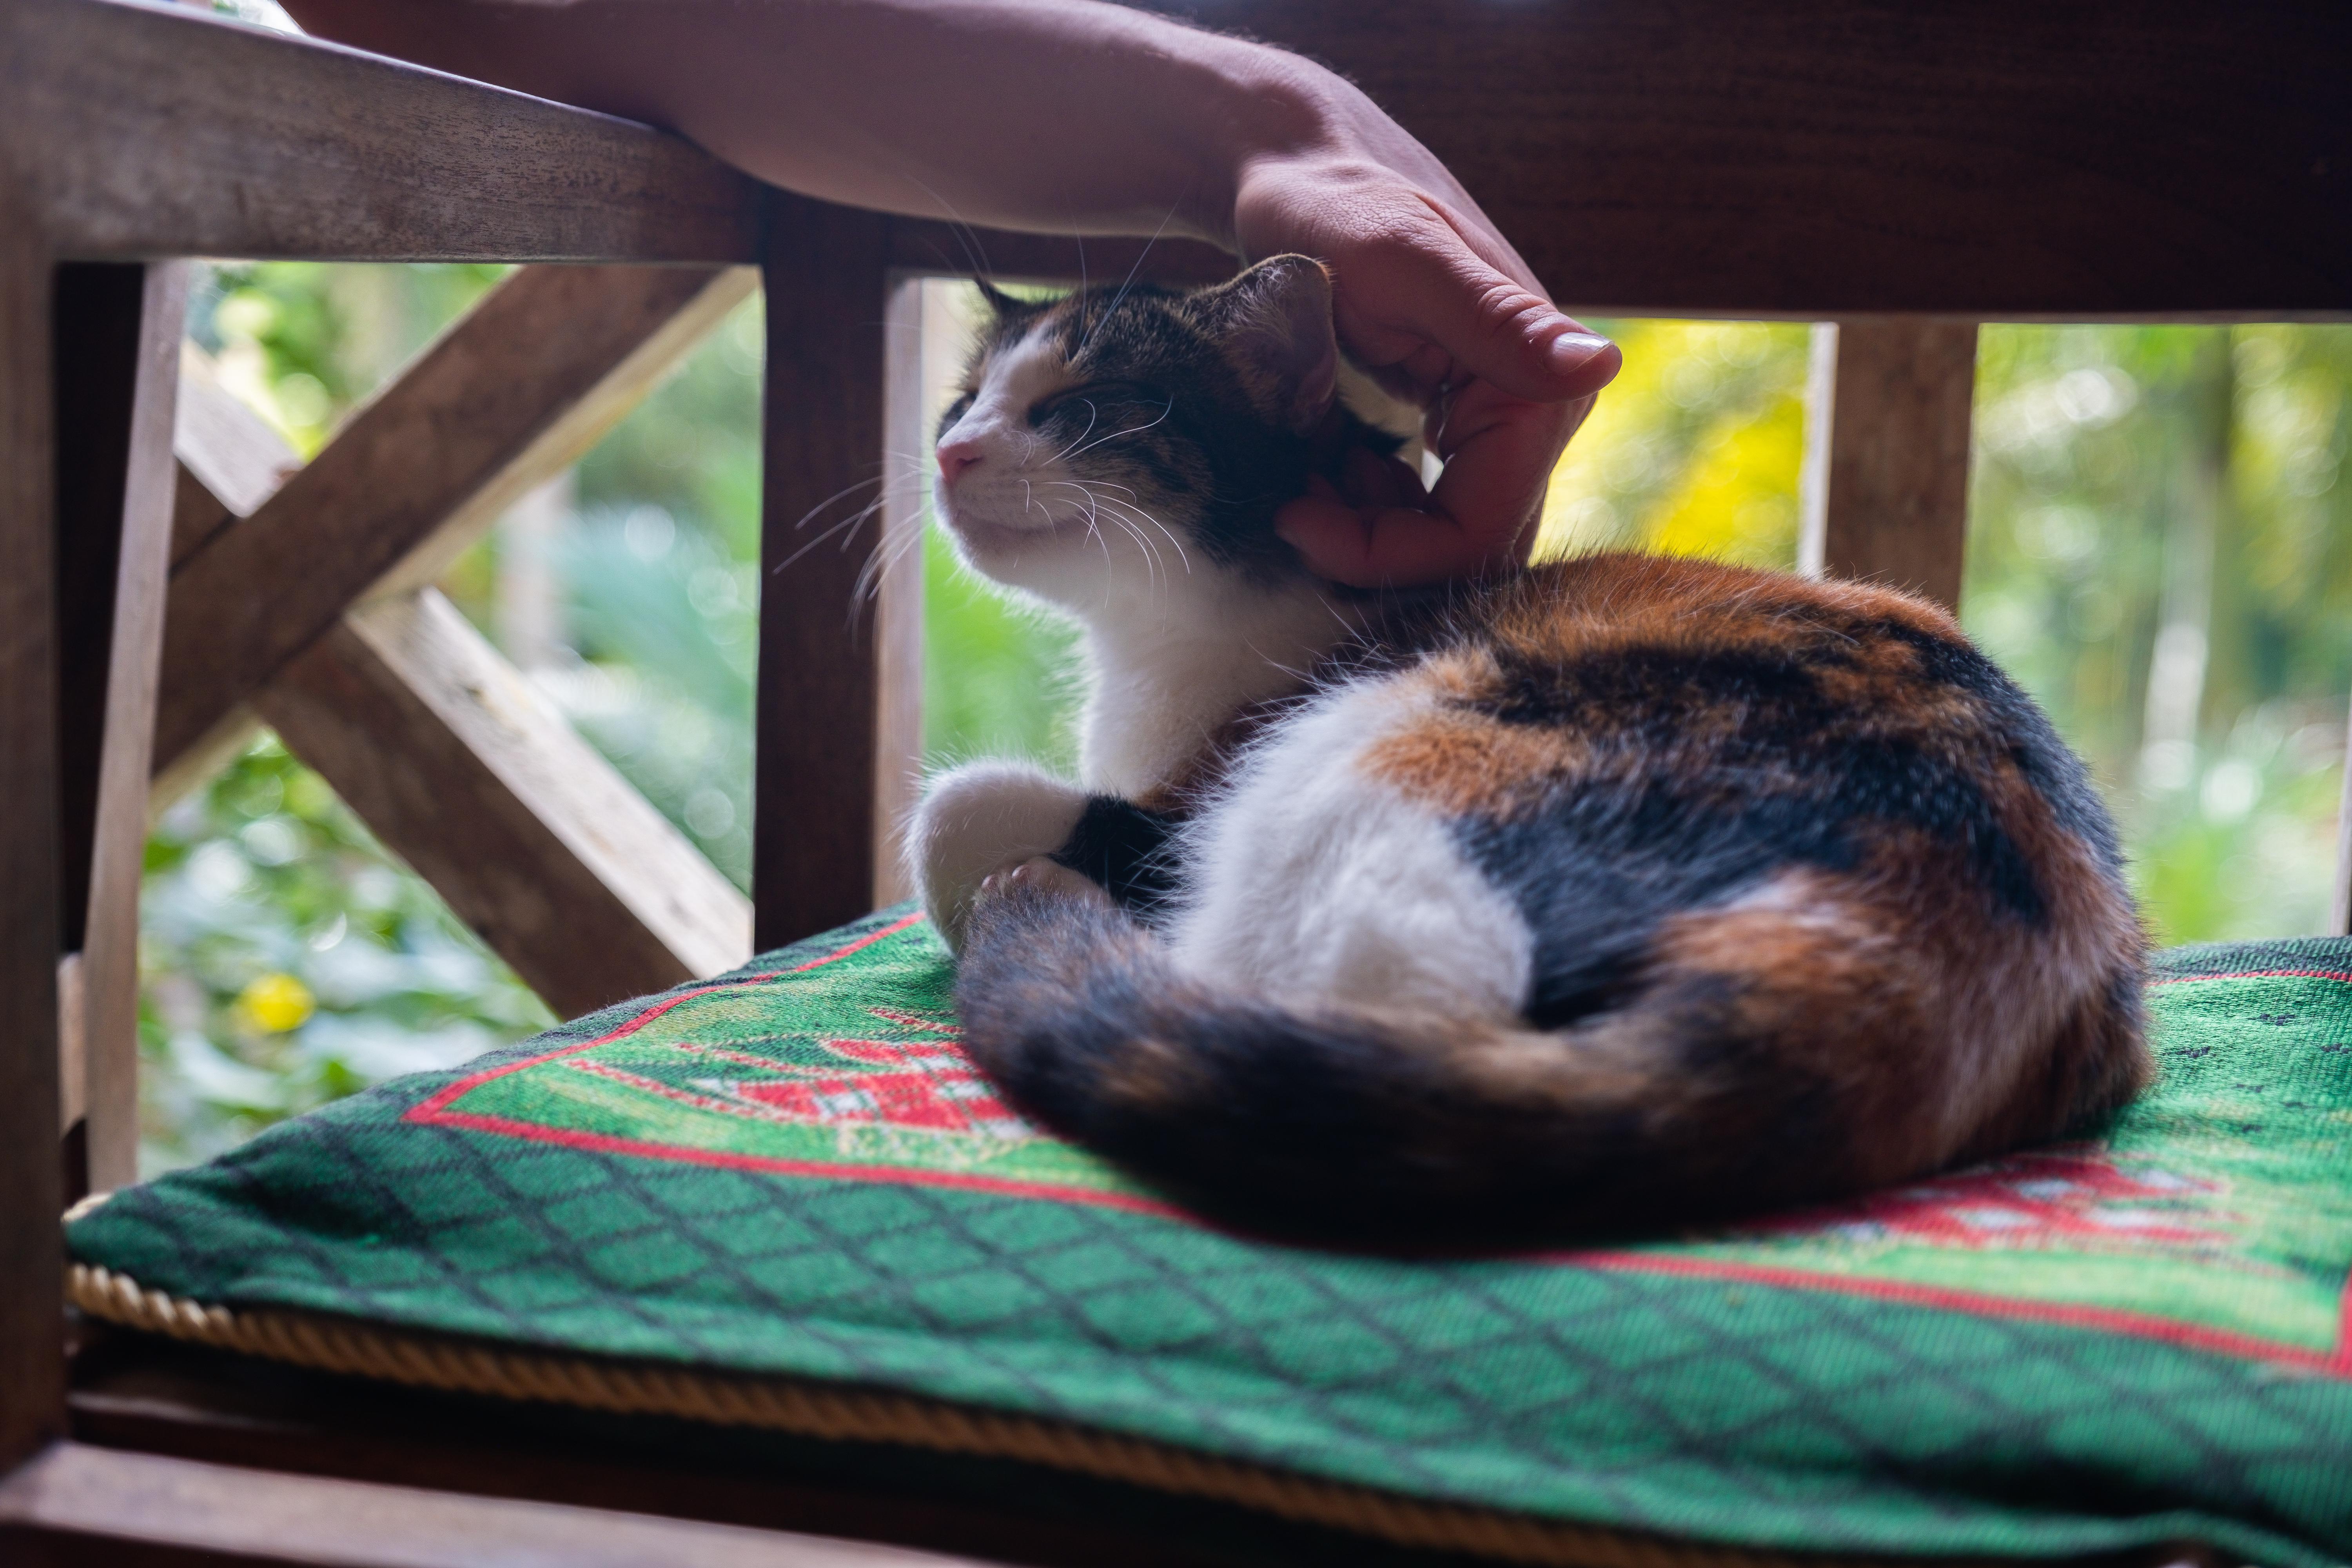
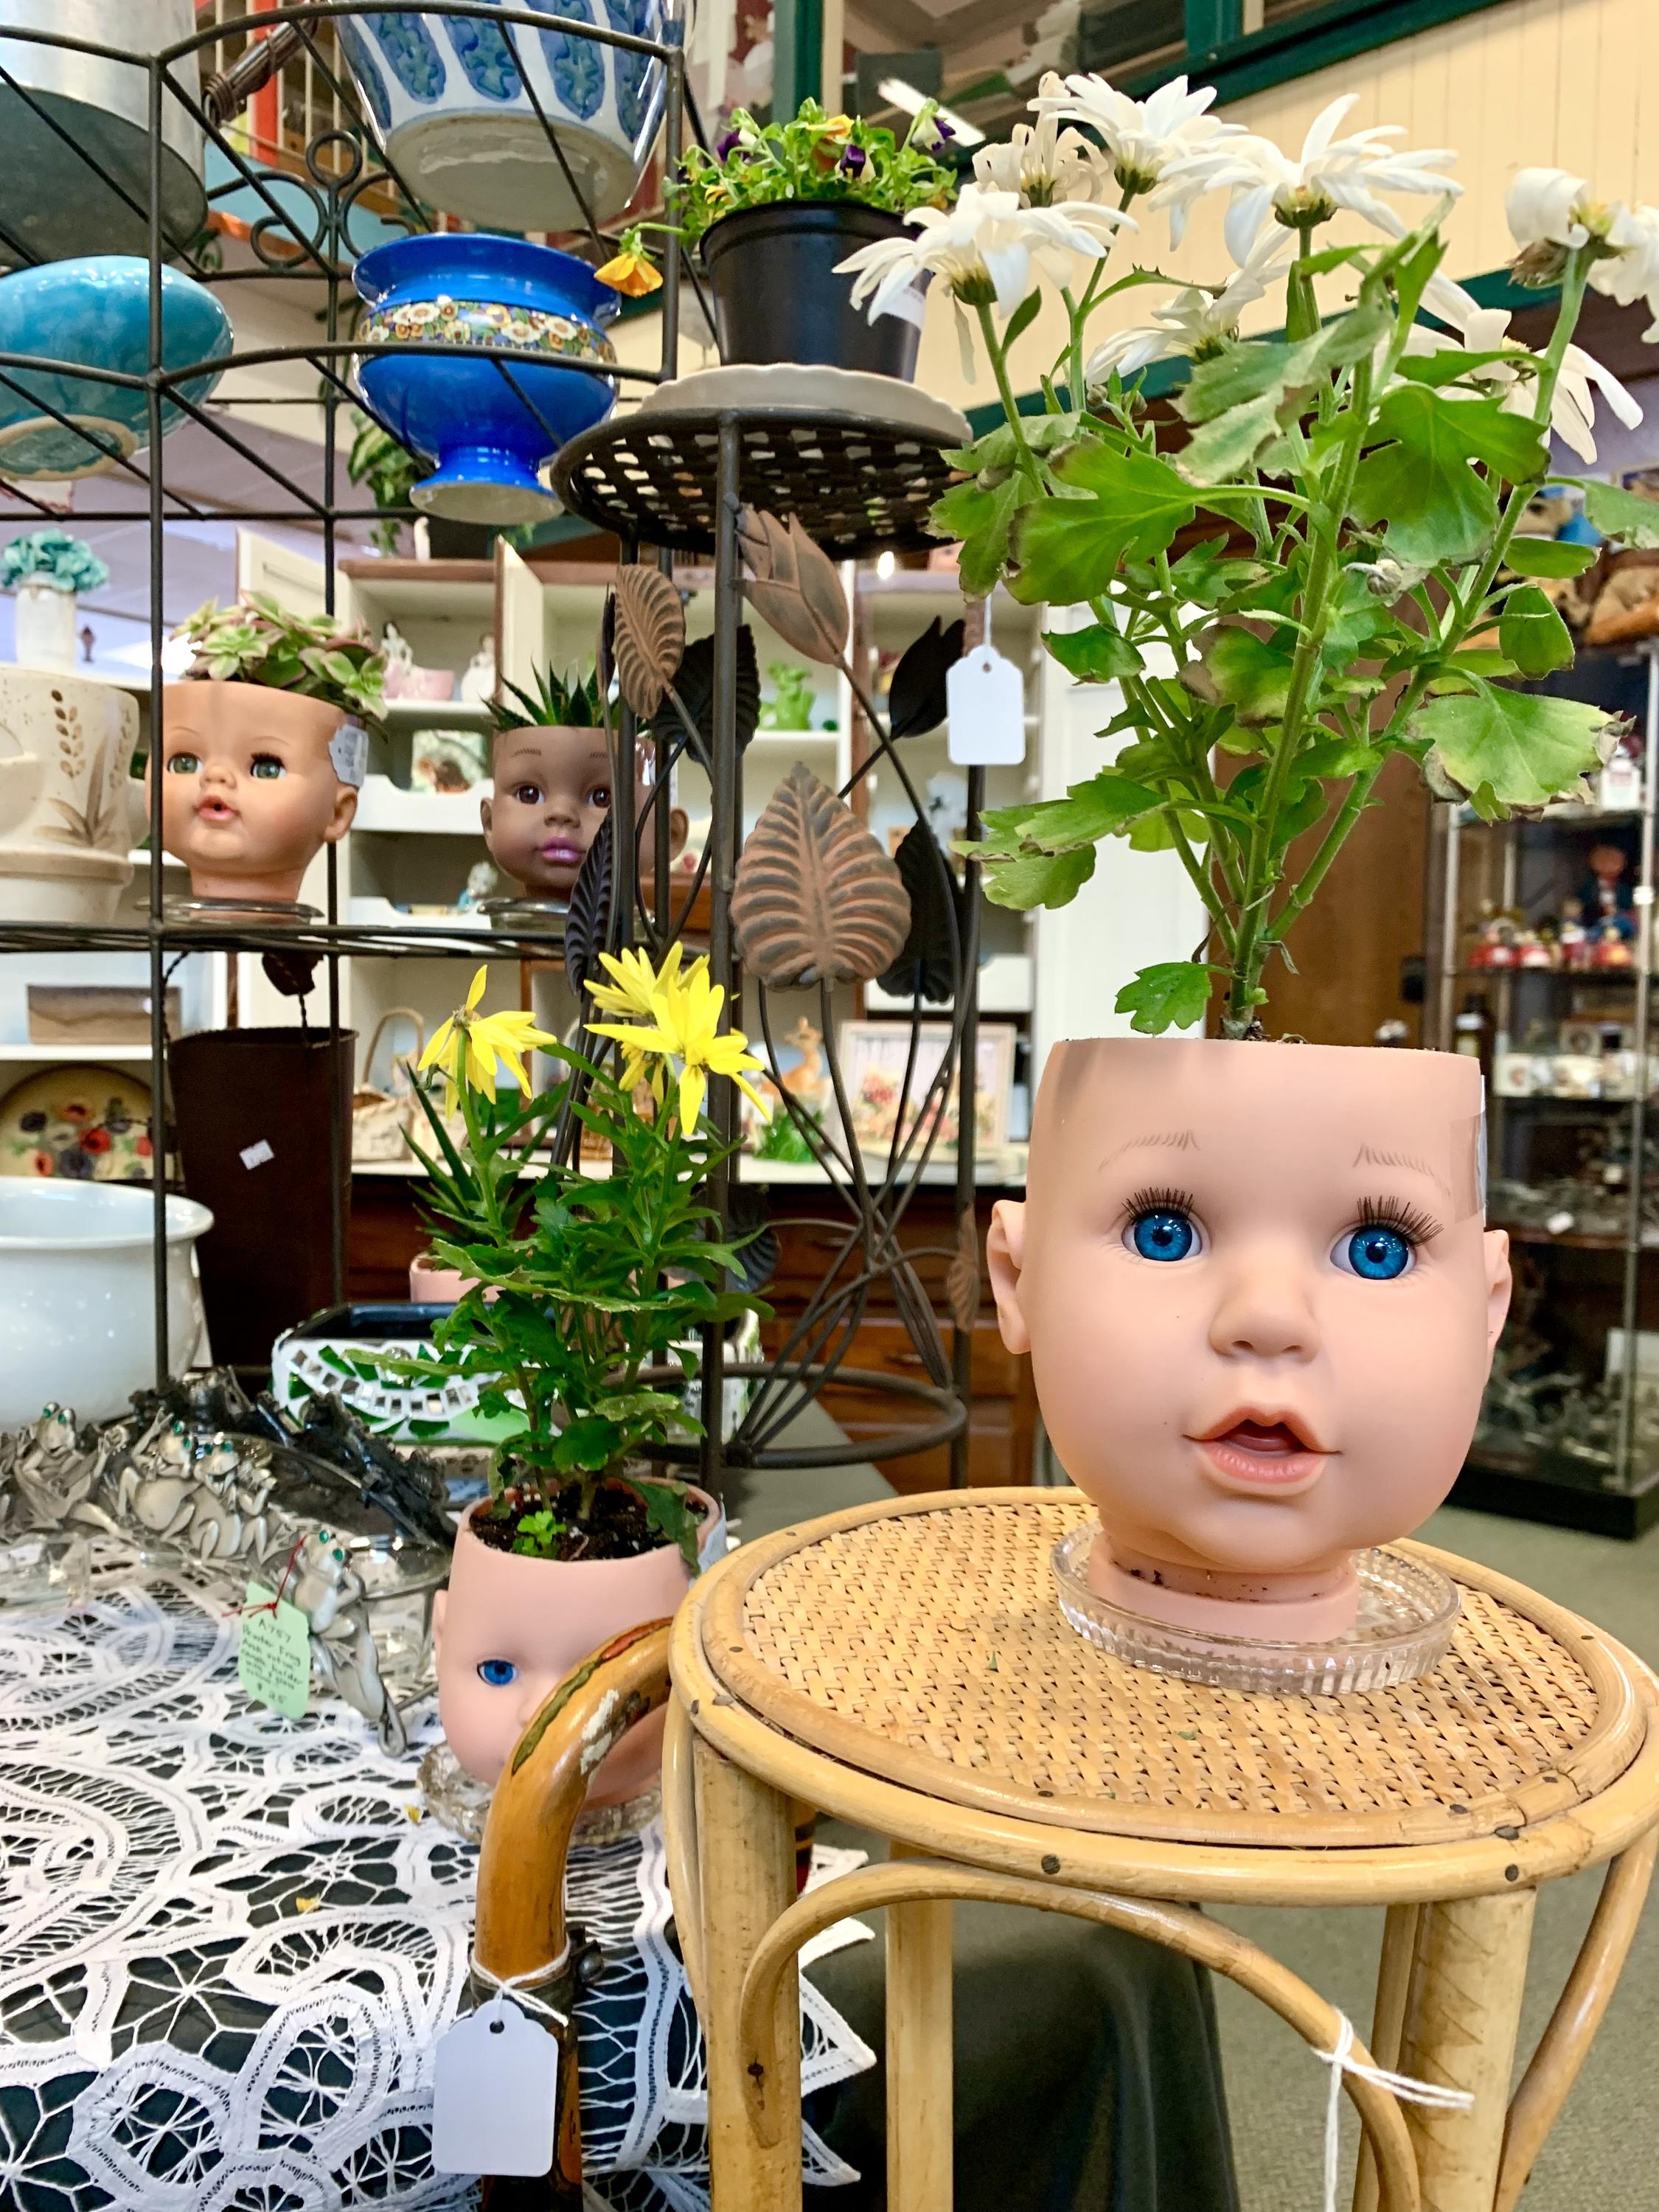
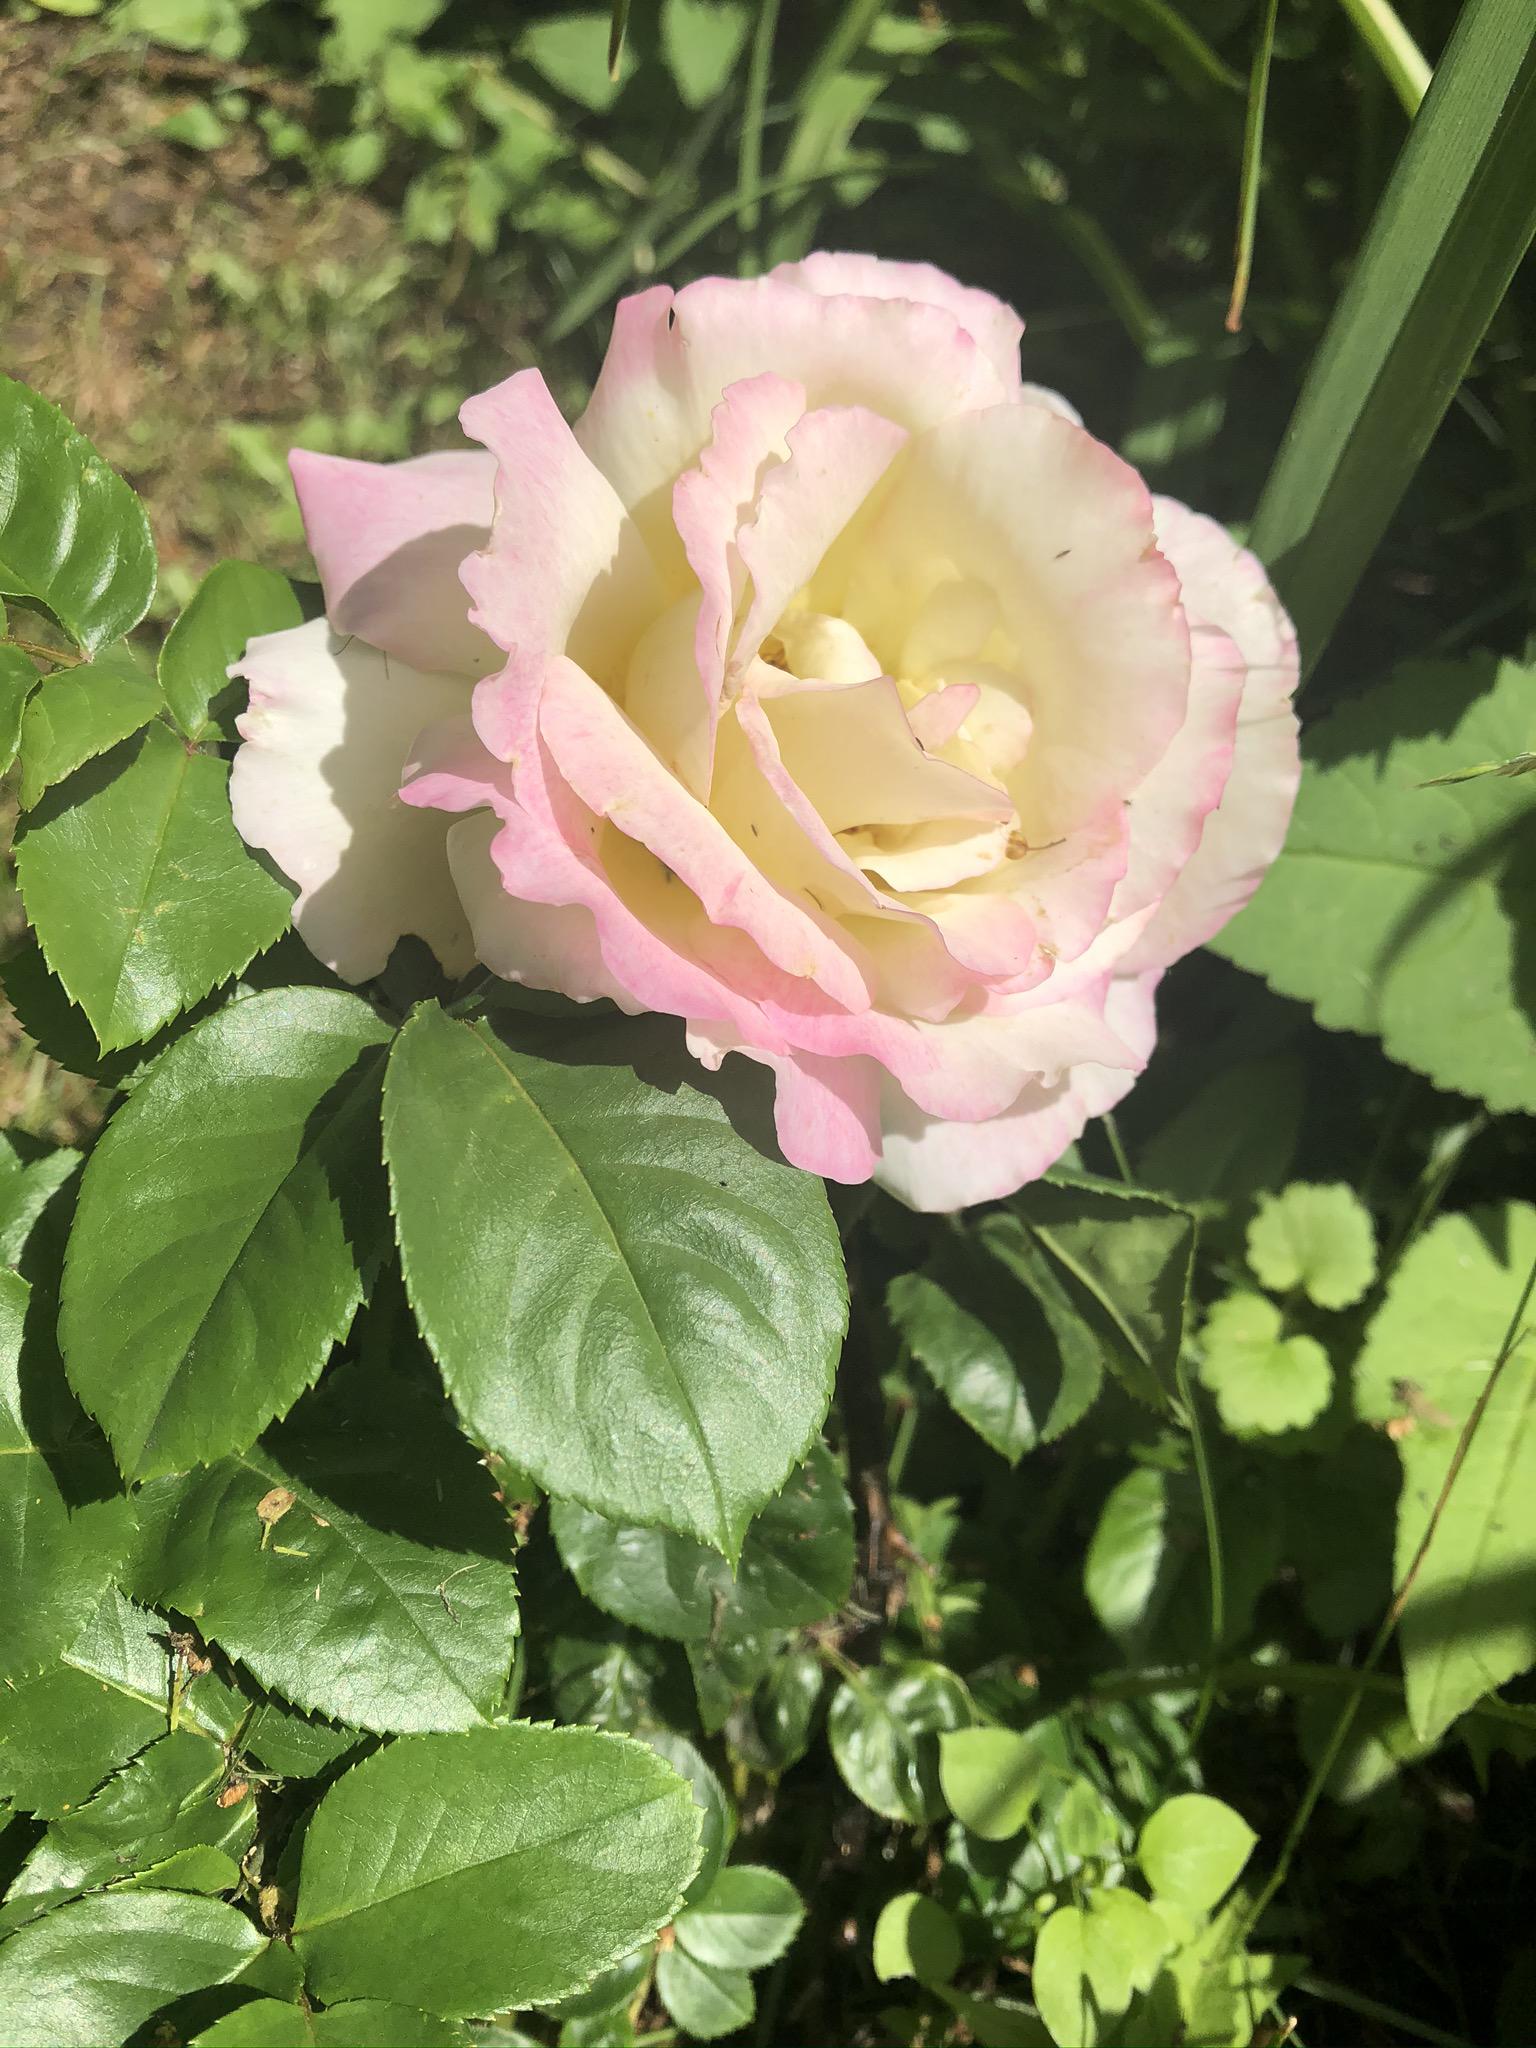
Just looking at some plants.